Making Geometry Adjustments to a Setting
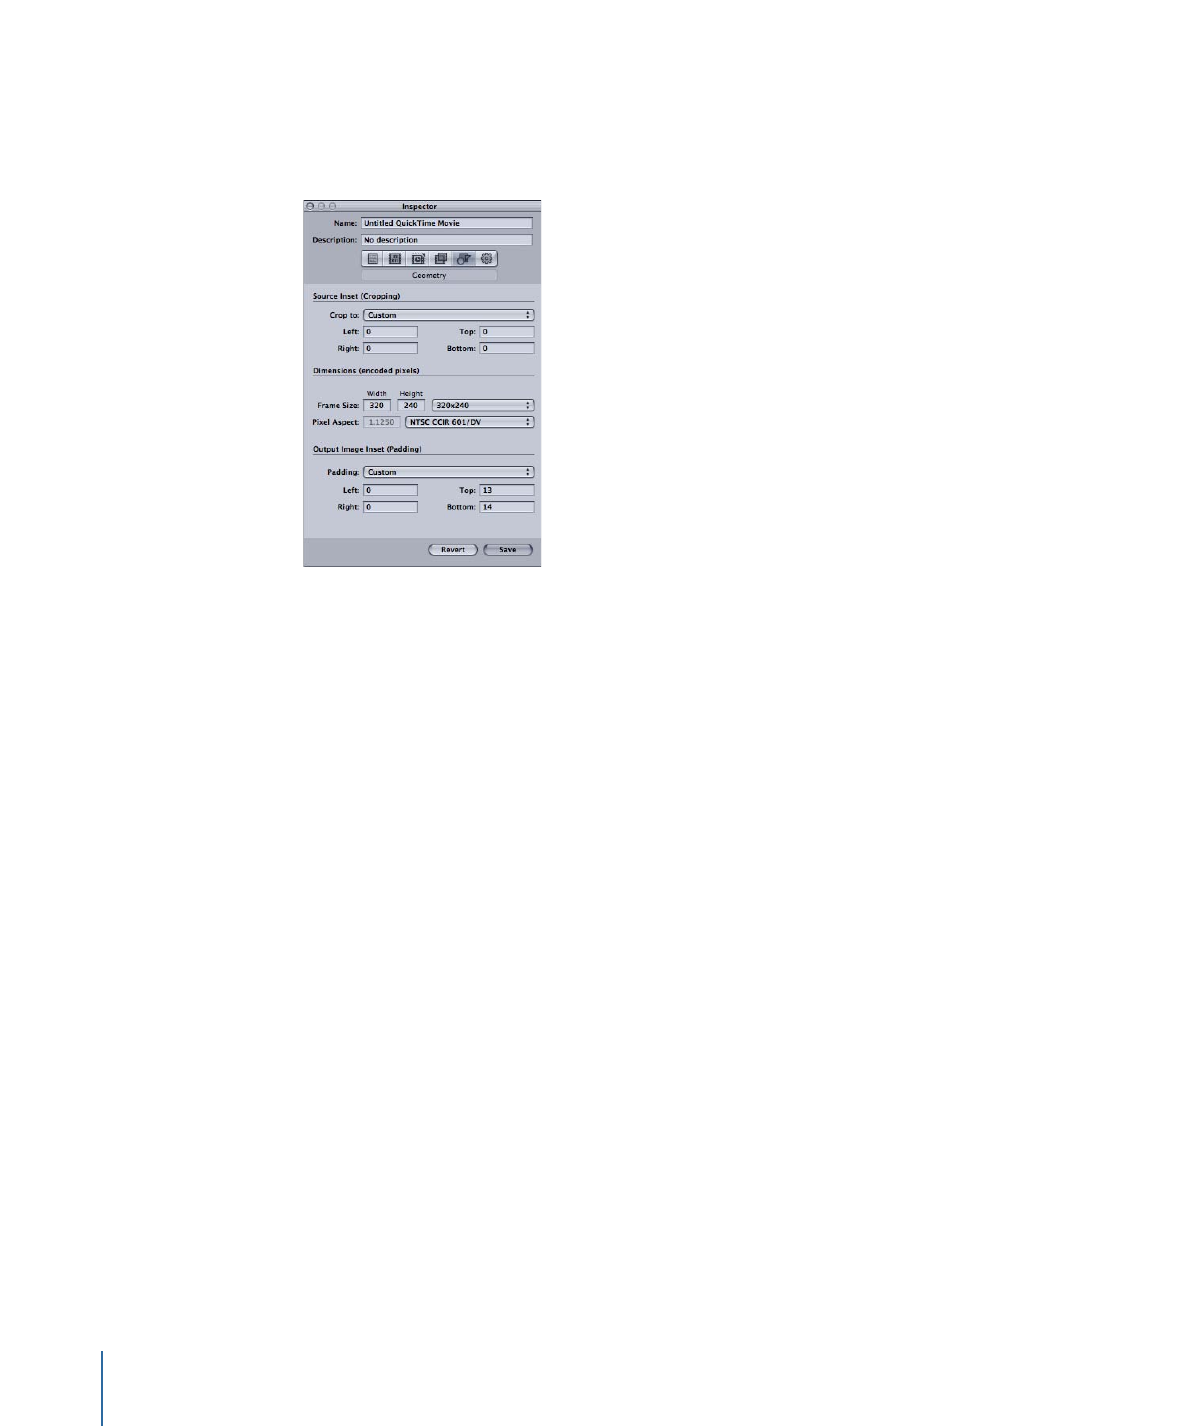
You use the Geometry pane in the Inspector window to crop, scale, and change the frame
aspect ratio in a setting.
To add cropping, frame sizing, and aspect ratio settings to your setting
1
Open the Settings tab.
283
Chapter 24
Adding Geometry Settings

2
Select the setting in the Settings tab that you want to modify. (Or select a setting already
applied to a source media file in the Batch window.)
3
Click the Geometry tab in the Inspector.
4
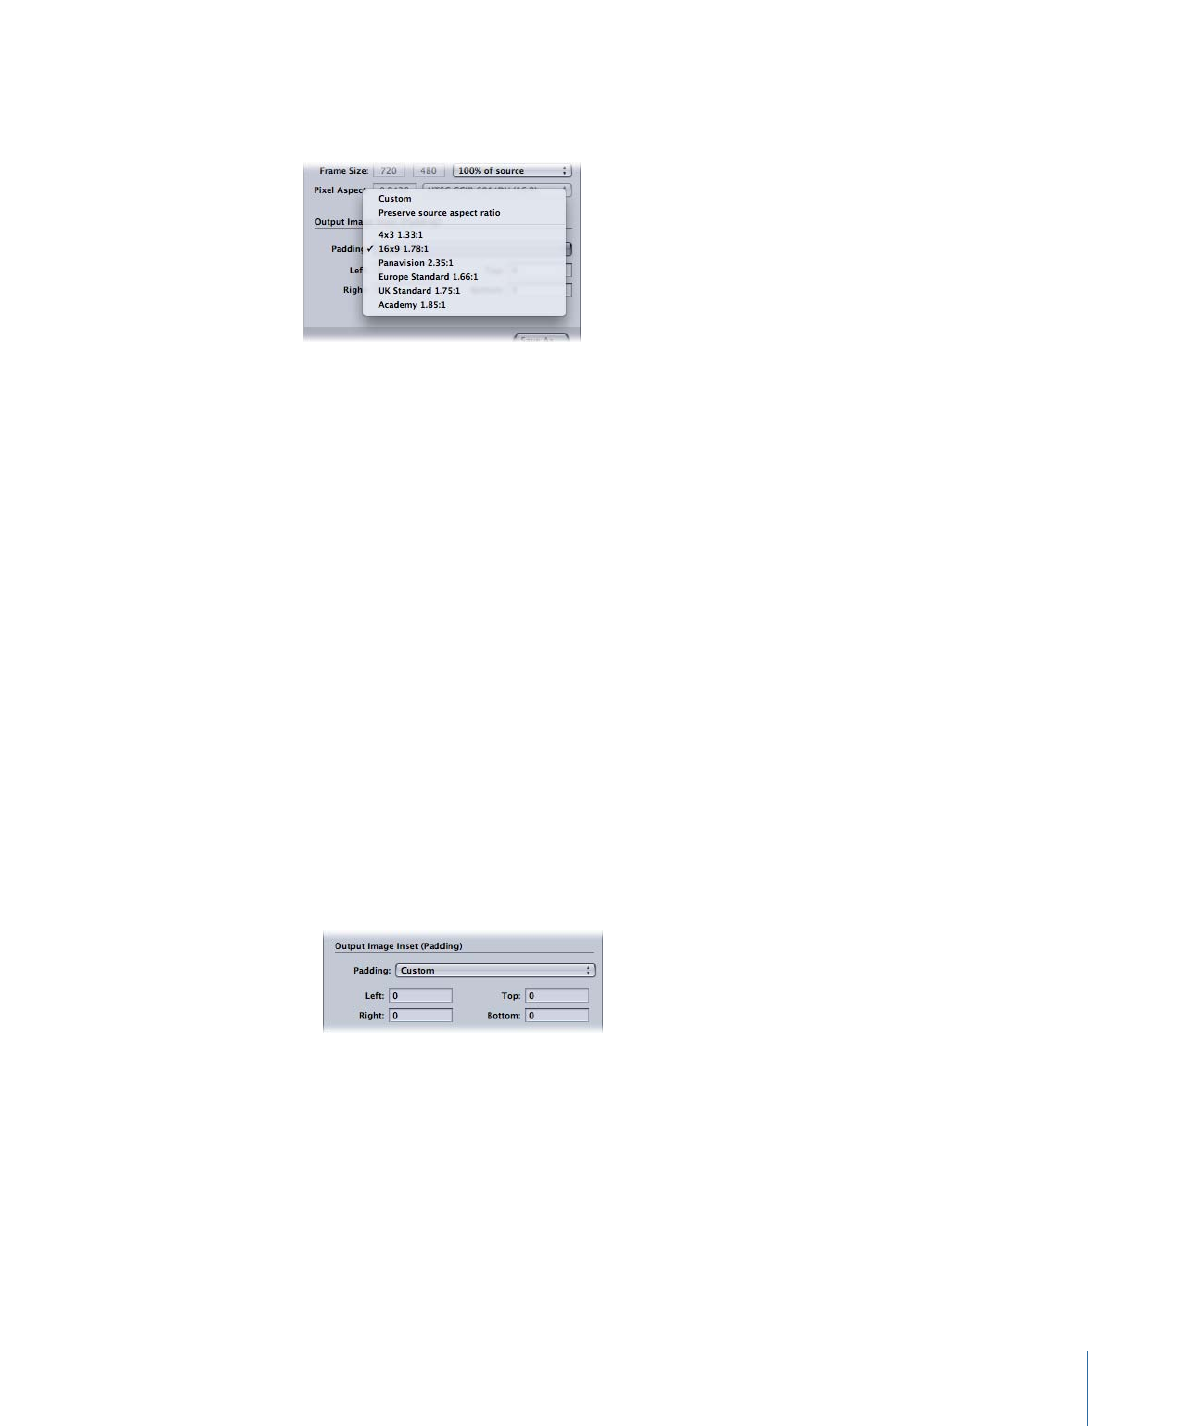
Enter your source inset (cropping) settings, choose output size dimensions from the
Frame Size pop-up menu, and choose padding settings from the output image inset
section.
You can see all changes you make to your setting by viewing the Summary table in the
Summary pane.
284
Chapter 24
Adding Geometry Settings

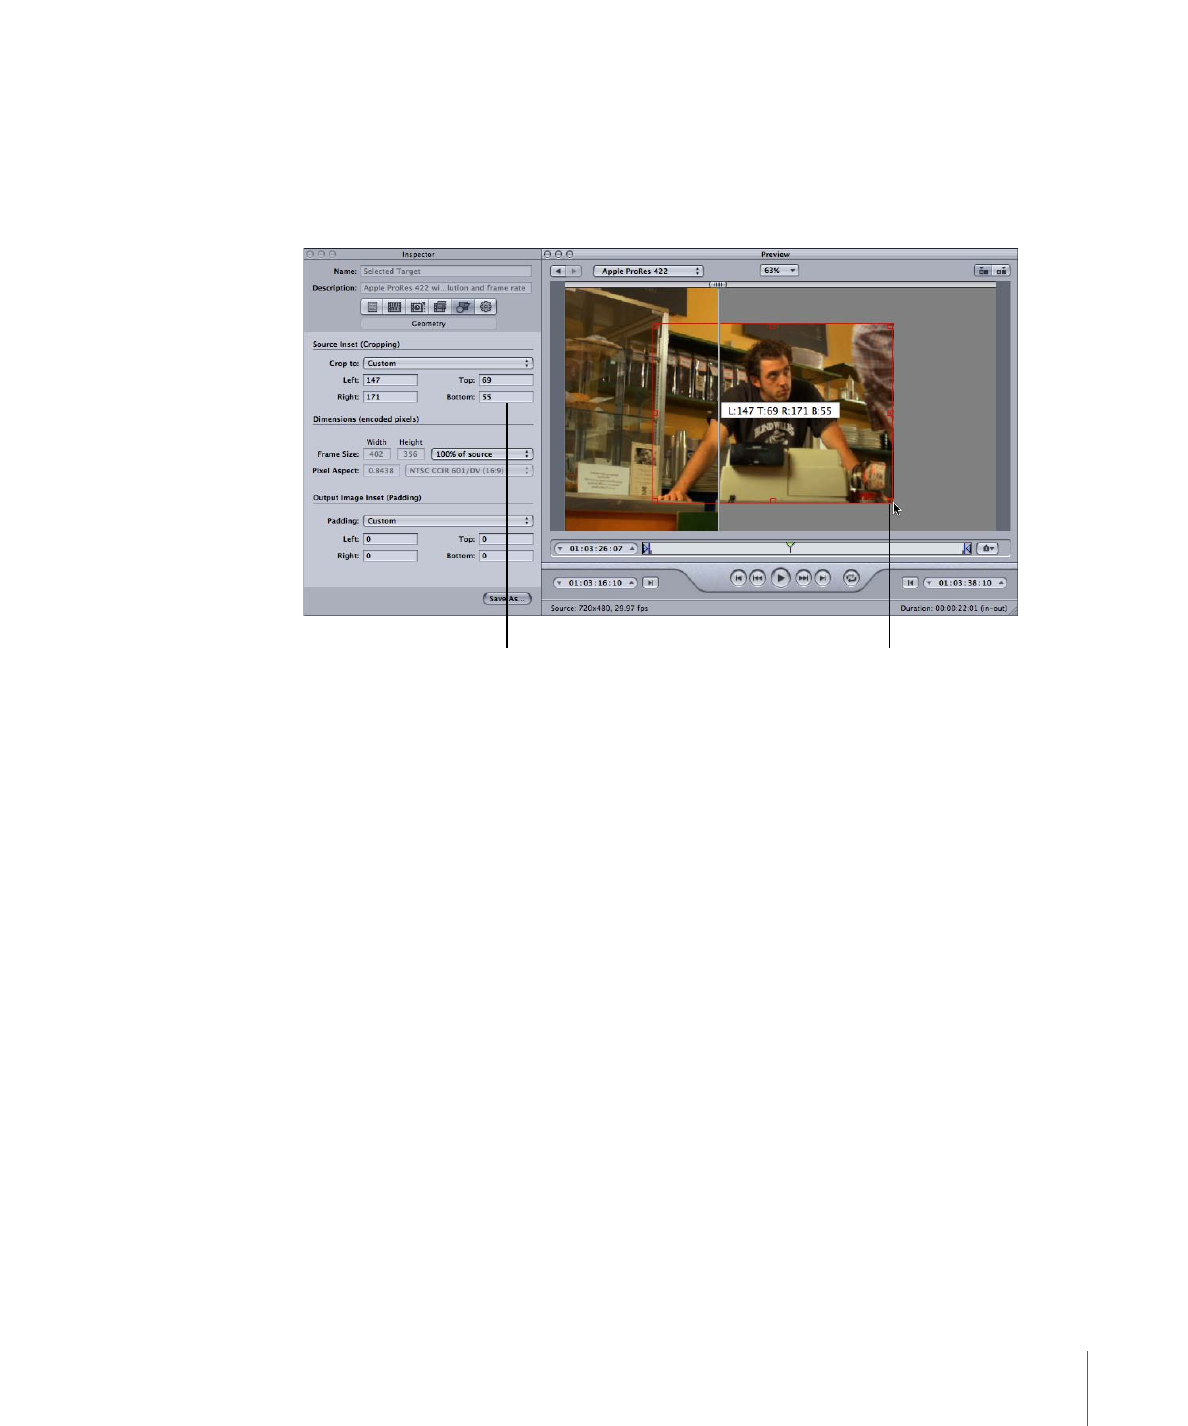
Note: There are two ways to adjust frame size. You can either enter numbers in the
cropping fields or drag the red frame bars in the Preview window. Using the latter method,
the resulting numbers dynamically appear in the cropping fields so that you can see a
numerical representation of your frame cropping. Hold down the Shift key to constrain
the crop to either the source aspect ratio, the source height, or the source width.
Drag the red frame
bars (by the handles)
to adjust the output
file frame size.
If you select a batch’s target,
any resizing in the Preview
window is reflected in the
Geometry pane. You can also
directly enter numbers into
these cropping fields.
See
About the Geometry Pane
or
Previewing a Clip
for more details.
285
Chapter 24
Adding Geometry Settings


You can create automatic post-transcoding actions and apply them to jobs and settings
(and thereby also individual targets). Post-transcoding actions simplify and accelerate
your day-to-day workflow and make it easy to share your work with others. You can
quickly create and deliver output media files for the iPhone, iPad, iPod, Apple TV, DVD,
Blu-ray Disc, the web, and YouTube without having to open any additional applications.
You can also automatically send emails giving notice of when individual output media
files are completed. And you can trigger Automator workflows for individual jobs and
trigger AppleScript documents for individual targets.
This chapter covers the following:
•
Working with Post-Transcoding Actions
(p. 287)
•
Adding Setting Actions
(p. 287)
•
Adding Job Actions
(p. 289)
Working with Post-Transcoding Actions
Compressor supports both job actions and setting actions. Job actions apply to entire jobs.
Job actions are often associated with batch templates. (For more information about batch
templates, see
Quick and Easy Compressor Workflow: Batch Template Method
.) Setting
actions apply to individual settings (and thereby, also individual targets). You can save
settings that have setting actions applied as custom settings for future use.
Adding Setting Actions
Compressor can send an email to one recipient per applied preset setting, giving notice
of when a transcode is complete. You can also choose a default destination for this setting.
287