Adding Compression or Podcast Markers to a Clip
To manually add a compression or podcast marker to a clip, you first add a chapter marker
(as described in the previous section) and then you edit the marker.
Note: A podcast can have both chapter and podcast markers. The only difference is that
the viewer can navigate directly to a chapter marker but cannot navigate to a podcast
marker. For more information, see
Types of Markers
.
To manually add a compression or podcast marker to a clip
1
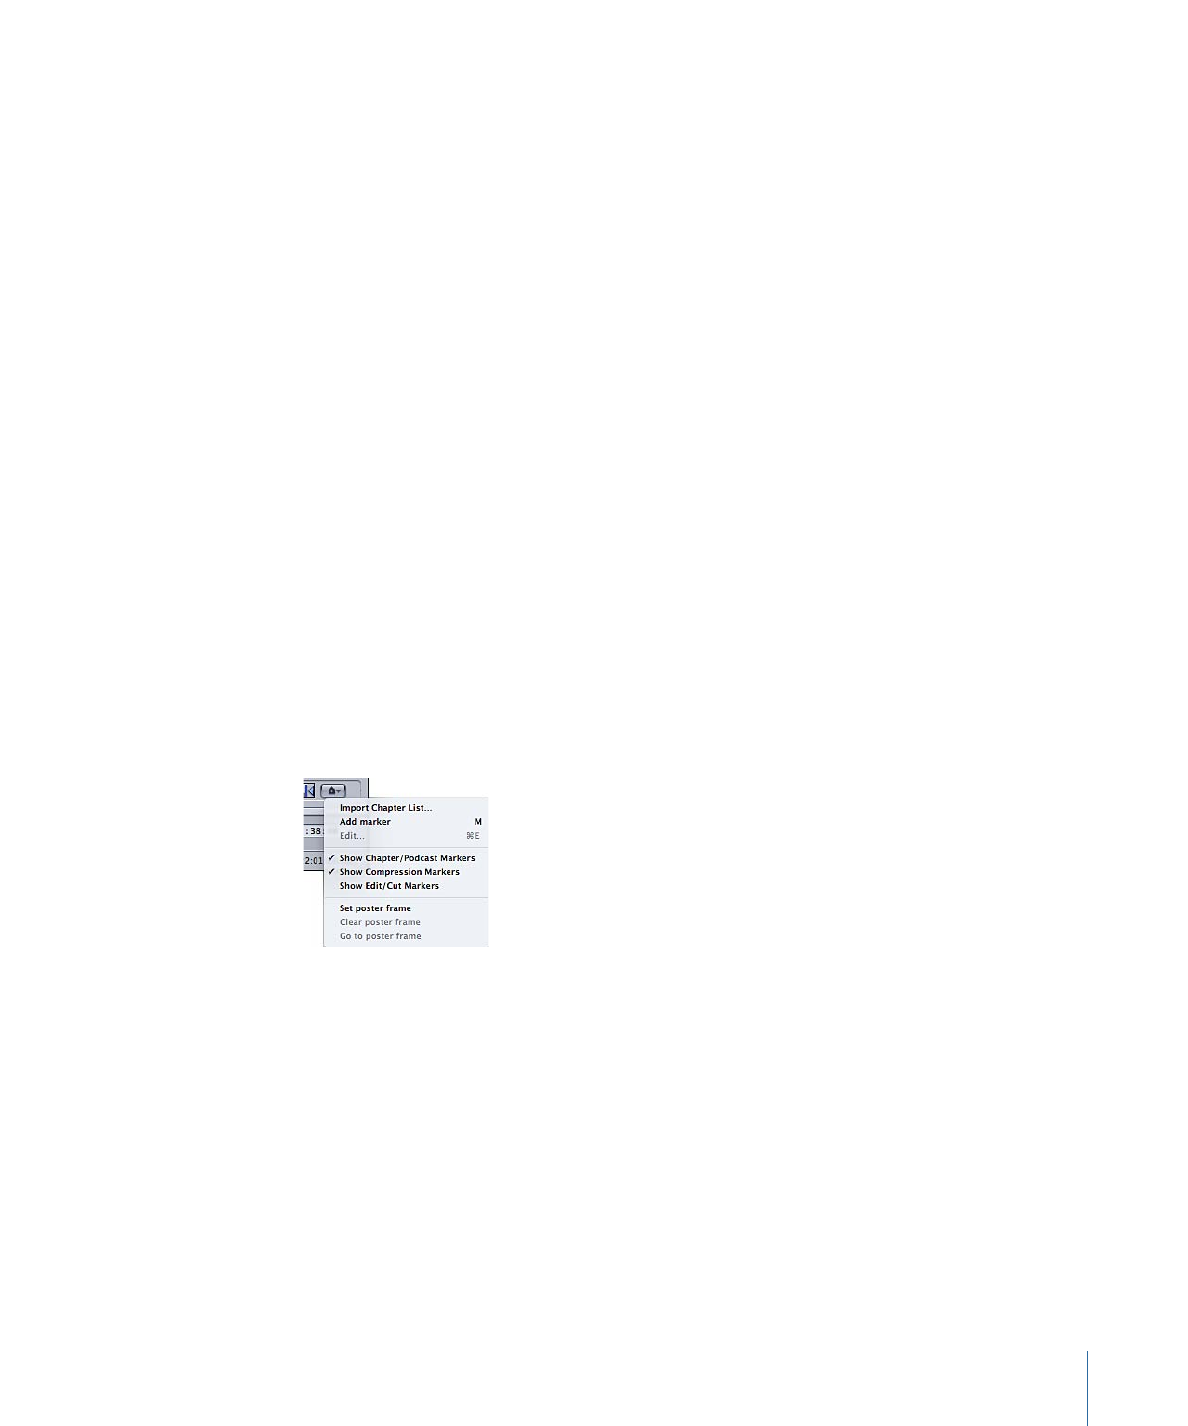
Choose the Show Chapter/Podcast Markers and Show Compression Markers items from
the Marker pop-up menu, so that there is a checkmark by them.
2
Do one of the following to determine where the marker is to be placed:
• Drag the playhead where you want to add a marker.
• Enter a timecode value in the playhead timecode field.
3
Do one of the following to add a marker:
• Click the Marker button and choose “Add marker” from the pop-up menu.
• Press M.
A purple chapter marker appears in the timeline.
4
Choose Edit from the Marker pop-up menu (or press Command-E).
321
Chapter 26
Using the Preview Window
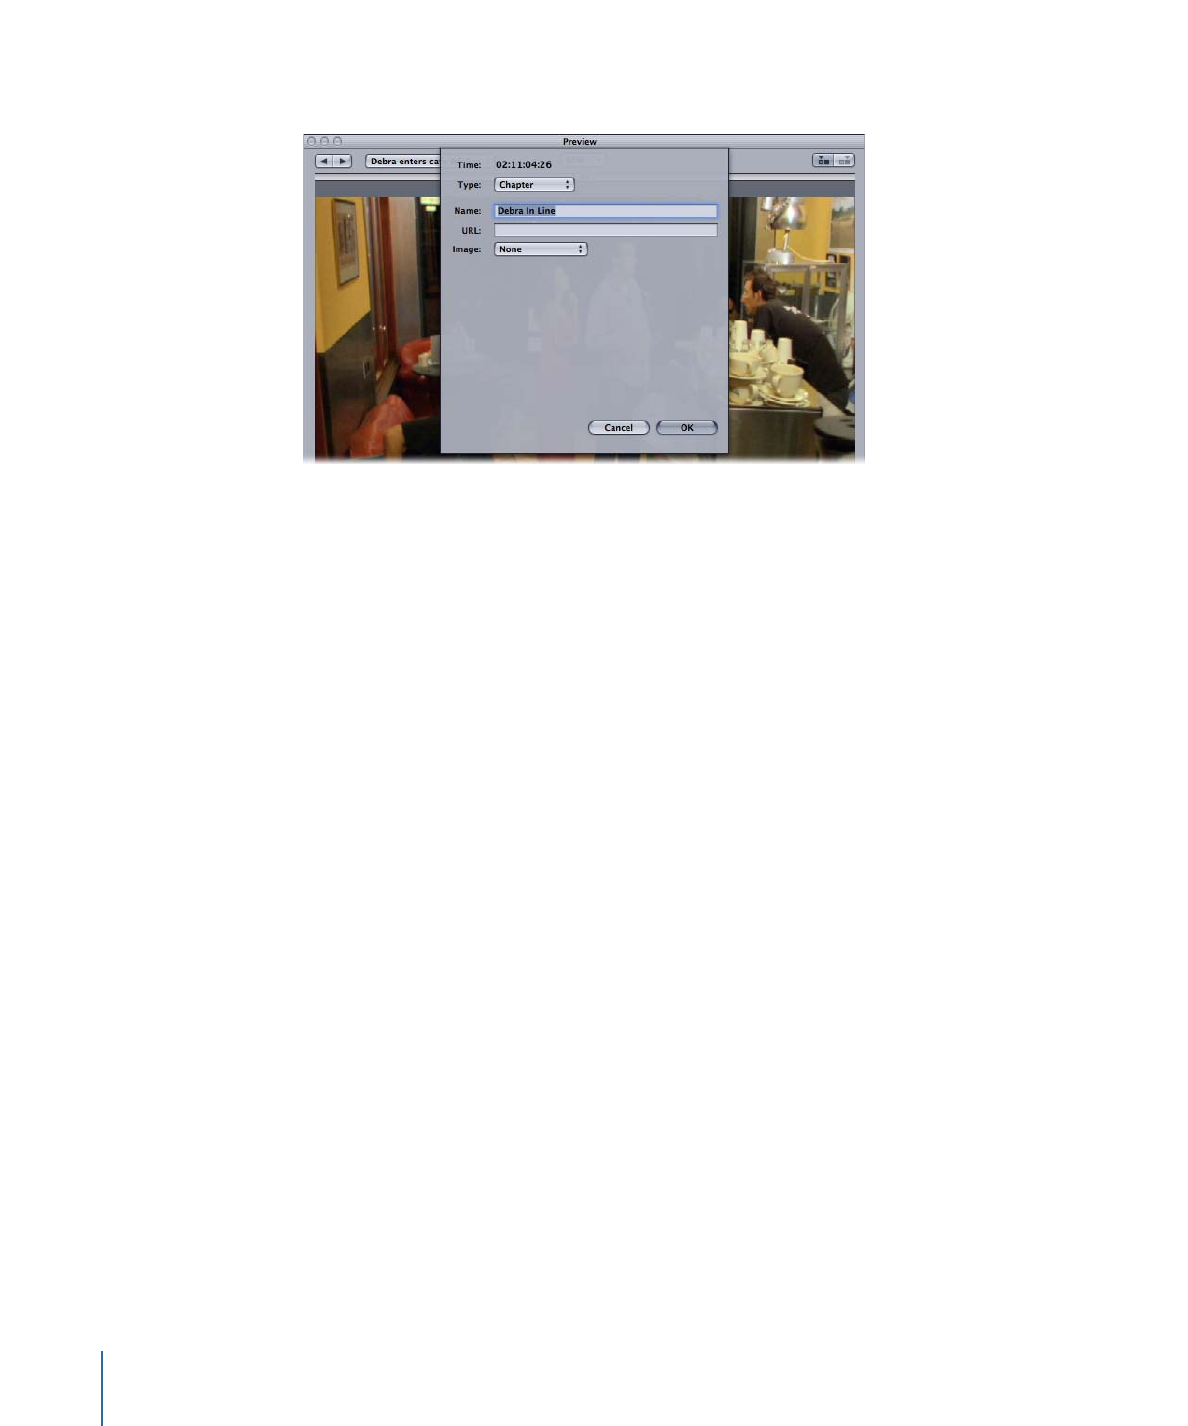
A dialog for editing the marker appears.
5
Choose Compression or Podcast from the Type pop-up menu.
6
Enter a name for the marker in the Name field.
For podcast markers, this name does not appear to the viewer.
7
Optionally, enter a URL in the URL field.
This URL applies only to podcasts. The marker’s name appears over the artwork where
the viewer can click it to open a web browser to the URL’s website.
8
If you want to assign an image to the chapter marker, choose one of the following from
the Image pop-up menu:
• None: No image is associated with the marker.
• Frame in source: By default, the frame displayed is the frame on which the marker is
placed. To use a different frame as the image, enter a different timecode value.
• From File: Drag an image to the image well. You can also click Choose to open a
file-selection dialog and select a still-image file to assign to the marker.
9
Click OK to close the dialog.
The marker in the timeline changes to blue if it’s a compression marker, or red if it’s a
podcast marker. You can use the Previous Marker and Next Marker buttons to select other
markers in the timeline to edit.
You also have the option of importing a chapter marker list. These lists can use either the
QuickTime TeXML format (an XML-based format for constructing 3GPP-compliant timed
text tracks in a QuickTime movie file) or a plain text chapter list file. See
Creating Plain
Text Chapter Marker Lists
for information.
322
Chapter 26
Using the Preview Window