Adding Filters to a Setting
You use the Filters pane in the Inspector window to add filters to your settings.
To add filters to a setting
1
Open the Settings tab.
2
Select the setting in the Settings tab that you want to modify. (Or select a setting already
applied to a source media file in the Batch window. This way, you can open the Preview
window and see the effects of your filter adjustments.)
3
Click the Filters pane in the Inspector.
4
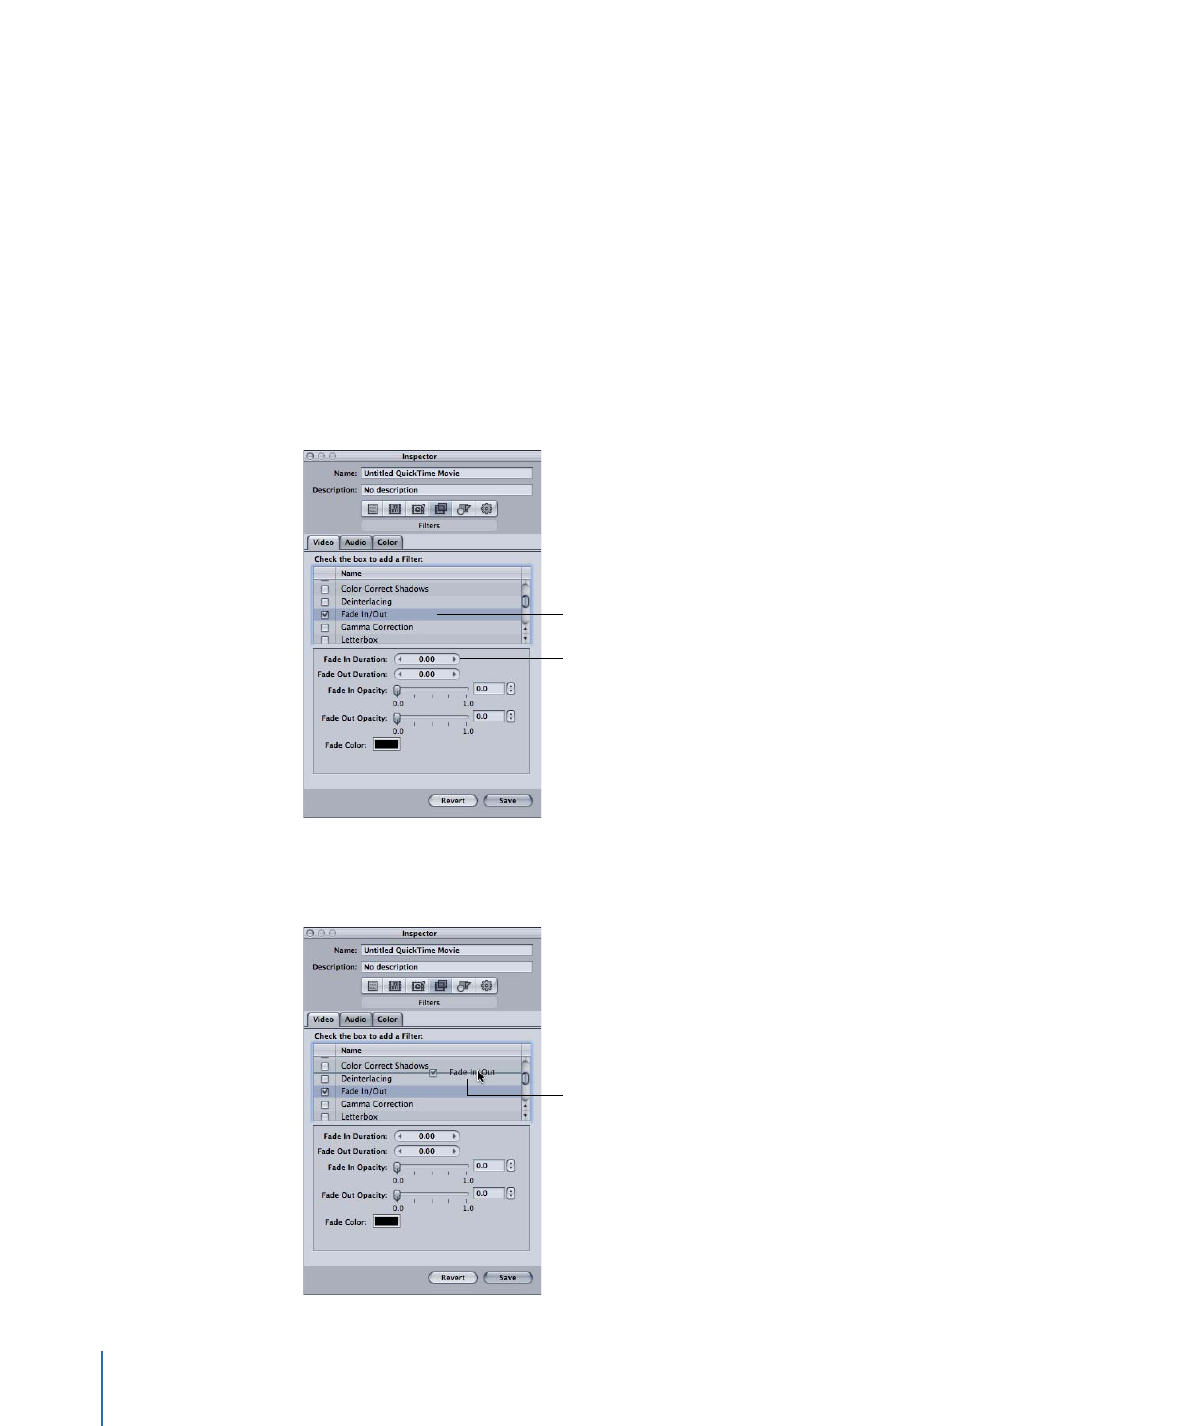
Make adjustments to any filters that you want added to the setting.
Note: A checkmark appears automatically as soon as you make adjustments to any filter.
Any changes you make
to a filter’s settings
apply to the currently
selected filter.
The filter is automatically
selected if you make any
adjustments to it.
5
Drag the filters up or down within the Filters list to set the order in which you want them
applied to the source media file during transcoding.
Drag filters up or down
to set the order in which
you want them to be
applied to the source
media file.
260
Chapter 22
Adding Filters to a Setting

Because these filters are processed one by one during transcoding—starting with the
first item in the list—it is important that your filters be organized in the order you want
them. For example, it is sensible to place your text overlay filter last, so that the text color
you selected doesn’t get modified by some other filter.
If you move a filter, be sure to select the checkbox so that Compressor knows to apply
the filter to that setting. As an additional reminder, once you select the moved filter and
then try to select another setting, the Save dialog appears, requiring you to save or revert
the changes to that setting. By default, all selected filters are displayed first in the list.
Note: You can see setting details in the Summary pane of the Inspector window.
See
About the Filters Pane
for more details.
261
Chapter 22
Adding Filters to a Setting


Frame controls use advanced image analysis for retiming, resizing, and other sophisticated
video effects.
Through frame controls, Compressor offers high-quality transcoding from many different
source formats to many different target formats using advanced image analysis.
This chapter covers the following:
•
About the Frame Controls Pane
(p. 263)
•
Adding Frame Controls to a Setting
(p. 268)
•
About Deinterlacing
(p. 269)
•
About Reverse Telecine
(p. 270)
•
Using the Retiming Controls
(p. 273)
About the Frame Controls Pane
Using frame controls, you can do any of the following at levels of quality that were
previously available only through expensive hardware solutions:
• Convert video files between international television standards such as PAL to NTSC, or
NTSC to PAL.
• Downconvert high definition (HD) video sources to standard definition (SD), or upconvert
SD to HD.
• Convert a progressive stream to an interlaced one, or interlaced to progressive.
• Make high-quality frame rate adjustments, including high-quality slow-motion effects.
• Automatically remove telecine pull-down (reverse telecine).
The Advanced Format Conversions settings group in the Settings tab has particular
relevance to working with frame controls.
263