Video Filters Tab
Compressor includes the following video filters.
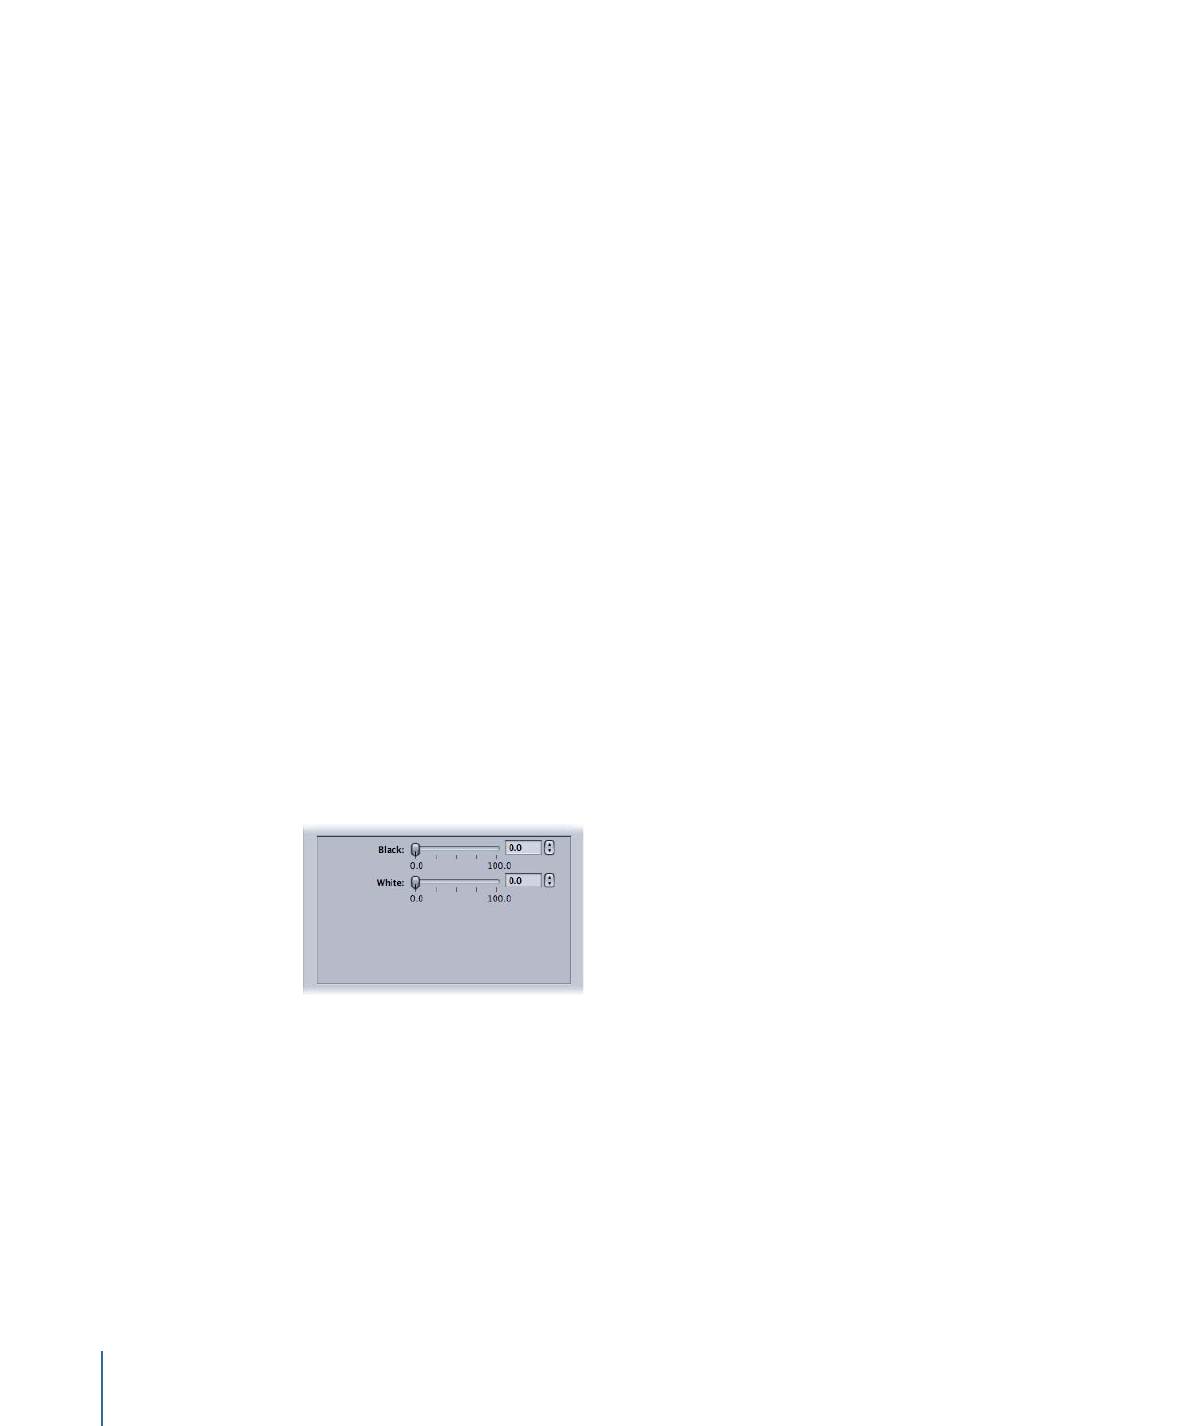
BlackWhite Restore
Restores nearly black colors to pure black and nearly white colors to pure white without
affecting colors in the rest of the image. Use this filter to better compress the solid black
and white areas (the luminance) in the image, such as backgrounds. The two sliders allow
you to separately set values between 0 and 100 for black and white. See
Color Spaces
for
information on how color spaces relate to this filter.
• Black: Sets values between 0 and 100 for black.
• White: Sets values between 0 and 100 for white.
250
Chapter 22
Adding Filters to a Setting
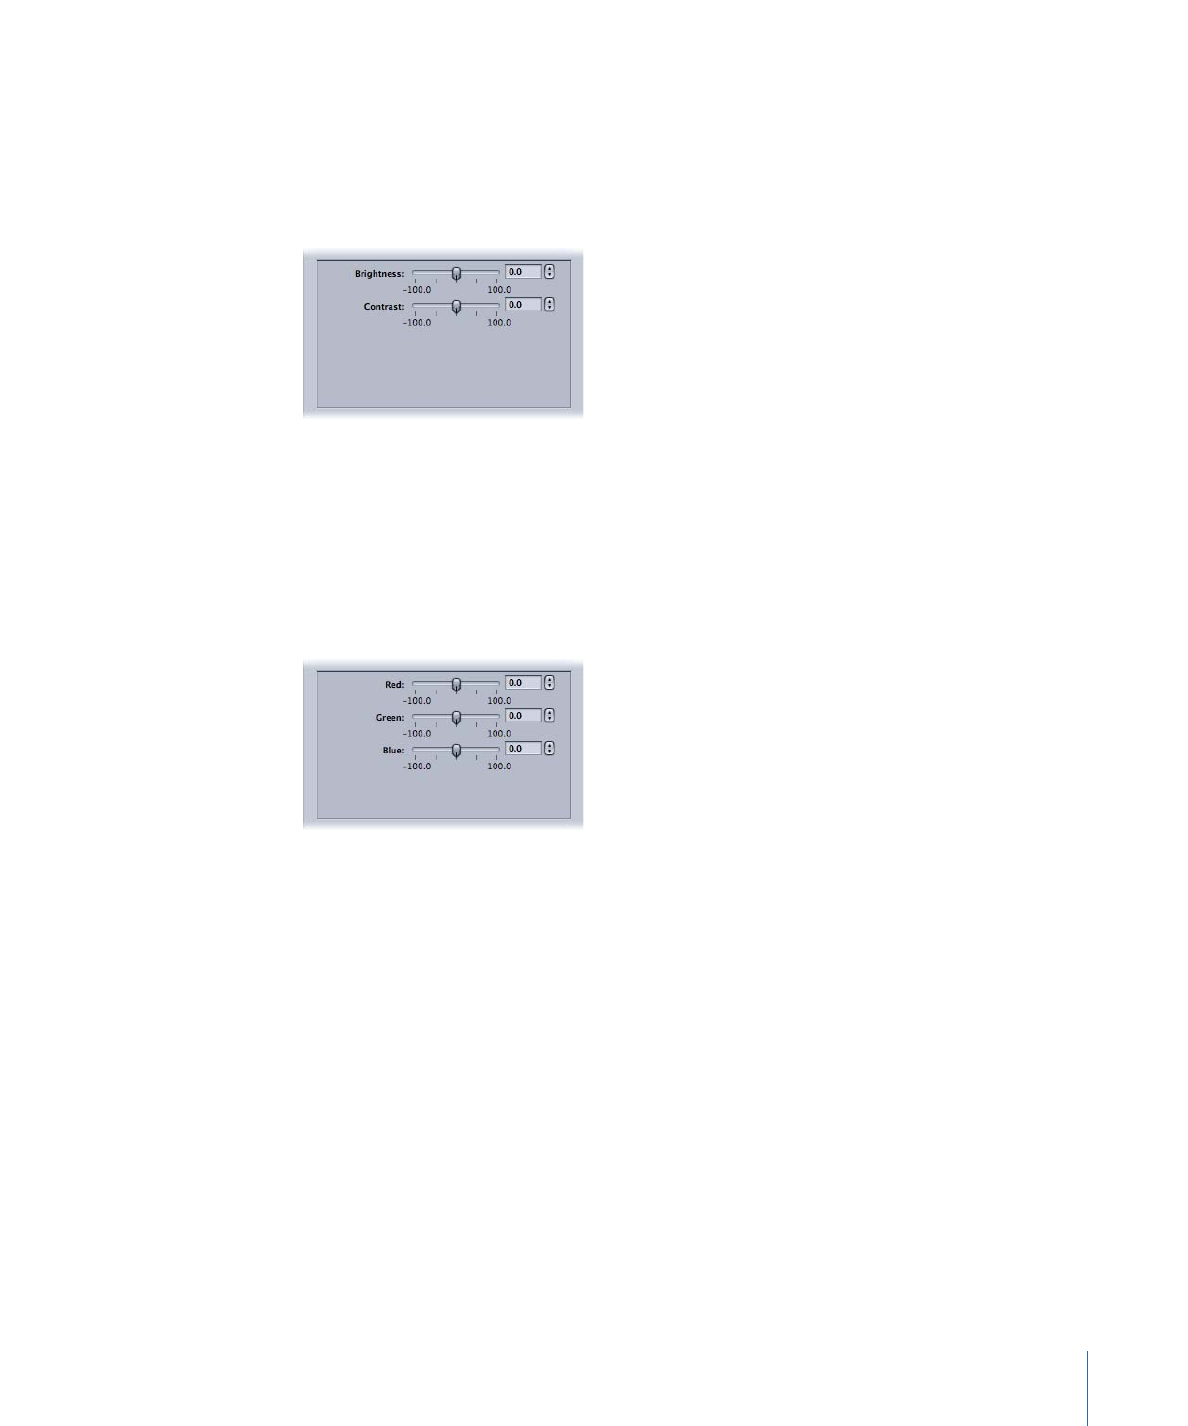
Brightness and Contrast
Alters the overall color and luminance values of your output media file to a brighter or
darker level. Some QuickTime codecs darken your video file, so you can use this filter to
compensate for that. Choose any number between –100 and 100, but avoid the extreme
settings as they give a very washed-out quality.
• Brightness: Adjusts brightness to any number between –100 and 100.
• Contrast: Adjusts contrast to any number between –100 and 100.
Color Correct Highlights, Midtones, or Shadows
Depending on which of these you choose, this corrects white balance inaccuracies and
creates color effects on the bright, midtone, or dark areas of your clip. Adjust red, green,
and blue values independently between –100 and 100.
• Red: Adjusts red value between –100 and 100.
• Green: Adjusts green value between –100 and 100.
• Blue: Adjusts blue value between –100 and 100.
Deinterlacing
Removes the effects of interlacing.
For deinterlacing, the Frame Controls feature is recommended over this Deinterlacing
filter (a legacy filter) as it will always provide much higher quality. See
Working with Frame
Controls
for more information.
For general information about deinterlacing, see
About Deinterlacing
.
251
Chapter 22
Adding Filters to a Setting
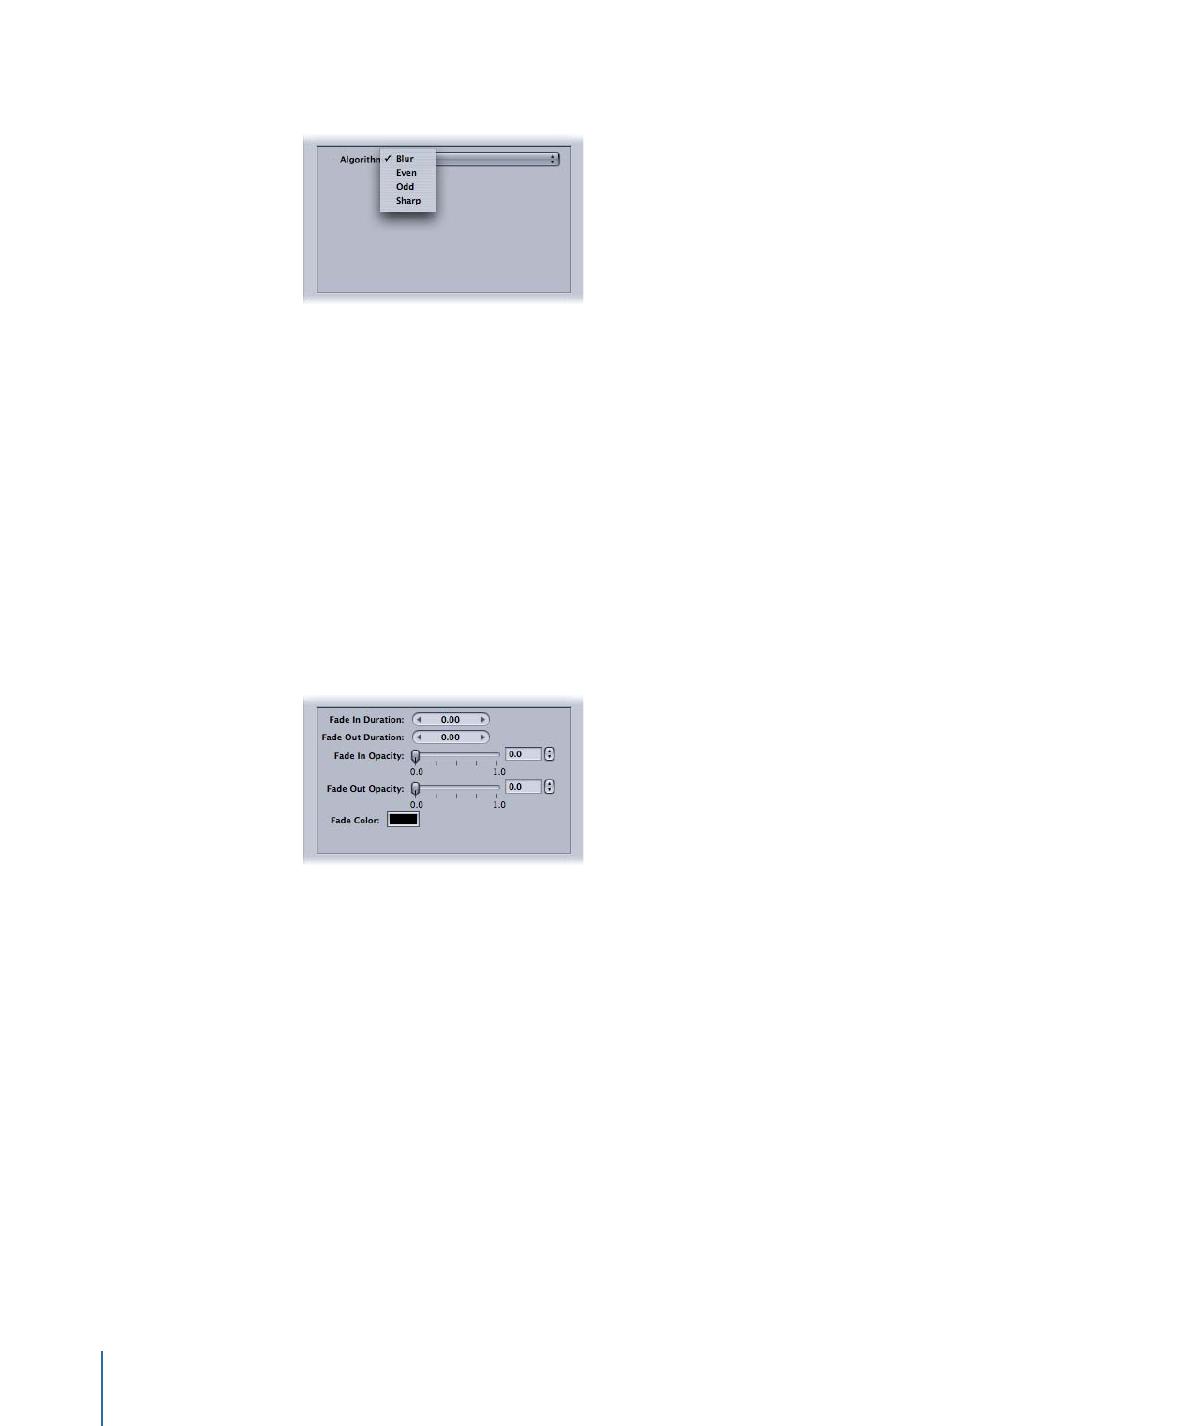
The following (legacy) deinterlacing methods are available in the Algorithm pop-up menu.
• Algorithm: Choose from one of four deinterlacing methods.
• Blur: Blends the odd and even fields together. This setting gives more importance
to temporal data and preserves motion better, but because individual frames consist
of a composite of both frames, they don’t look good when you pause playback.
• Even: Keeps the even fields and ignores the odd fields, avoiding motion blur.
• Odd: Keeps the odd fields and ignores the even fields, avoiding motion blur.
• Sharp: Looks at both fields to make all edges sharper. This setting gives more
importance to spatial data.
Fade In/Out
Adds a dissolve from and to a matte color at the beginning and end of the clip.
• Fade In Duration: Sets the duration of the fade.
• Fade Out Duration: Sets the duration of the fade.
• Fade In Opacity: Sets the opacity of the clip’s video at the first frame. A value of 0.0 sets
the clip video to be completely covered by the matte color. A value of 0.5 sets the clip
to be 50 percent covered by the matte color.
• Fade Out Opacity: Sets the opacity of the clip’s video at the last frame. A value of 0.0
sets the clip video to be completely covered by the matte color. A value of 0.5 sets the
clip to be 50 percent covered by the matte color.
• Fade Color: Sets the matte color. When clicked, the color picker appears where you can
choose the color to fade to and from. (The Fade In and Fade Out colors must be the
same.)
252
Chapter 22
Adding Filters to a Setting
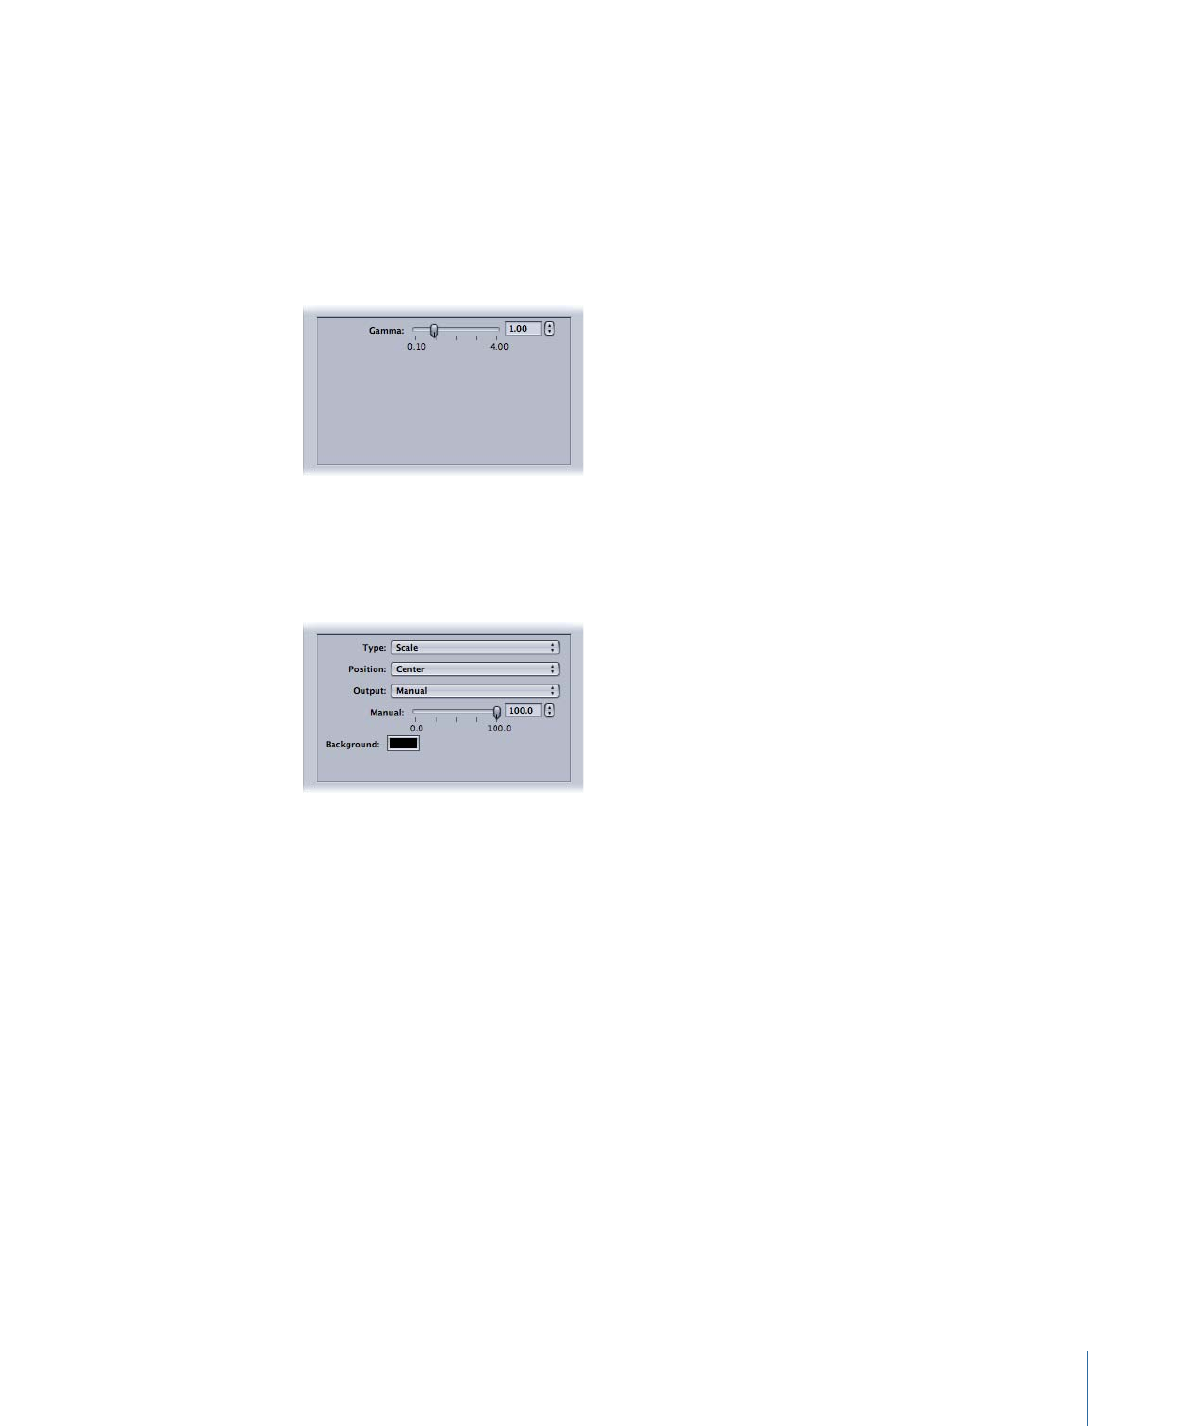
Gamma Correction
Controls the overall brightness of an image as displayed on a monitor by changing the
gamma amount of the media file. This filter can be used to remove detail from an
underexposed clip or reduce an overexposed clip’s saturation to an acceptable level
without washing out the image too much. Computers using different operating systems
have different monitor settings. For cross-platform viewing, correcting the gamma will
improve the image for all platforms.
• Gamma: Sets a gamma setting between 0.1 and 4.0.
Letterbox
Scales and positions the image in the frame within horizontal letterbox bars.
• Type: This pop-up menu allows you to choose the type of letterboxing to use. Scale
vertically compresses the video to fit within the letterbox bars. Matte crops off the
video where the letterbox bars are placed.
• Position: This pop-up menu allows you to choose the position of the video. Center
places letterbox bars above and below the video, keeping the video centered. Bottom
positions the video at the bottom of the screen with a single letterbox bar above it.
Top positions the video at the top of the screen with a single letterbox bar below it.
• Output: This pop-up menu allows you to choose the specific aspect ratio to use for the
letterbox. Each setting is followed by a value that shows the ratio of the width to the
height for that setting. For example, the Academy setting shows its aspect ratio as
1.85:1, indicating that the image’s width is 1.85 times the size of its height. The Manual
setting enables the Manual slider, which you can use to manually set the letterbox
aspect ratio.
• Manual slider: Used when Manual is selected in the Output pop-up menu. Allows you
to manually set the letterbox aspect ratio. The Manual slider has no effect when Manual
is not selected in the Output pop-up menu.
253
Chapter 22
Adding Filters to a Setting

• Background color well: Sets the letterbox color. Click this box to choose a background
color from the color picker.
Noise Removal
Reduces random flecks of noise from the image. Some codecs introduce noise into the
video file, which can be softened with the Noise Removal filter. You can improve image
quality and spatially compress your material more efficiently by reducing its fine detail.
The noise reduction filter allows you to blur areas of low contrast while leaving
high-contrast edges sharp. This is known as adaptive noise reduction. The results are
imperceptible to the human eye but improve the final compression of the source media.
It is especially important to use this filter with live video.
• Apply To: This pop-up menu allows you to choose which channels you want to filter
the noise from. The default is All Channels, which filters out noise from all channels
including the alpha channel. The other option is Chroma Channels, which filters out
noise only from the two chroma channels—U and V—in the AYUV color space (or R408
in Final Cut Pro terminology).
• Iterations: This pop-up menu smooths out image noise. Choose how many times
(between 1 and 4) you want the selected algorithm applied to the source media file.
The modified image is used each time as a starting point for the algorithm. The more
iterations used, the fuzzier the image becomes.
• Algorithm: Select one of the following algorithms from the Algorithm pop-up menu:
Average (each pixel’s color is modified by taking an average color of pixels around it,
including its own color value); Replace (each pixel’s color is modified by taking an
average of pixels around it, while ignoring its own color value); and Merge (each pixel’s
color is modified by taking a weighted average of surrounding pixels and itself; the
pixel’s own color value is given greater weight).
254
Chapter 22
Adding Filters to a Setting
Sharpen Edge
Enhances the image contrast around object edges. Some codecs blur the video image,
so this filter can counteract the softening effect of noise removal or blurred source material
and increase the perception of sharpness in the image. When used to an extreme, the
output media file can look grainy. Choose any number between 0 and 100.
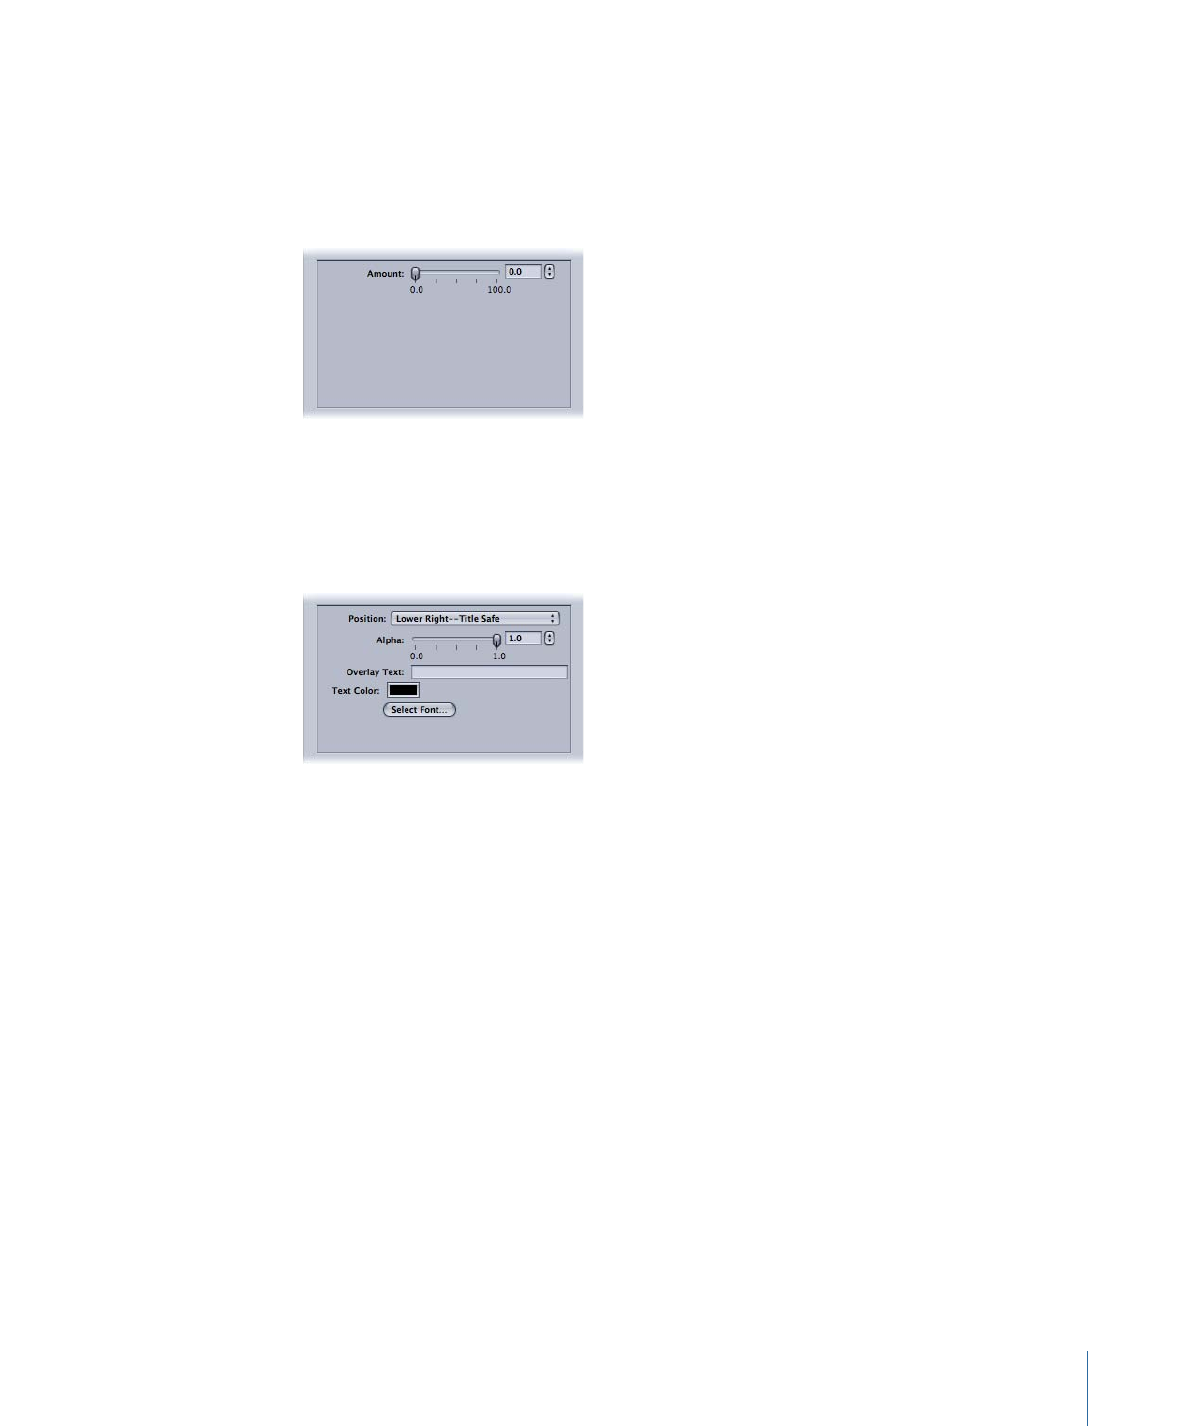
• Amount: Sets a sharpen setting between 0.0 and 100.0.
Text Overlay
Superimposes text onto the image. This is a useful tool for stamping other relevant text
information onto your output media file.
Use the following controls to position text, select color and font, and set its opacity.
• Position: Positions text in the image clip. Choose from 1 of 13 positions such as Center,
Lower Left, Lower Left - Title Safe, and so on.
• Alpha: This slider sets the text opacity. Choose between 0 and 1. A value of 0 makes
the text completely transparent, while a value of 1 makes it completely opaque.
• Overlay Text: Type your text here.
• Text Color: Click this box to choose a text color from the color picker.
• Select Font: Click this button to open a font palette for selecting font, style, and size.
255
Chapter 22
Adding Filters to a Setting
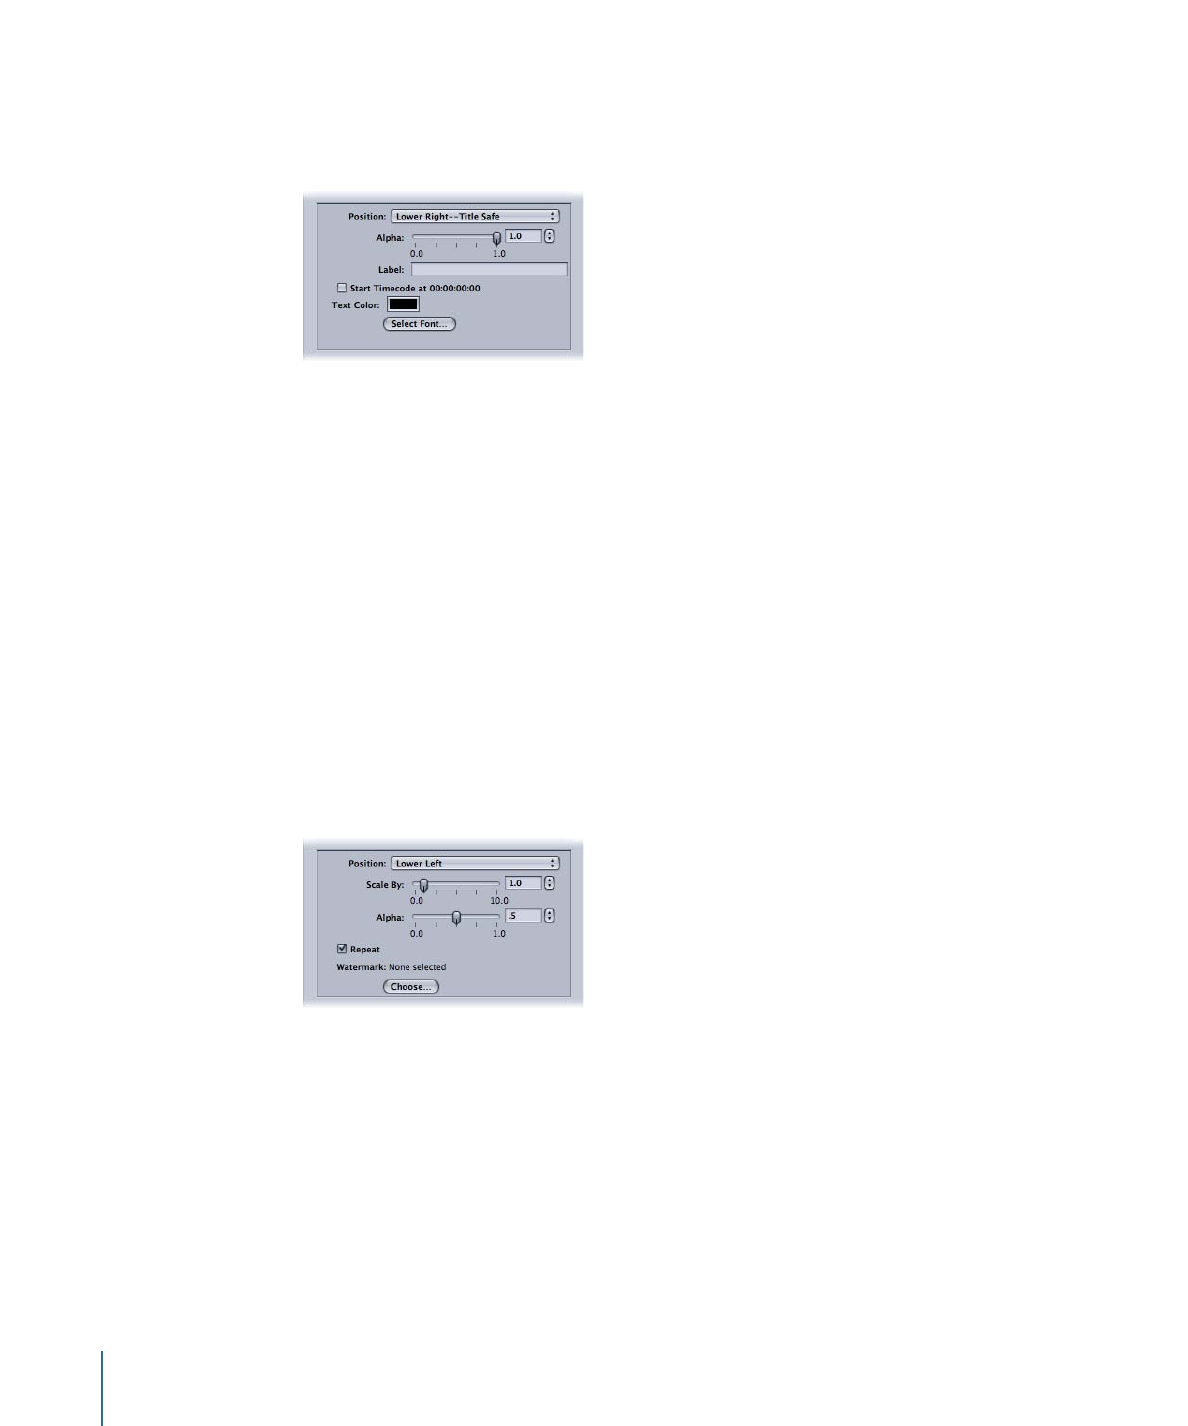
Timecode Generator
Superimposes the clip’s timecode text onto the image. You can also add a label to the
timecode text.
• Position: Positions timecode text in the image clip. Choose from 1 of 13 positions such
as Center, Lower Left, Lower Left - Title Safe, and so on.
• Alpha: This slider sets the timecode text opacity. Choose between 0 and 1. A value of
0 makes the text completely transparent, while a value of 1 makes it completely opaque.
• Label: Type any text that you want to appear to the left of the timecode number here.
• Start Timecode at 00:00:00:00 checkbox: Select this checkbox to have the timecode start
at 00:00:00:00. When this is not selected, the clip’s timecode is used.
• Text Color: Click this box to choose a timecode text color from the color picker.
• Select Font: Click this button to open a font palette for selecting font, style, and size.
Watermark
Superimposes a watermark onto the image. This is a useful tool for stamping a suitable
logo onto your output media file. The watermark filter can apply either still images or
movies as watermarks on your output media file.
Use the following pop-up menus, fields, and sliders to position and size the watermark
and set its opacity.
• Position pop-up menu: This pop-up menu positions the watermark image in the image
clip. Choose from one of 13 positions such as Center, Lower Left, Lower Left - Title Safe,
and so on.
• Scale By: This slider sets the size of the watermark image size.
256
Chapter 22
Adding Filters to a Setting
• Alpha: This slider sets the watermark image opacity. Choose between 0 and 1. A value
of 0 makes the watermark image completely transparent, while a value of 1 makes it
completely opaque.
• Repeat checkbox: Used when you choose a clip as the watermark, this checkbox allows
you to have the watermark clip loop its playback. If you don’t select this checkbox, the
watermark clip plays until its end and then disappears.
• Choose button: Click this button to open the file selection dialog and select a stored
watermark movie or still image.