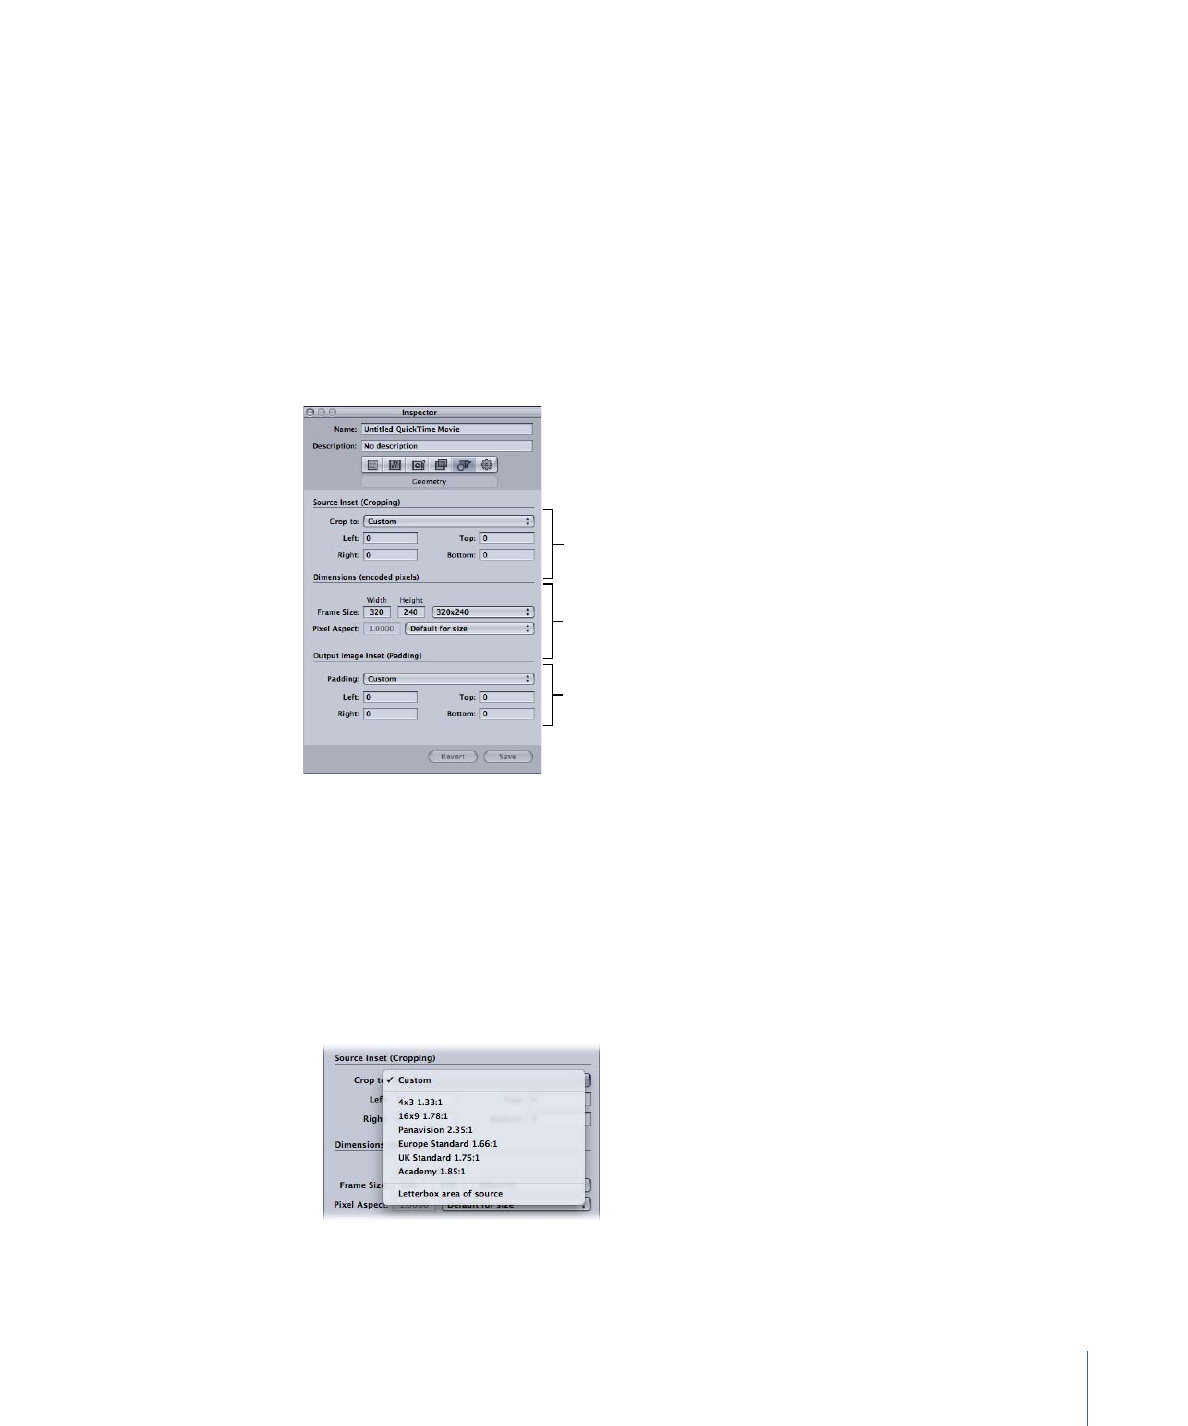
About the Geometry Pane
You use the Geometry pane to choose cropping and sizing settings, output media file
sizes, and the aspect ratio (the ratio between image frame width and height).
Cropping
Scaling
Padding
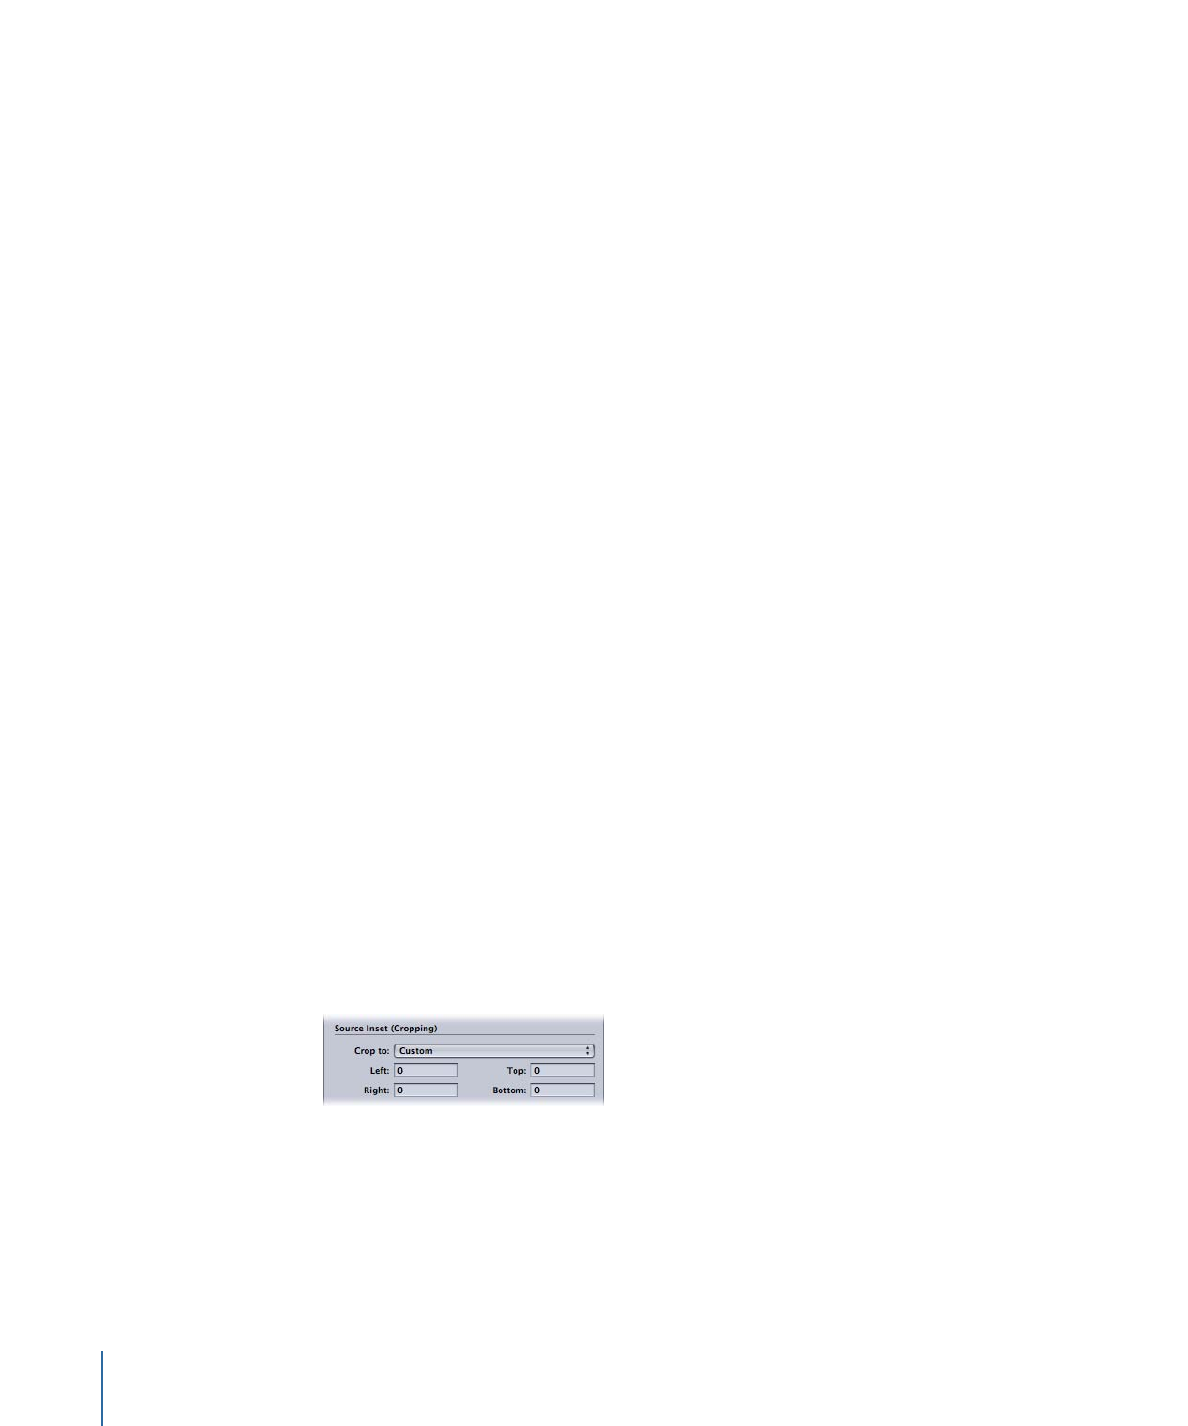
Source Inset (Cropping) Settings
You can use the “Crop to” pop-up menu to apply a center crop or enter cropping settings
in the fields described below.
• “Crop to” pop-up menu: Choose from the following options for manual cropping or
automatic center cropping.
The actual numeric crop values are determined once a target setting is applied to a
job.
279
Chapter 24
Adding Geometry Settings
Note: If you want to transcode a normal size standard definition (SD) source media file
(720 x 486) using an MPEG-2 NTSC setting, your output media file will be automatically
cropped (two pixels from the top and four from the bottom) to achieve the MPEG-2
required dimensions of 720 x 480, unless you already specified cropping attributes. This
crop attribute is only temporary and is not saved in the setting. You can see the
automatic crop in the usual way, by double-clicking the setting in the job to open the
Preview window. See
About the MPEG-2 Encoder Pane
for more information about the
Video Format pop-up menu.
• Custom: Choose this option to manually enter values in the Left, Right, Top, and
Bottom cropping fields, or to adjust these values by dragging the red frame bars in
the Preview window. For more information, see
Making Geometry Adjustments to a
Setting
.
• 4:3 (1.33:1): Applies an automatic center crop with an aspect ratio of 4:3.
• 16:9 (1.78:1): Applies an automatic center crop with an aspect ratio of 16:9.
• Panavision (2.35:1): Applies an automatic center crop with an aspect ratio of 2.35:1.
• Europe Standard (1.66:1): Applies an automatic center crop with an aspect ratio of
1.66:1.
• UK Standard (1.75:1): Applies an automatic center crop with an aspect ratio of 1.75:1.
• Academy (1.85:1): Applies an automatic center crop with an aspect ratio of 1.85:1.
• Letterbox area of source: This option allows Compressor to detect whether the source
media file has been letterboxed, and if it has, to enter crop values to remove the
letterbox.
• Left, Right, Top, and Bottom: The four cropping fields (Left, Top, Right, and Bottom)
allow you to crop the frame of your source media file in pixel increments. Most broadcast
video files have overscan areas. If the output file will be shown exclusively on a computer
screen rather than on a television screen, you can safely remove some edging from
your file without affecting the picture area. The numbers give the distance (in pixels)
between the edge of the original frame and the resulting cropped frame. All fields
default to 0.
Note: The regular (action safe) overscan area is the outer 5 percent of the image on all
four sides. Cut in an additional 5 percent and you have the more conservative title safe
area. So you can safely crop anywhere between 5 and 10 percent of your outer frame
area and still preserve the essential material.
280
Chapter 24
Adding Geometry Settings
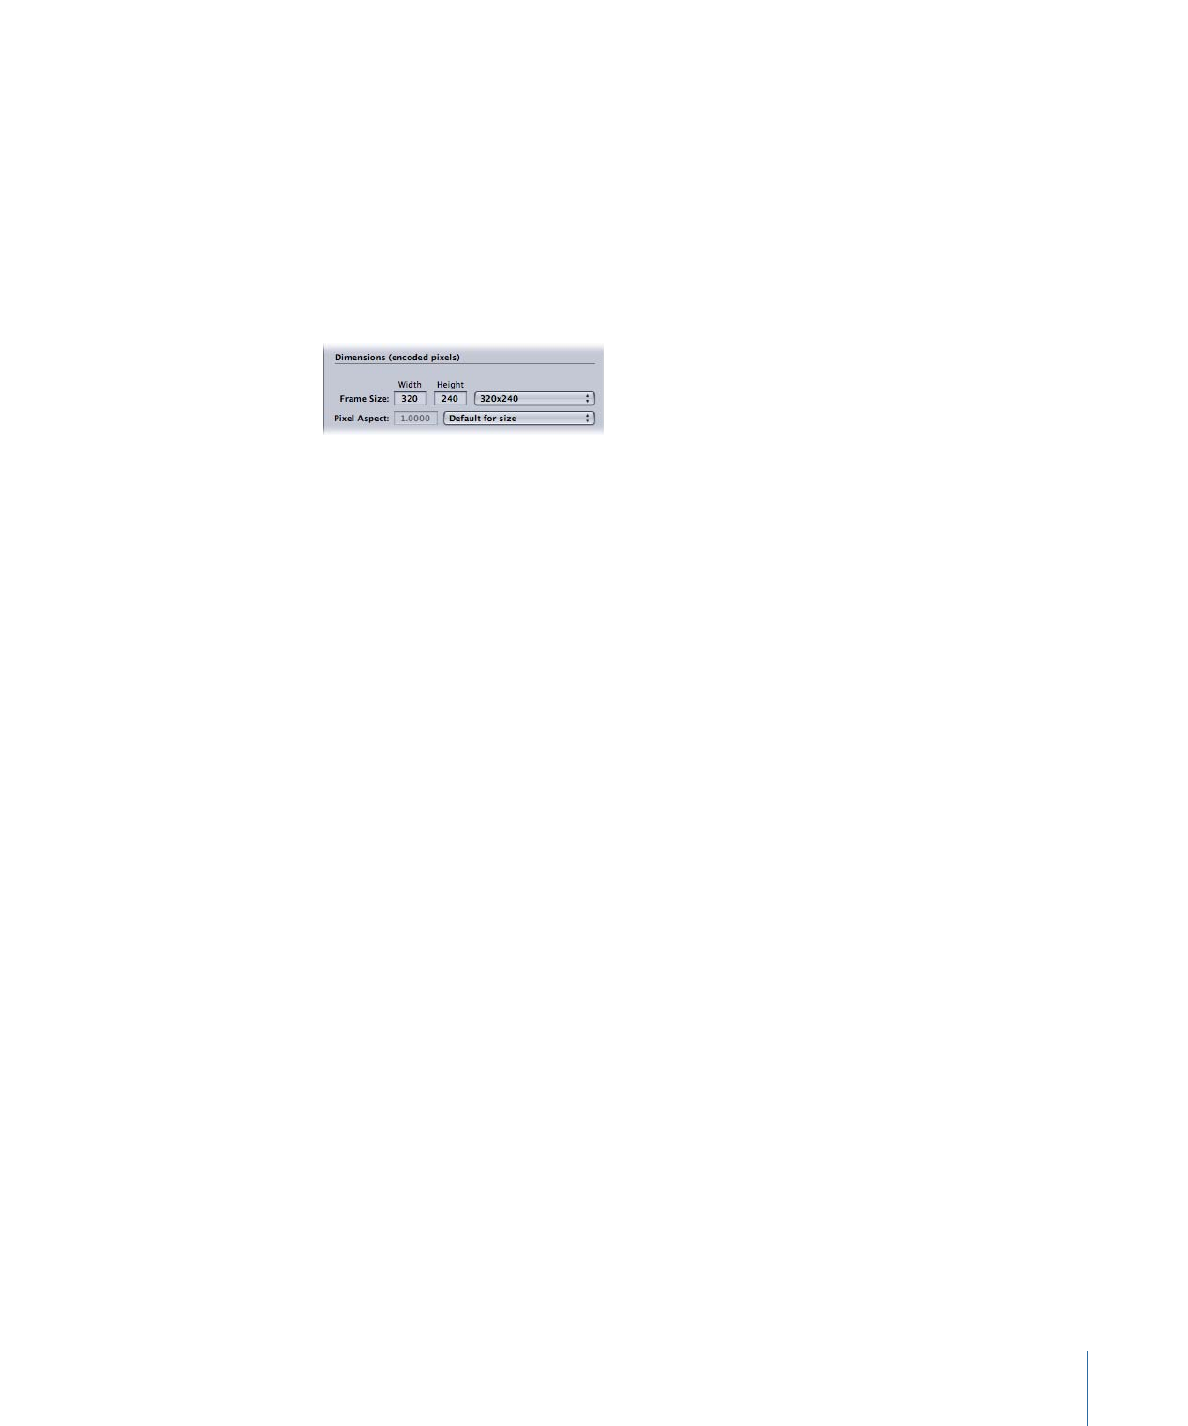
Dimensions (Encoded Pixels) Settings
The settings in the Dimensions section are only active when using the MPEG- 4, QuickTime
Movie, and Image Sequence output encoding formats. For other formats, the settings
are dimmed but show the settings that will be used when the batch is submitted.
• Frame Size Width and Height fields: These text fields and associated pop-up menus allow
you to customize the frame size and aspect ratio of your output media file. Enter a
value in either the Width or the Height field or choose an option from the associated
pop-up menu.
• Frame Size pop-up menu: The relevant output size dimensions are automatically entered
in the Width and Height fields based on the choices you make in the pop-up menus.
• 100% of source: Defines an output dimension identical to the dimension of the source
media. (This option makes leaves the dimension unchanged.)
• 50% of source: Scales the output dimension to exactly 50% of the source media
dimension.
• 25% of source: Scales the output dimension to exactly 25% of the source media
dimension.
• Up to 1920x1080: Scales the output dimensions to not exceed a 1920 x 1080 frame
size while maintaining the original aspect ratio.
• Up to 1280x720: Scales the output dimensions to not exceed a 1280 x 720 frame size
while maintaining the original aspect ratio.
• Up to 960x540: Scales the output dimensions to not exceed a 960 x 540 frame size
while maintaining the original aspect ratio.
• Up to 854x480: Scales the output dimensions to not exceed a 854 x 480 frame size
while maintaining the original aspect ratio.
• Up to 428x240: Scales the output dimensions to not exceed a 428 x 240 frame size
while maintaining the original aspect ratio.
• Up to 214x120: Scales the output dimensions to not exceed a 214 x 120 frame size
while maintaining the original aspect ratio.
• 320x240: Defines an output dimension of exactly 320 x 240.
• 640x480: Defines an output dimension of exactly 640 x 480.
• 720x480: Defines an output dimension of exactly 720 x 480.
• 720x486: Defines an output dimension of exactly 720 x 486.
• 720x576: Defines an output dimension of exactly 720 x 576.
281
Chapter 24
Adding Geometry Settings

• 1280x720: Defines an output dimension of exactly 1280 x 720.
• 1920x1080: Defines an output dimension of exactly 1920 x 1080.
• Custom: This is a manually created setting. Enter whichever dimensions suit your
needs in the Width and Height fields. This setting has no constraint on the aspect
ratio.
• Custom (4:3): This manual setting is constrained to the 4:3 aspect ratio. Enter a value
in either the Width or the Height field, and the other value is entered automatically.
• Custom (16:9): This manual setting is constrained to the 16:9 aspect ratio. Enter a
value in either the Width or the Height field, and the other value is entered
automatically.
• Custom (1.85:1): This manual setting is constrained to the 1.85:1 aspect ratio. Enter
a value in either the Width or the Height field, and the other value is entered
automatically.
• Custom (2.35:1): This manual setting is constrained to the 2.35:1 aspect ratio. Enter
a value in either the Width or the Height field, and the other value is entered
automatically.
• Pixel Aspect field: You can choose Custom from the Pixel Aspect pop-up menu and
enter any value in this field. The pixel aspect ratio refers to the shape of the pixels in a
digital image. This is especially important when using some filters. For example, if the
graphic you use for the Watermark filter uses a circle and you want to be sure it still
looks like a circle when finished (as opposed to an oval), you must choose the pixel
aspect setting that matches your output format.
• Pixel Aspect pop-up menu: Use this pop-up menu to set the pixel aspect ratio of the
output media file. This forces the pixel aspect ratios to conform to specific formats.
Options include the following.
• Custom: Choose this option to manually enter values in the Pixel Aspect field.
• Default for size: The pixel aspect ratio is set to the commonly assumed value for the
setting’s width and height. For example, the default for 720 x 480 or 720 x 486 is
NTSC CCIR 601/DV NTSC.
• Square: Use this when the output is to be displayed on computers.
• NTSC CCIR 601/DV: Forces the pixel aspect ratio to 4:3 using 720 x 480 pixels.
• NTSC CCIR 601/DV (16:9): Forces the pixel aspect ratio to 16:9 using 720 x 480 pixels.
• PAL CCIR 601: Forces the pixel aspect ratio to 4:3 using 720 x 576 pixels.
• PAL CCIR 601 (16:9): Forces the pixel aspect ratio to 16:9 using 720 x 576 pixels.
• HD (960x720): Forces the pixel aspect ratio to 16:9 using 1280 x 720 pixels.
• HD (1280x1080): Forces the pixel aspect ratio to 16:9 using 1920 x 1080 pixels.
• HD (1440x1080): Forces the pixel aspect ratio to 16:9 using 1440 x 1080 pixels.
282
Chapter 24
Adding Geometry Settings
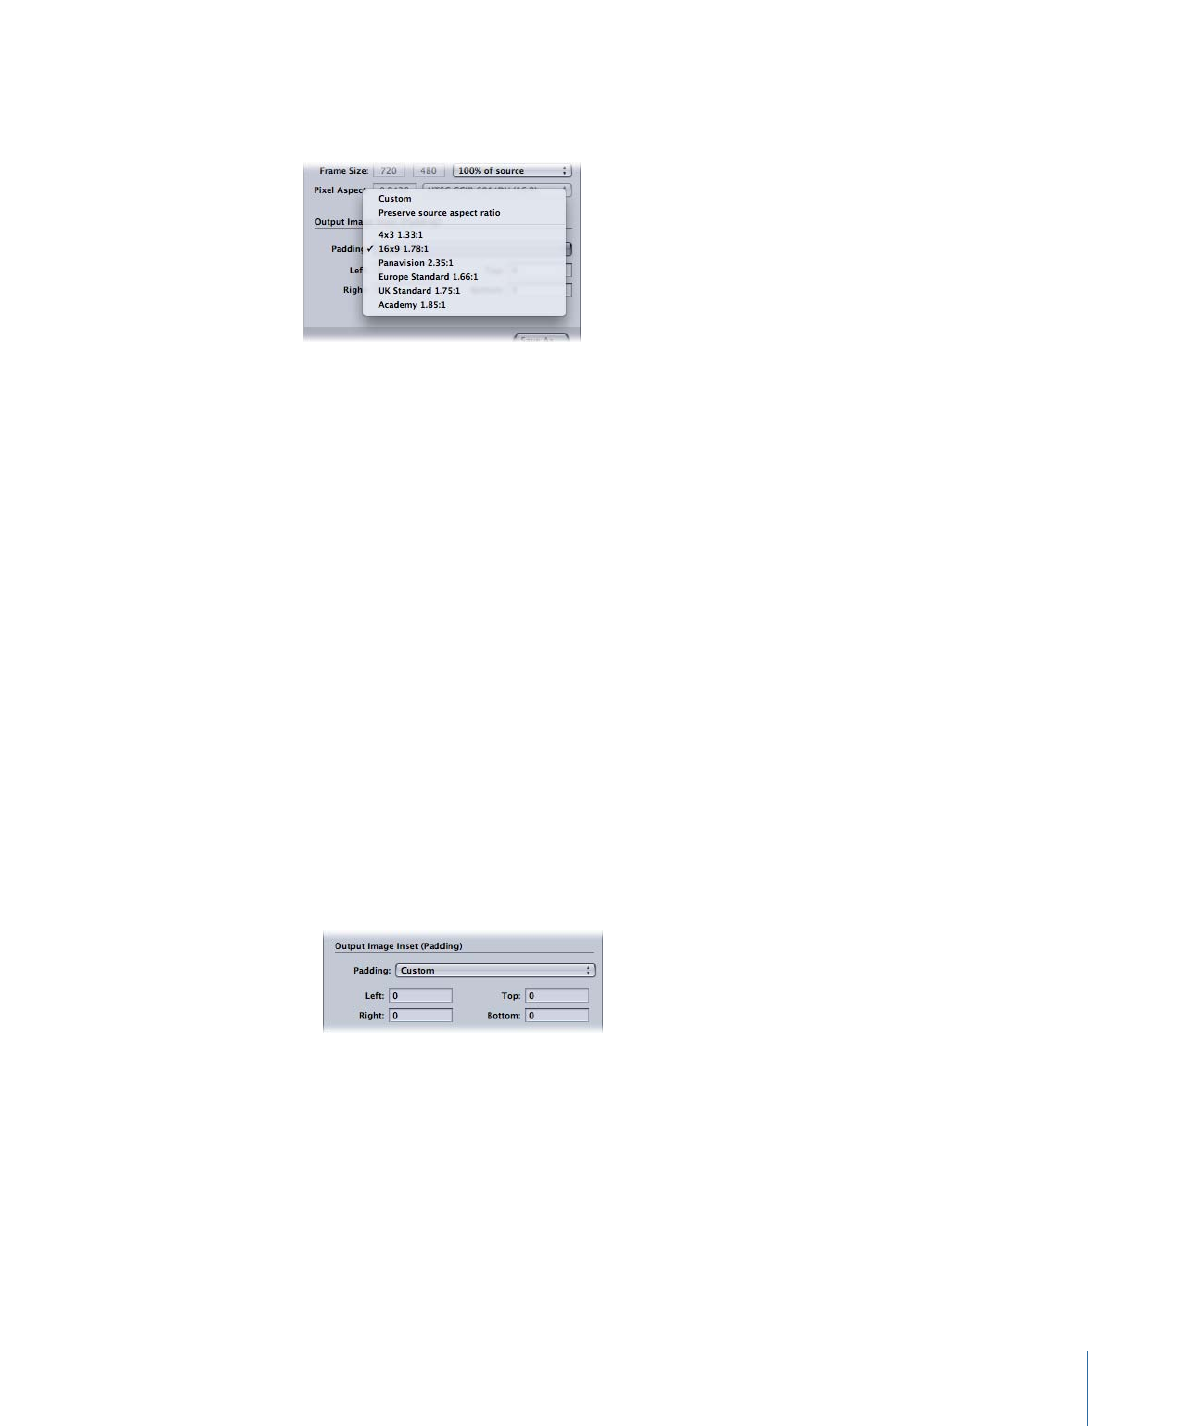
Output Image Inset (Padding) Settings
Use the following settings to apply and adjust padding.
• Padding pop-up menu: Use this pop-up menu to choose one of the following options.
• Custom: Allows you to manually enter values in the Left, Right, Top, and Bottom
fields.
• Preserve source aspect ratio: Pads the image so that the original aspect ratio is
maintained.
• 4x3 1.33:1: Uses a 4 x 3 aspect ratio.
• 16x9 1.78:1: Uses a 16 x 9 aspect ratio.
• 4x3 1.33:1: Uses a 4 x 3 aspect ratio.
• Panavision 2.35:1: Uses a 2.35:1 aspect ratio.
• Europe Standard 1.66:1: Uses a 1.66:1 aspect ratio.
• UK Standard 1.75:1: Uses a 1.75:1 aspect ratio.
• Academy 1.85:1: Uses a 1.85:1 aspect ratio.
• Left, Right, Top, and Bottom fields: Use these fields to add pixels of image “padding”
around the sides of a frame. This is the opposite of cropping. In cases where the frame
size of the output media file differs from that of the source media file, you may wish
to pad an image rather than scale it.