
Assigning Files to Surround Sound Channels (Manual Method)
Follow these steps to use the manual method for assigning individual audio files to
surround sound channels.
To manually assign source audio files to channels of a surround sound stream
1
Do one of the following to import the source audio files:
• Choose Job > New Job With Surround Group (or press Command-Control-I).
• Click the Add Surround Sound button in the Batch window.
• Control-click in the batch and choose New Job With Surround Group from the shortcut
menu.
The channel assignment interface opens.
2
Do one of the following to assign a source audio file to a particular channel.
• Drag the source audio file from the Finder to the icon for a specific channel (for example,
“L”).
• Click the icon for a specific channel (for example, “L”) and use the Open dialog to locate
the source audio file intended for that channel.
150
Chapter 12
Creating Dolby Digital Professional Output Files
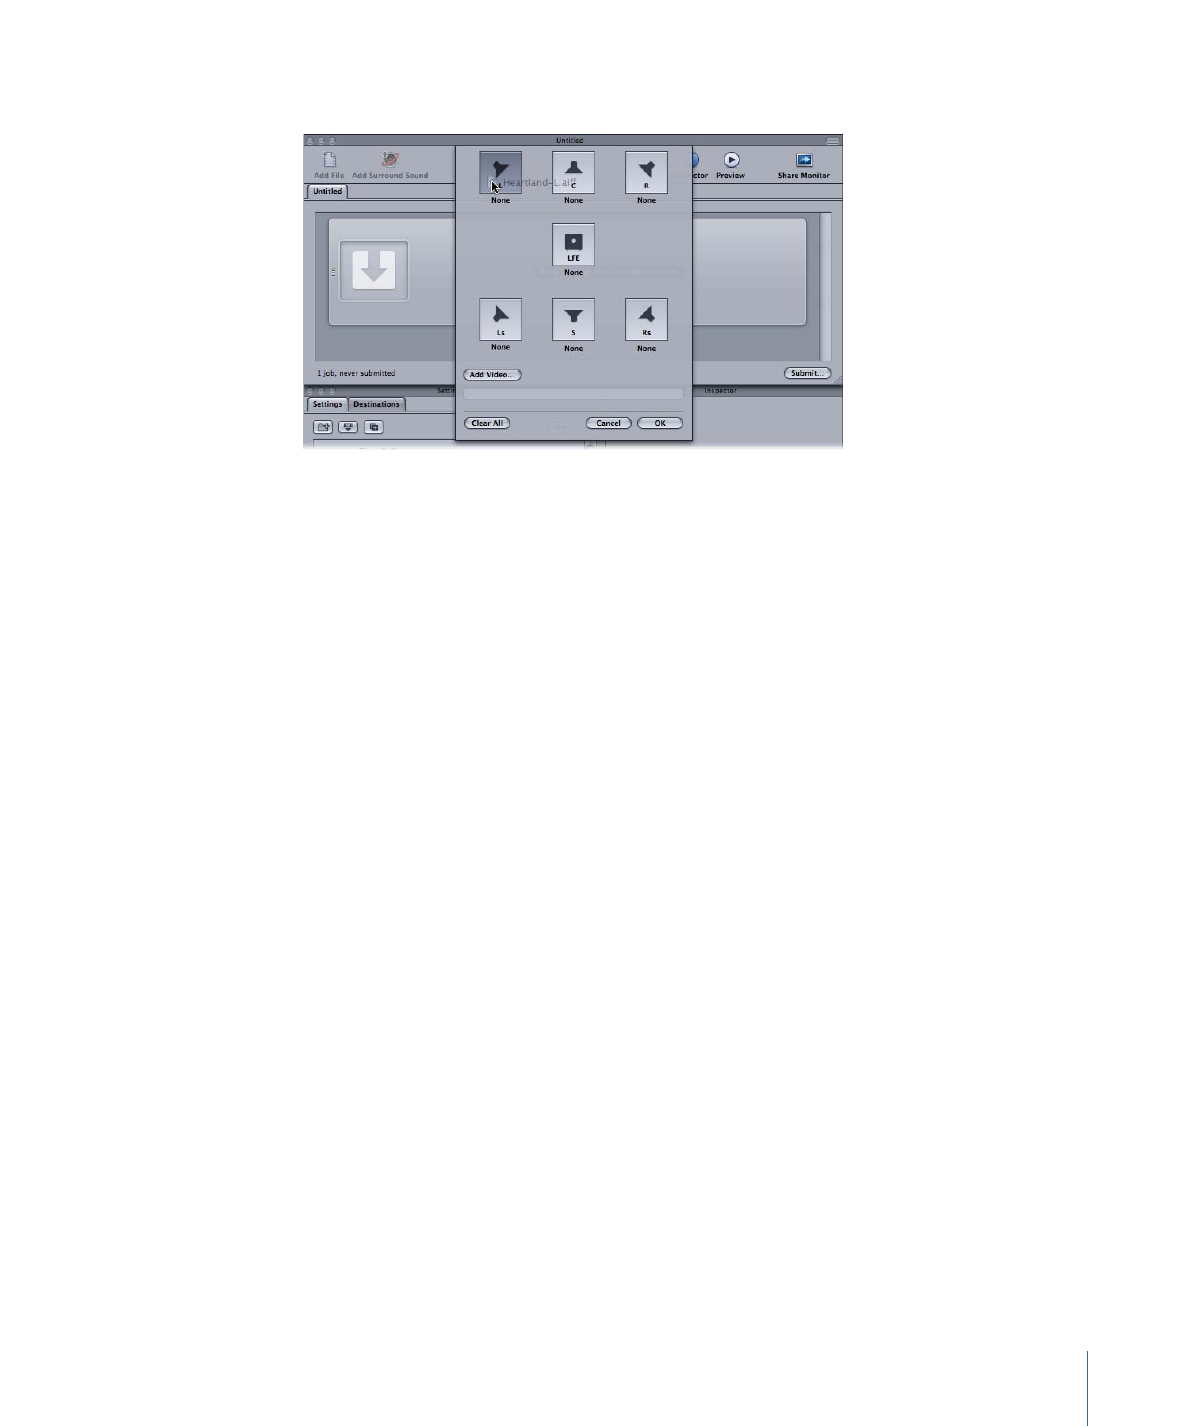
The file is now assigned to the “L” (Left Front) Channel.
3
Repeat step 2 for each of the source audio files that you intend to include in the surround
stream.
Note: If you are creating Dolby Digital Professional (AC-3) surround sound streams, you
will not use all the channels listed in the table at once. See
Audio Tab Settings
for a
diagram of the Dolby audio coding modes.
4
When you have finished adding source audio files to the channel assignment interface,
click OK.
151
Chapter 12
Creating Dolby Digital Professional Output Files
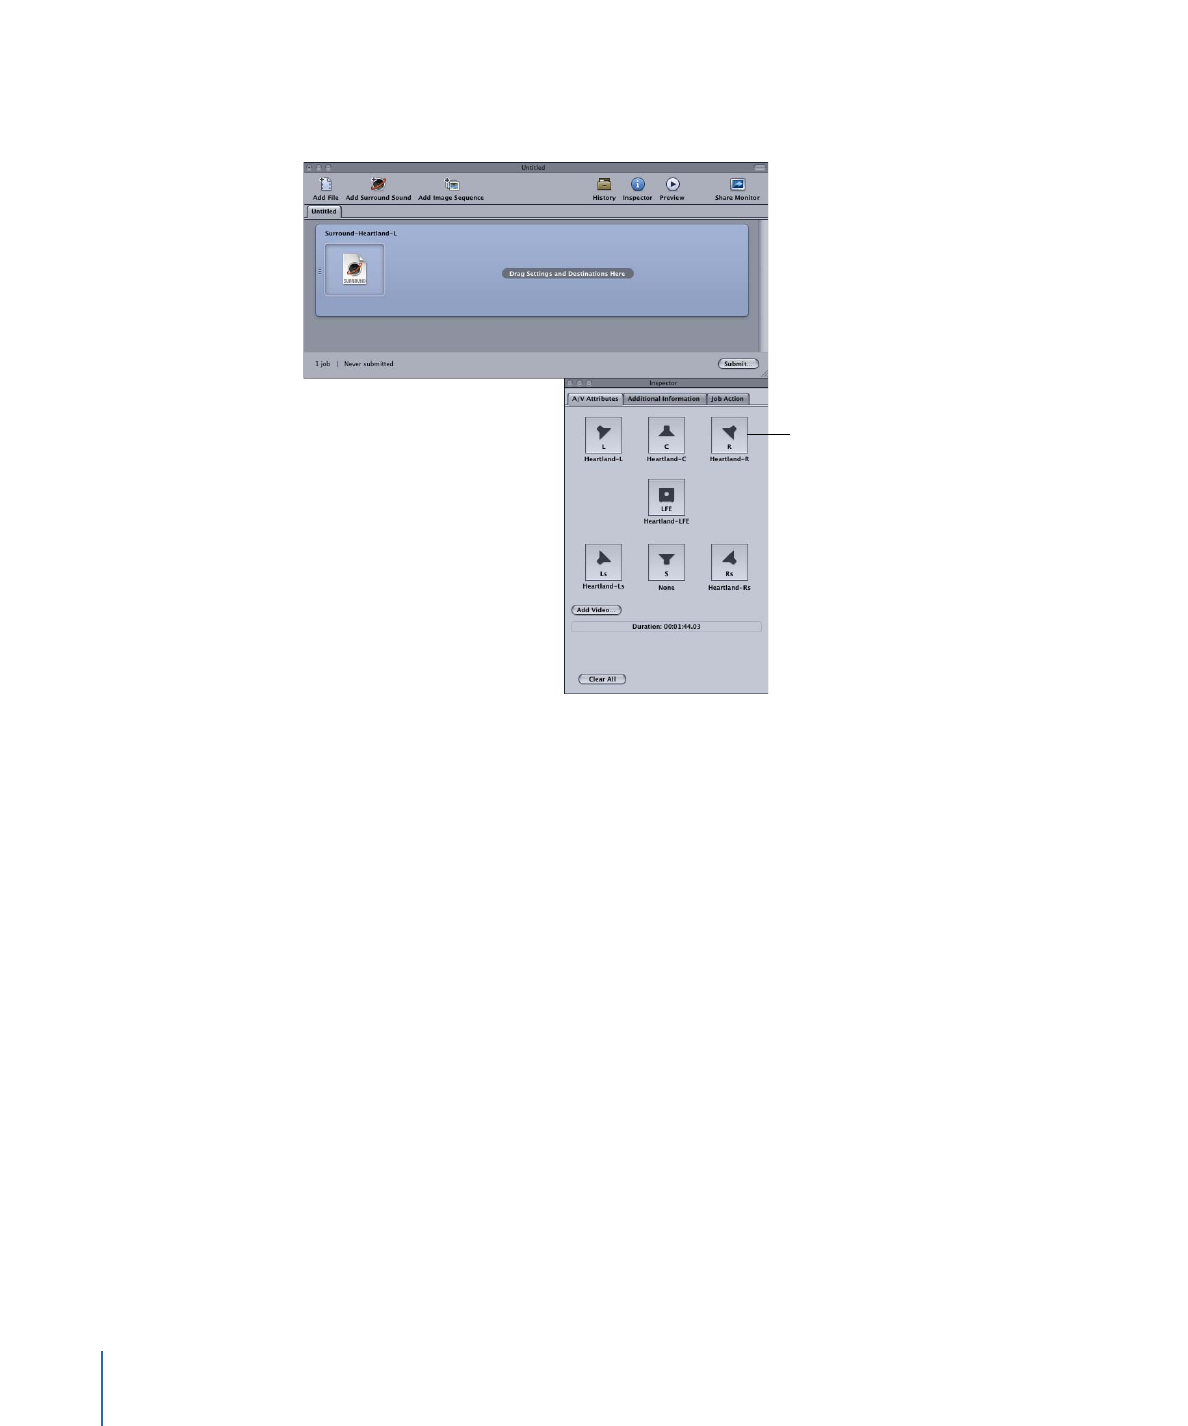
The group of surround files appears as a single surround source media file job in the
Batch window and the icons are also shown in the Inspector window.
Click a channel’s icon to
change the file assigned
to that channel.
Note: You can click a channel icon in the Inspector window to change the file assigned
to it.
5
Do one of the following to apply the appropriate Apple setting from the Dolby Digital
Professional category to the source audio file:
• Choose Target > New Target With Setting, choose a setting, and click Add.
• In the Batch window, Control-click in an empty part of the job, choose New Target With
Setting from the pop-up menu, choose a setting, and click Add.
• Drag a setting from the Settings tab to the source audio file’s job in the Batch window.
6
Make any necessary adjustments in the Inspector window and click Submit.
Compressor creates an AC-3 surround audio stream. See
About Previewing the Encoder
Settings
for information on playing your AC-3 audio files with Compressor.
You can also combine surround audio source files with a video file to make a single
Compressor job. This is useful in audio post-production workflows in which surround
audio stems (submixes) are created separately from the final picture edit. Compressor
will treat the video and up to six audio files as a virtual single asset. For example, this
would allow you to apply the Create DVD job action to make a DVD with 5.1-channel
surround sound.
152
Chapter 12
Creating Dolby Digital Professional Output Files

To combine a video file with surround audio files to make a single source media file
1
Follow steps 1-5 above to manually assign source audio files to channels of a surround
sound stream.
2
Click the Add Video button and use the resulting Open window to choose the video file.
Note: This feature supports QuickTime source media files only. Image sequences are not
supported.
3
Make any necessary adjustments in the Inspector window and click Submit.