About the Image Sequence Encoder Pane
This section contains detailed information about the elements of the Image Sequence
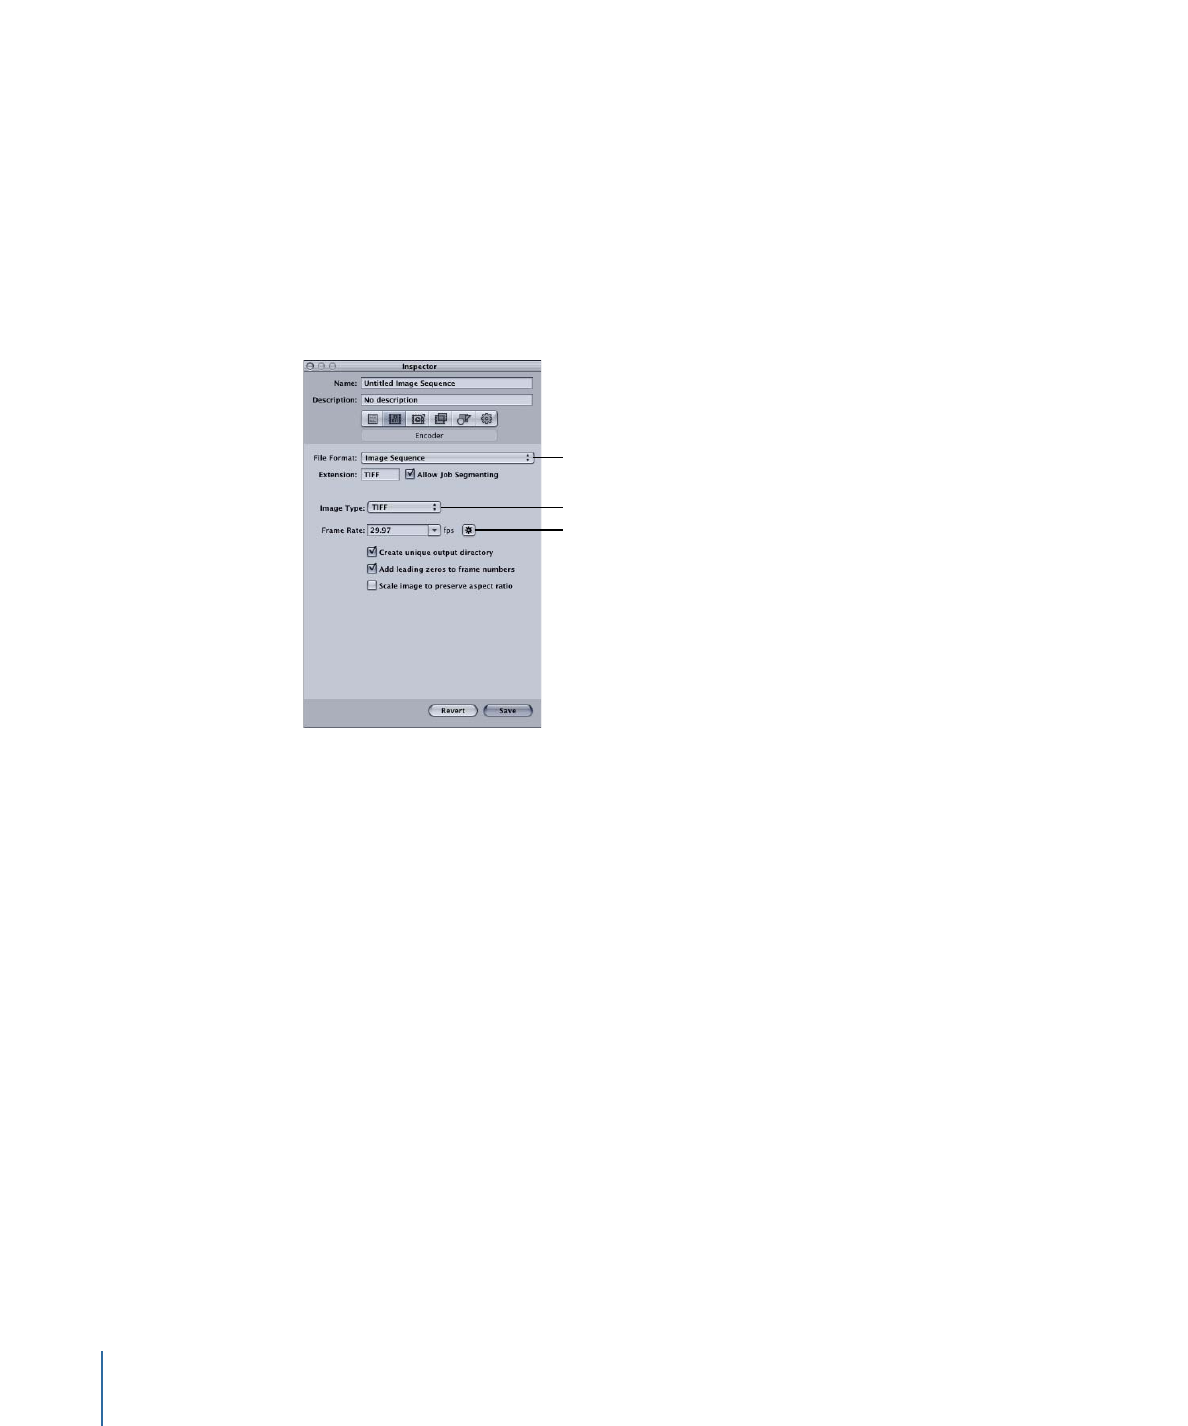
Encoder pane in the Inspector window. You make your image sequence settings using
this pane, by either modifying an existing setting or creating a new setting in the Settings
tab.
Choose Image Sequence.
Choose an image type.
Choose a frame rate
from the Frame Rate
pop-up menu or click
the Automatic button.
The Image Sequence Encoder pane contains the following items to help you create your
image sequence output files:
• File Extension: This field displays the TIFF file extension (.tiff ) automatically after the
Image Sequence output format is chosen from the File Format pop-up menu or the
(+) pop-up menu in the Settings tab. Don’t alter this field. You can change the output
format with the Image Type pop-up menu. This field will update automatically with
your choice of output format.
• Allow Job Segmenting: This checkbox allows you to turn off job segmenting. It is relevant
only if you are using Compressor with distributed processing and with multi-pass
encoding. For more information, see
Job Segmenting and Two-Pass or Multi-Pass
Encoding
.
• Image Type: Use this pop-up menu to choose one of the six image sequence types for
the output media. For descriptions of these output types, see
Creating Image Sequence
Output Files
.
170
Chapter 15
Creating Image Sequence Files

• Frame Rate (fps): Use this field and pop-up menu to enter the frame rate at which you
want the still images to be created. The higher the frame rate, the greater the number
of still images created and the larger the output file. For example, if you choose 30 fps,
Compressor creates 30 still images for every second of the video clip you are transcoding.
If you choose 8 fps, Compressor creates only 8 still images per second.
• Create unique output directory: Select this checkbox to create a folder for the resulting
output files. The folder is given the same name as that of the media file, and the files
are stored inside the folder and named frame-nnn. For example, if the output filename
is test, the directory path is destination/test/frame-nnn.
If you don’t select this box, the output files are stored at the top level of your destination
folder and named filename-nnn rather than frame-nnn. Be aware that even at the slow
rate of 8 fps, a large number of files are created when you transcode to this output
format, so creating an output directory is a good way to keep your files organized.
• Add leading zeros to frame numbers: Select this checkbox to add leading zeros to the
frame number. When choosing this method, all the output files consist of multidigit
filenames, such as frame-000001 (or filename-000001 if these files aren’t being saved in
a unique output directory). If you don’t select this checkbox, each file uses a regular
filename, such as frame-1 (or filename-1 if these files aren’t being saved in a unique
output directory).
• Scale image to preserve aspect ratio: Affects only video media using non-square pixels,
such as NTSC and PAL formats, and only when you are not intentionally changing the
video frame size. Select this checkbox to scale the output files to use square pixels and
maintain the original aspect ratio (which results in an increase or decrease in the number
of horizontal and vertical pixels). If the checkbox is not selected (the default setting),
the output files use the same pixel aspect ratio and have the same number of horizontal
and vertical pixels as the original video.