Adding a QuickTime Audio Codec
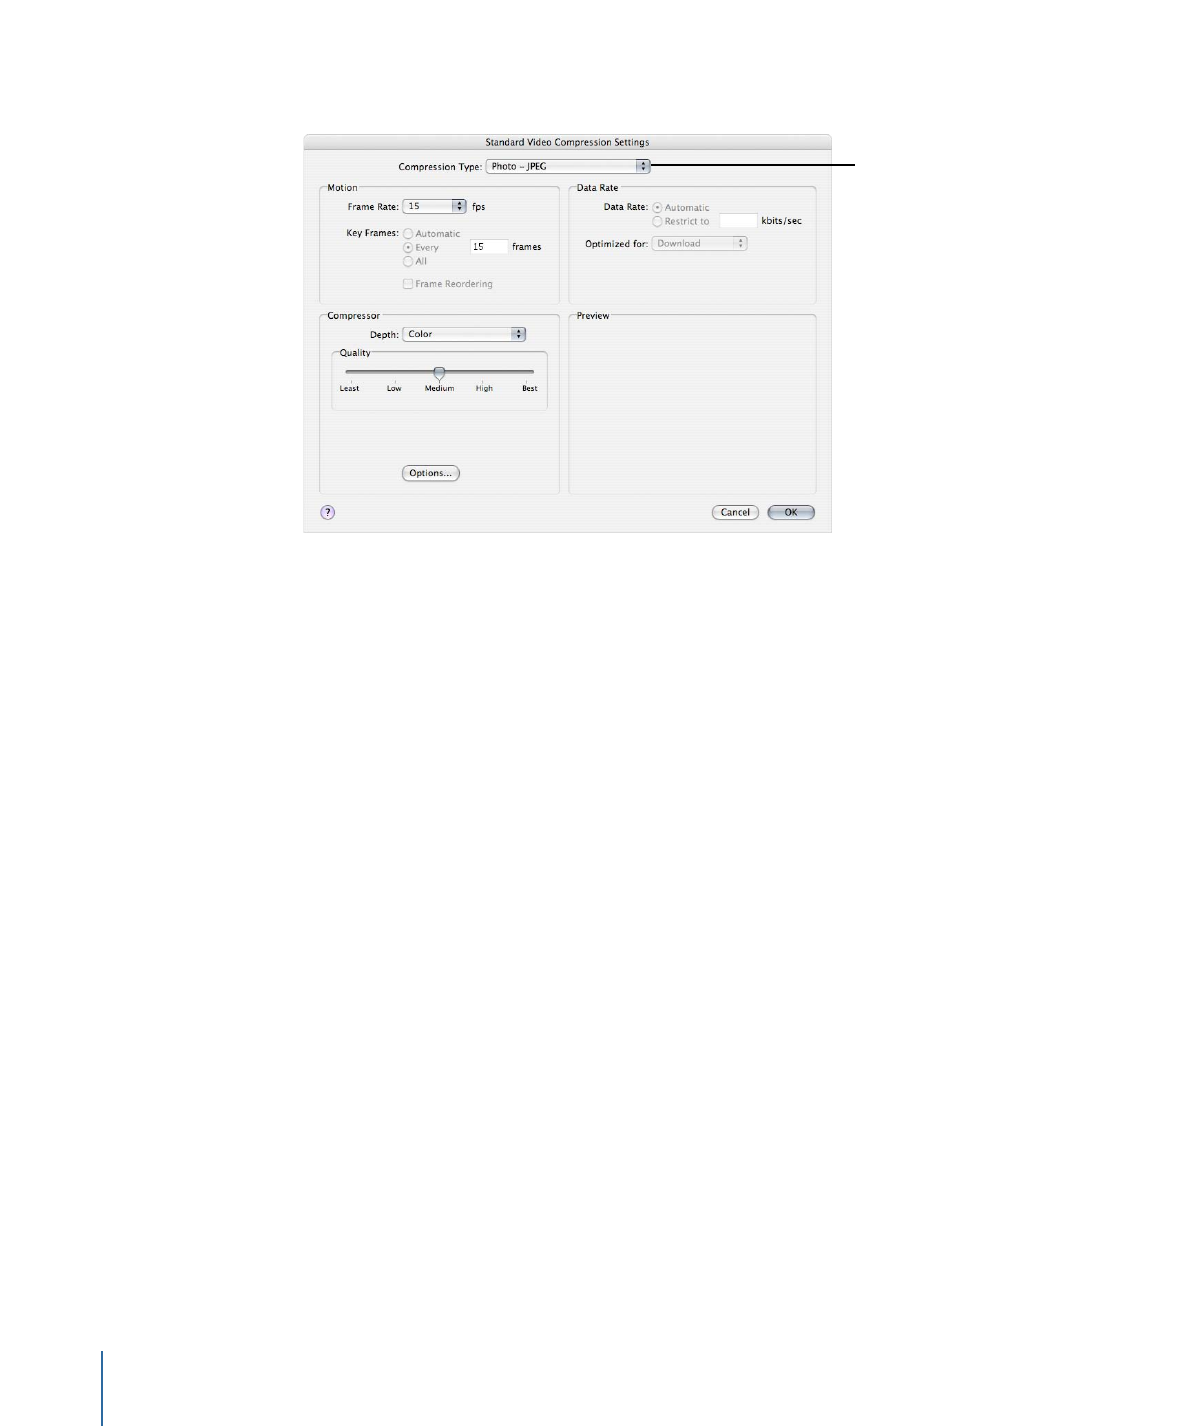
If you want to add an audio codec to your setting, you need to open the Sound Settings
dialog and choose your audio codec settings from there.
Note: If you don’t intend to use any audio settings, choose Disabled from the pop-up
menu.
To open the QuickTime Encoder pane and apply an audio codec
1
Click the Audio Settings button in the QuickTime Encoder pane.
242
Chapter 21
Creating QuickTime Movie Output Files

The Sound Settings dialog opens.
Choose an audio codec
from the Format
pop-up menu.
2
Choose an audio codec from the Format pop-up menu and either accept its defaults or
customize the other audio codec settings (Format, Channels, Rate, and Options, if
available).
See any of the following for more information about audio codecs:
•
Audio Codec Settings
•
About the Sound Settings Dialog
•
QuickTime Audio Codecs
Note: You can see full details of the current contents of your setting by viewing the
Summary table.
3
Click OK to save your settings and close this dialog.
Adding Additional Settings and Presets
Although the output format setting is the most important component of the Compressor
workflow, you can also add other settings and presets, such as filters, cropping, frame
sizing, actions, and destinations. For further instructions on how to add these settings,
see the following:
•
Adding Filters to a Setting
•
Working with Frame Controls
•
Adding Geometry Settings
•
Adding Actions
•
Creating and Changing Destinations
243
Chapter 21
Creating QuickTime Movie Output Files