
Stage 1: Choosing a Batch Template
•
Stage 2: Adding a Source Media File
•
Stage 3: Submitting the Batch
•
Stage 4: Using Post-Transcoding Actions
•
Stage 5: Saving Custom Batch Templates—Optional
Stage 1:
Choosing a Batch Template
To use Compressor with this workflow, you must choose a batch template.
To open Compressor and choose a batch template
1
Double-click the Compressor icon in the Applications folder.
Compressor opens with the Batch Template Chooser and an empty untitled batch with
a placeholder job.
12
Chapter 1
Getting Started Quickly
Note: The Batch Template Chooser does not appear if you have previously selected the
“Don’t show this dialog again” checkbox, or, in Compressor preferences, selected Use
Blank Template. Select Show Template Chooser in Compressor preferences to have the
Batch Template Chooser appear when you are creating new batches. Alternatively, you
can choose File > New Batch From Template to create a new batch and have the Batch
Template Chooser appear.
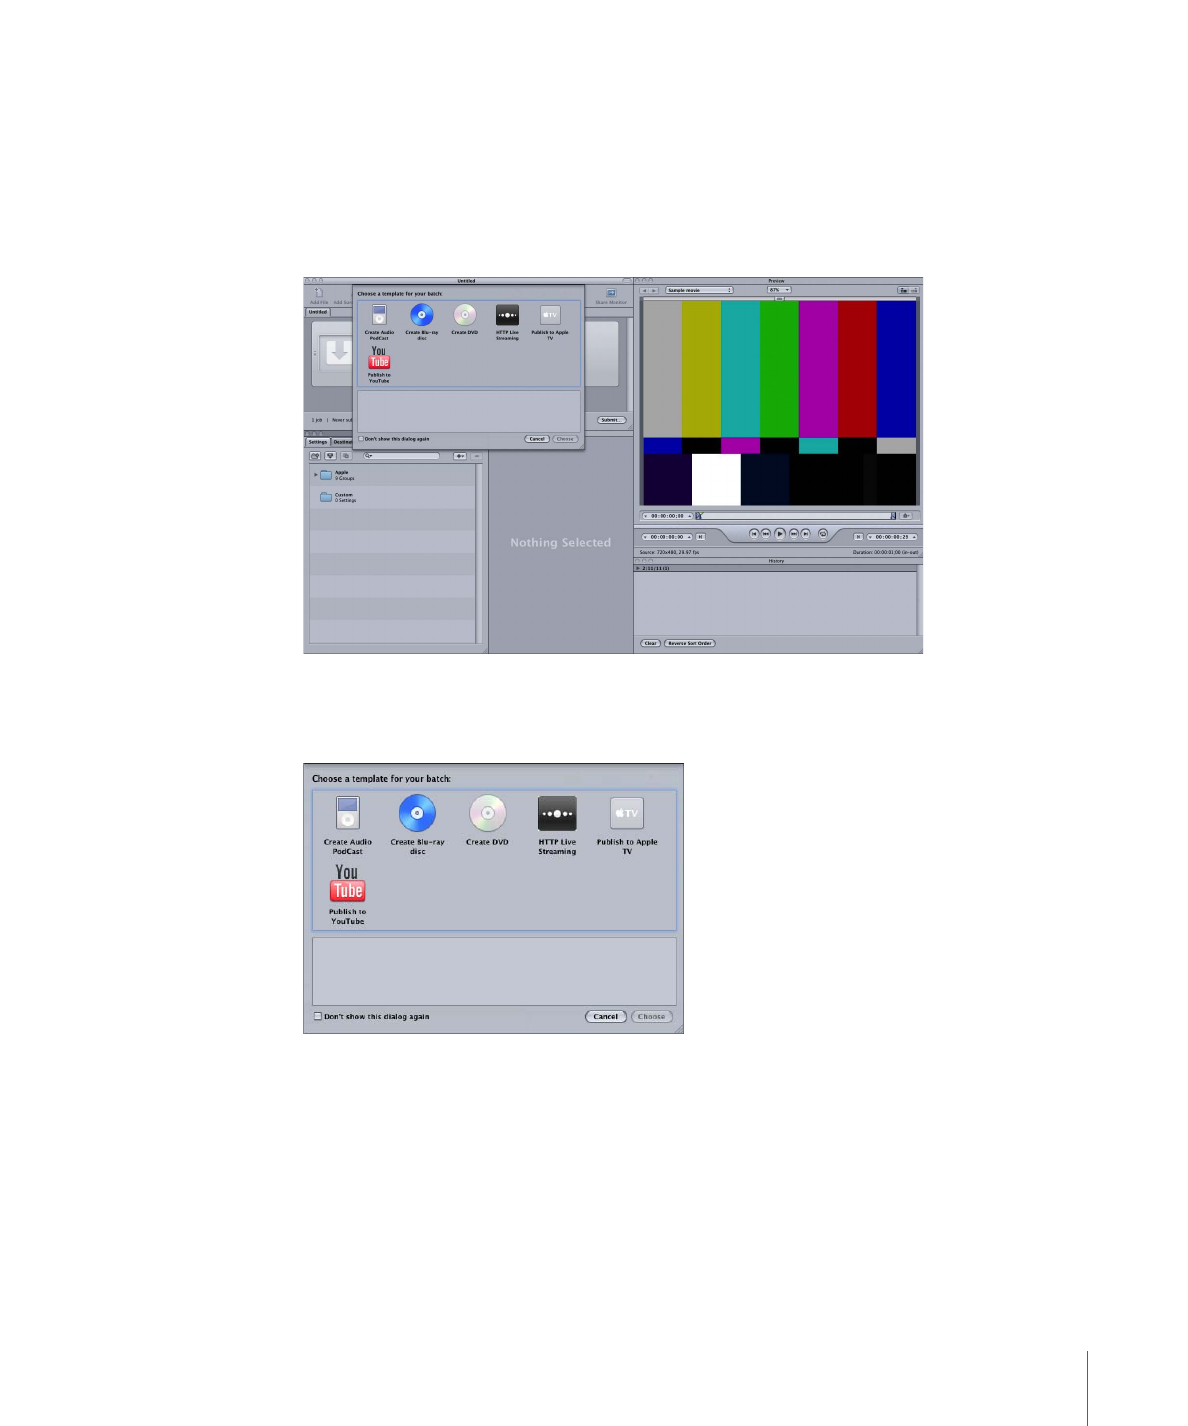
The Batch Template Chooser contains options for the standard Apple batch templates
(described in step 2).
You can also add custom batch templates. For more information, see
Creating a Custom
Batch Template
.
Note: To see the Compressor interface configured similarly to what is shown in this
document, choose a Standard layout from the Layouts submenu of the Window menu.
13
Chapter 1
Getting Started Quickly

2
Click one of the options in the Batch Template Chooser to select it.
The standard Apple batch templates are listed below.
• Create Audio Podcast: Use this template to create an AAC audio file suitable for
podcasting and add it to the iTunes library.
• Create Blu-ray disc: Use this template to create BD H.264 video and Dolby Digital
Professional (.ac3) audio files and automatically burn them to a Blu-ray disc or an AVCHD
disc (AVCHD discs can be played in Blu-ray Disc players that are compatible with the
AVCHD format).
• Create DVD: Use this template to create a standard definition DVD using MPEG-2 (.m2v)
video and Dolby Digital Professional (.ac3) audio and automatically burn it to a disc.
• HTTP Live Streaming: Use this template to create a set of files you can use to stream a
movie to iPhone, iPad, iPod touch, and Mac, using an ordinary server.
• Publish to Apple TV: Use this template to create a video file suitable for viewing on
Apple TV and add it to the iTunes library.
• Publish to YouTube: Use this template to create a video file suitable for viewing on
YouTube and upload it to a YouTube account.
Note: Your choice of a template should be based on the intended use of the output
media file you are creating. If there is no obvious template for your intended workflow,
you may want to try the manual method. For more information, see
Quick and Easy
Compressor Workflow: Manual Method
. For information about creating custom templates,
see
Creating a Custom Batch Template
.
3
Click Choose.
14
Chapter 1
Getting Started Quickly

Compressor applies a target to the placeholder job. The target contains the appropriate
transcoding setting (based on the template you chose), the default destination (Source),
and a suggested output filename, based on the source filename and the name of the
applied setting.
By default, the batch templates use Source (the same folder as the source media files
originated from) as the destination for the encoded files. For information about choosing
other destinations, see
Creating and Changing Destinations
.
Stage 2: