Stage 1: Adding Source Media Files
•
Stage 2: Assigning Settings and Destinations
•
Stage 3: Submitting the Batch
Stage 1:
Adding Source Media Files
To use Compressor, you must first add source media files to the Batch window.
To open Compressor and add source media files to the Batch window
1
Double-click the Compressor icon in the Applications folder.
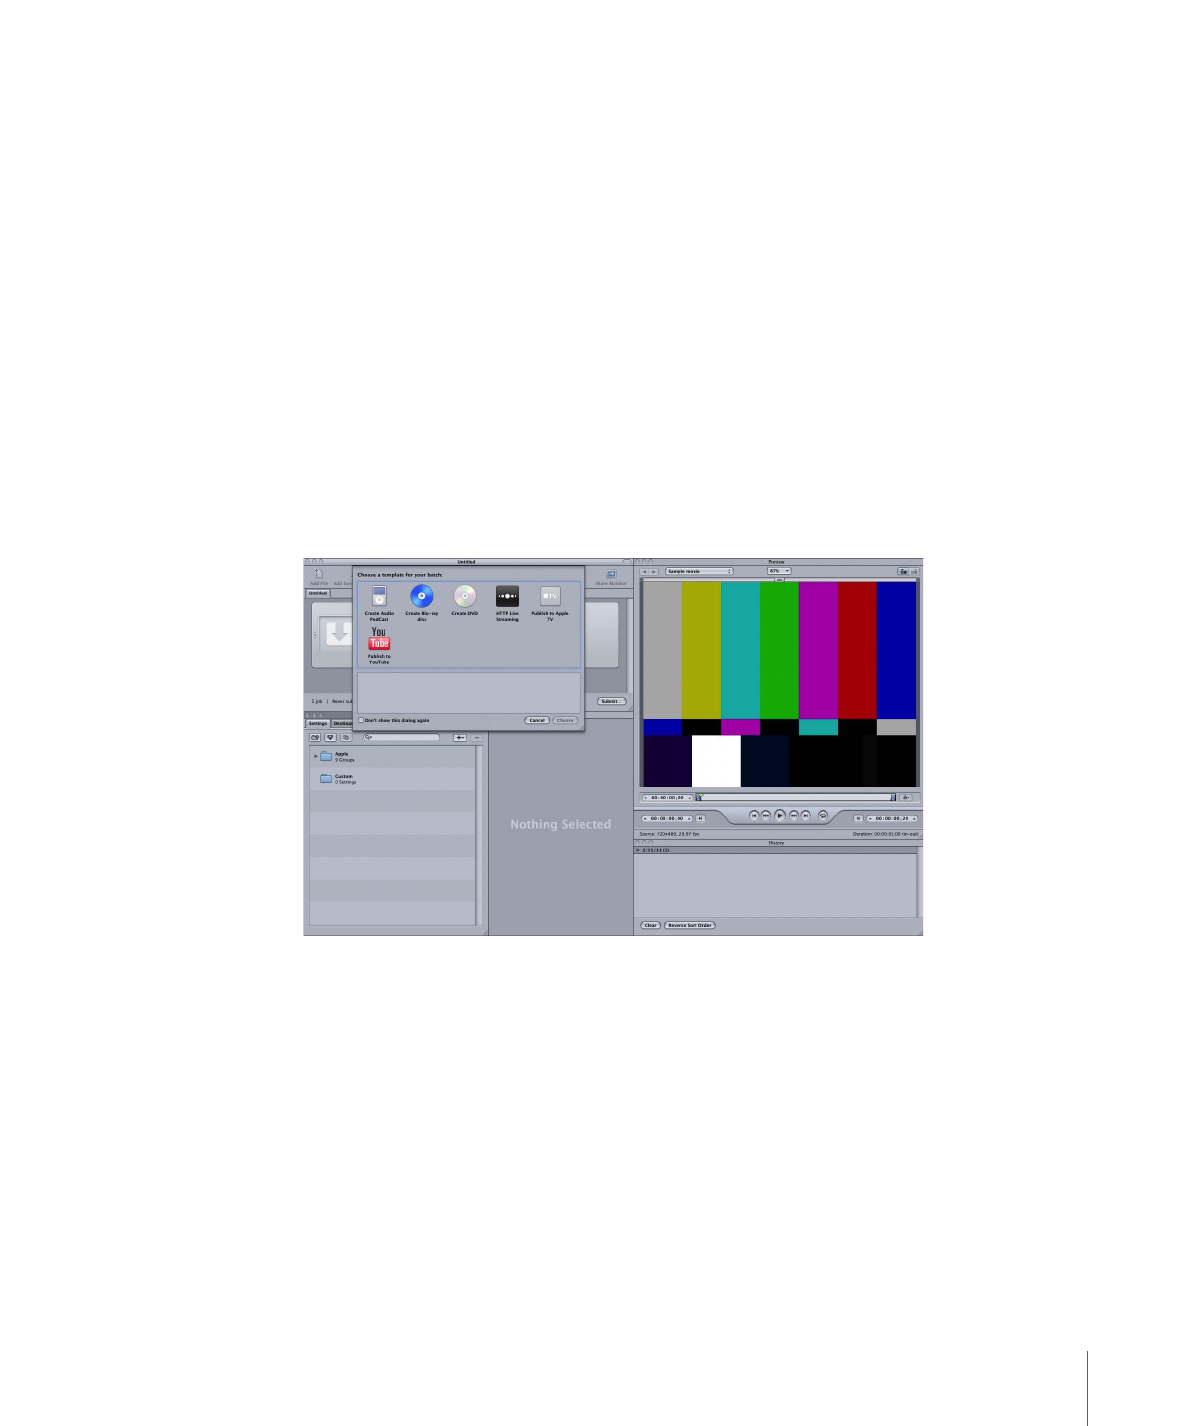
Compressor opens with the Batch Template Chooser and an empty untitled batch with
a placeholder job.
2
Since this workflow is focused on the manual method rather than the batch template
method, click Cancel in the Batch Template Chooser to close it.
To prevent the Batch Template Chooser from opening in the future, select “Don’t show
this dialog again,” or, in Compressor preferences, select Use Blank Template.
For information about the batch template method, see
Quick and Easy Compressor
Workflow: Batch Template Method
.
17
Chapter 1
Getting Started Quickly
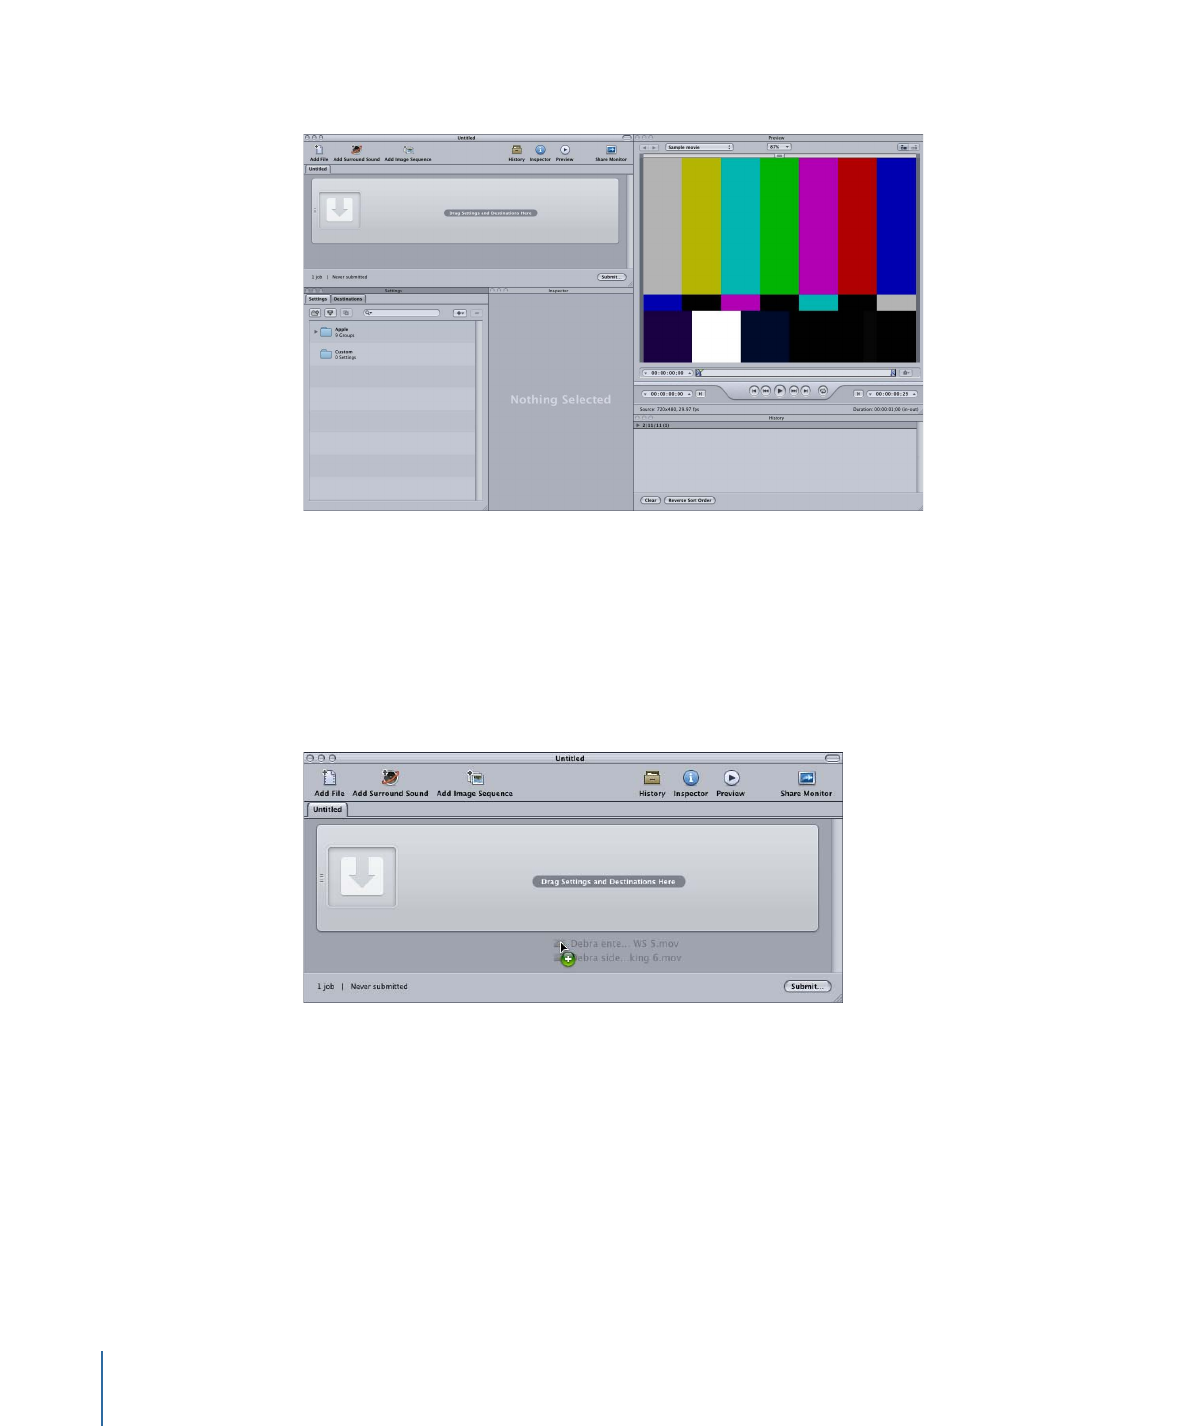
The figure below shows the remaining windows in the Compressor interface.
Note: To see the Compressor interface configured similarly to what is shown above,
choose a Standard layout from the Layouts submenu of the Window menu.
3
Drag one or more source files from the Finder or the desktop to an empty area in the
Batch window (in this example, just below the empty job).
Note: If you drag multiple files to the empty job, only the last file is added to this job and
all other files are ignored.
18
Chapter 1
Getting Started Quickly
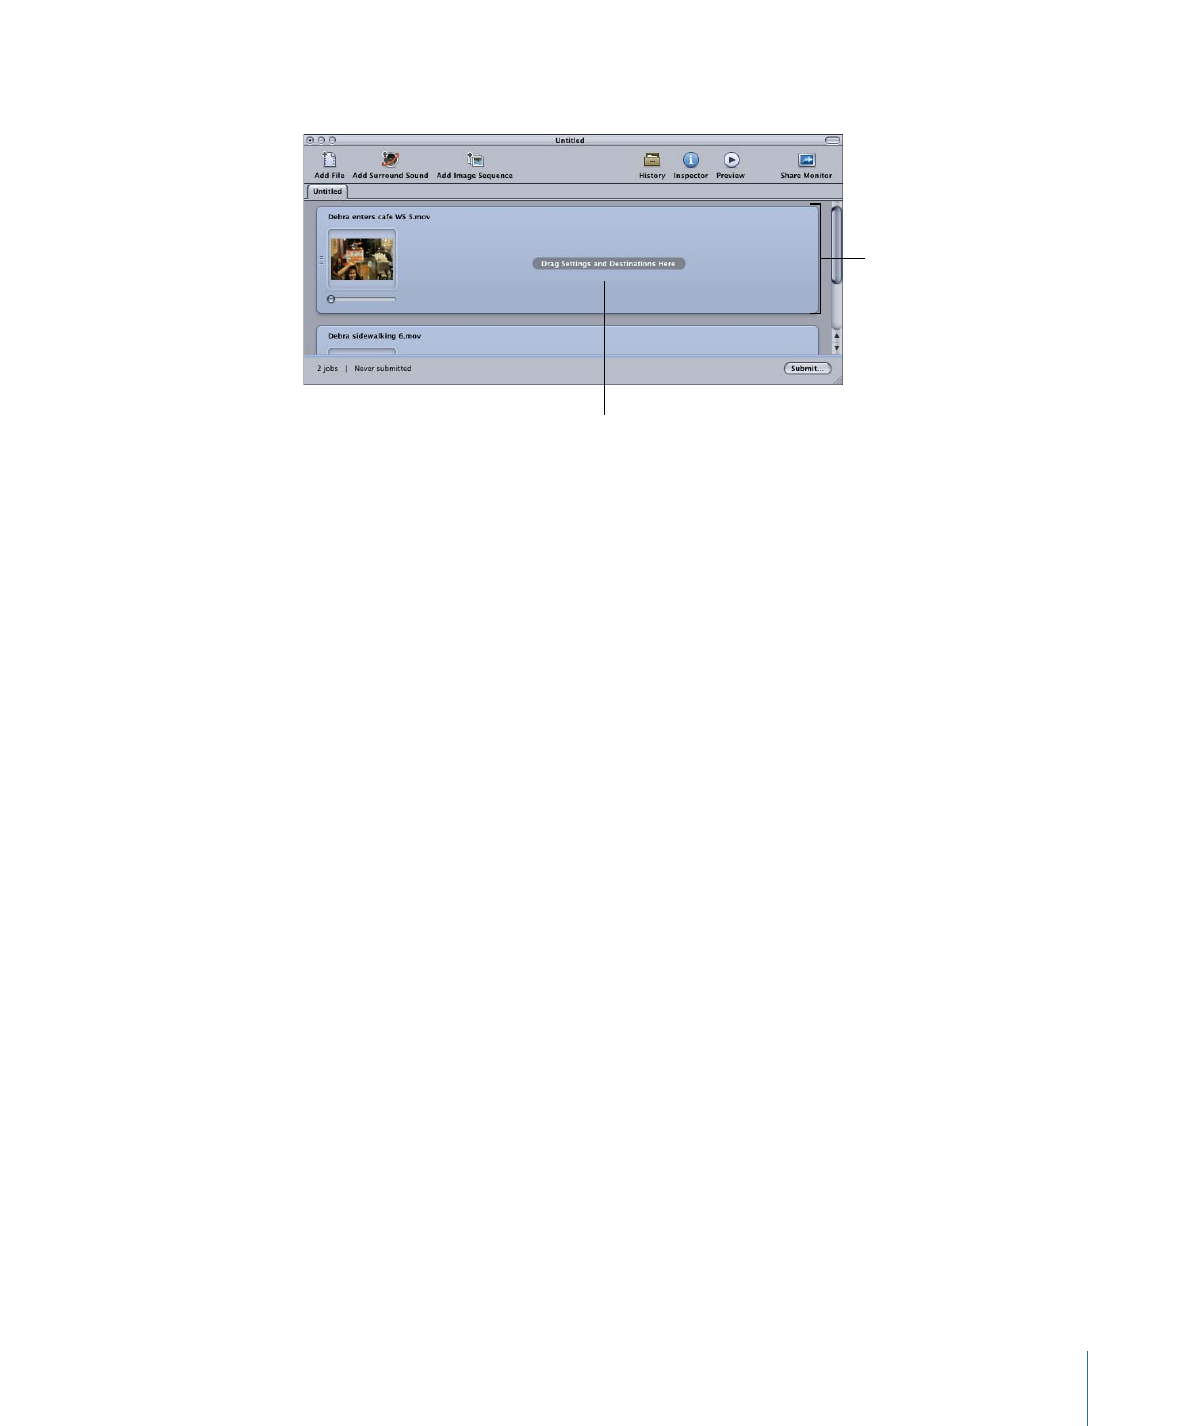
New jobs are created for each source file you dragged to the batch.
Each source file creates
a job in the batch.
Target area (empty in
this case) of a job
See
About the Batch Window
for more information about the controls in the Batch
window.
Stage 2: