Customizing the Toolbar
The Batch window contains a toolbar that you can customize to better fit your needs.
Note: If the toolbar isn’t visible when you open Compressor, click the button in the
upper-right corner of the Batch window to open it.
To customize the Batch window toolbar
1
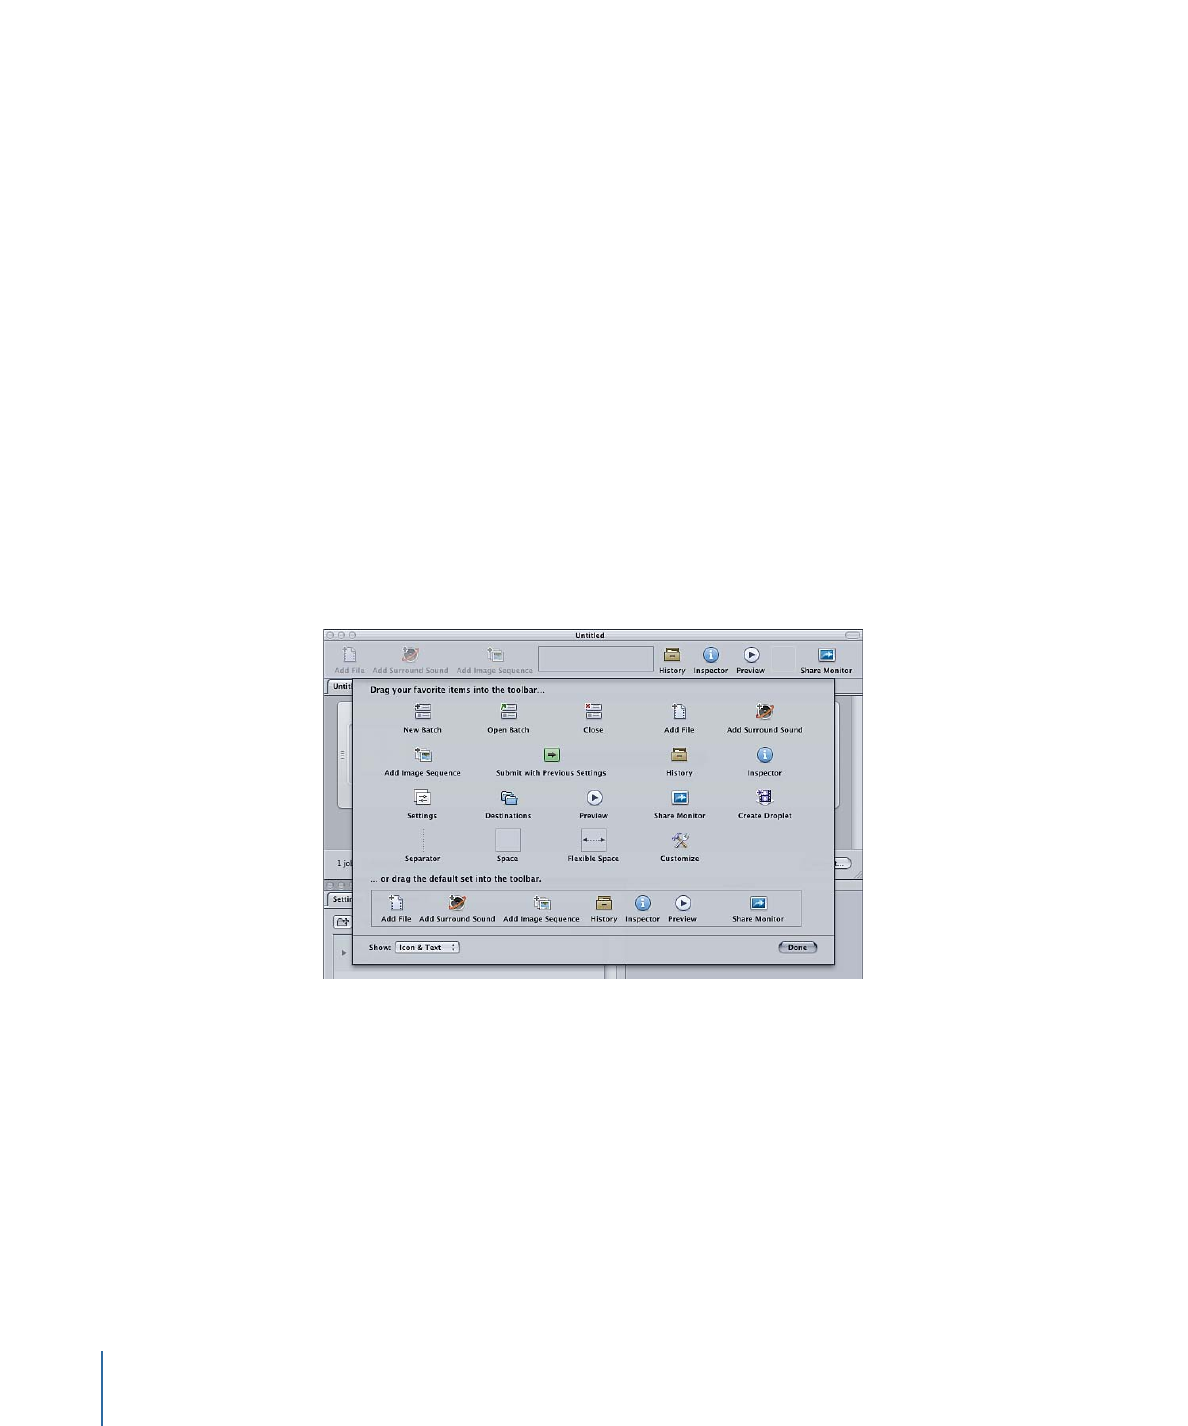
Do one of the following to open the toolbar customization palette:
• Choose View > Customize Toolbar.
• Control-click in the toolbar and choose Customize Toolbar from the shortcut menu.
• Click the Customize icon in the toolbar (if present).
The toolbar palette opens.
2
To customize the toolbar, do any of the following:
• To remove items currently in the toolbar: Drag them off.
• To add items to the toolbar: Drag them from the toolbar palette to the toolbar, placing
them where you want them to appear.
• To rearrange items in the toolbar: Drag them from their current location to a new location.
• To restore the toolbar to its default configuration: Drag the default set (located on the
bottom of the palette) to the toolbar.
• To configure how items show in the toolbar: Choose a setting from the Show pop-up
menu.
50
Chapter 4
The Compressor Interface
You can choose to show the icon and text, the icon only, or the text only.
3
Click Done when you have finished.
Note: The toolbar configuration is saved as part of a layout. See
Creating and Managing
Compressor Layouts
for more information about layouts.
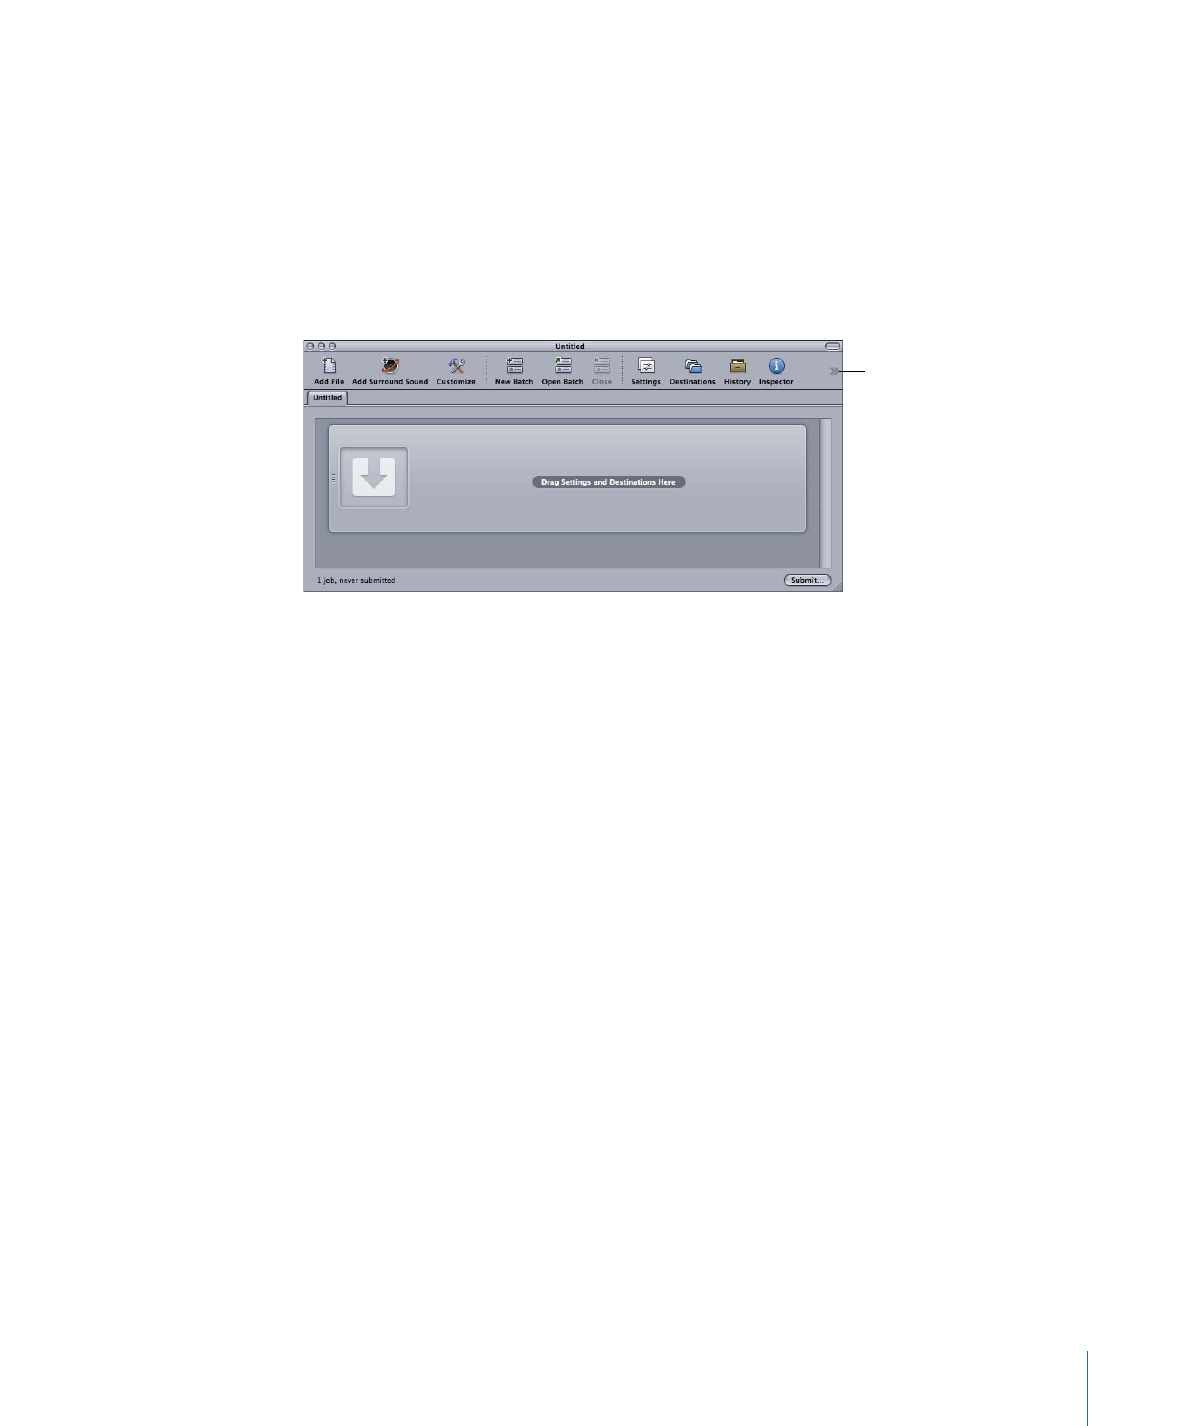
It is possible to add more items to the toolbar than there is room for. When that happens,
the right edge of the toolbar shows a double arrow that you can click to get access to
the icons that do not fit.
Click these arrows
to see items that did
not fit in the toolbar.