Creating a Droplet from the Settings Tab
If you are already working in the Settings tab and you have identified an existing setting
from which you want to create a Droplet, the “Save Selection as Droplet” button is a
handy tool for creating the Droplet.
To create a Droplet using the “Save Selection as Droplet” button in the Settings tab
1
Open the Settings tab.
2
Select one or more settings or setting groups that you want to save as a Droplet.
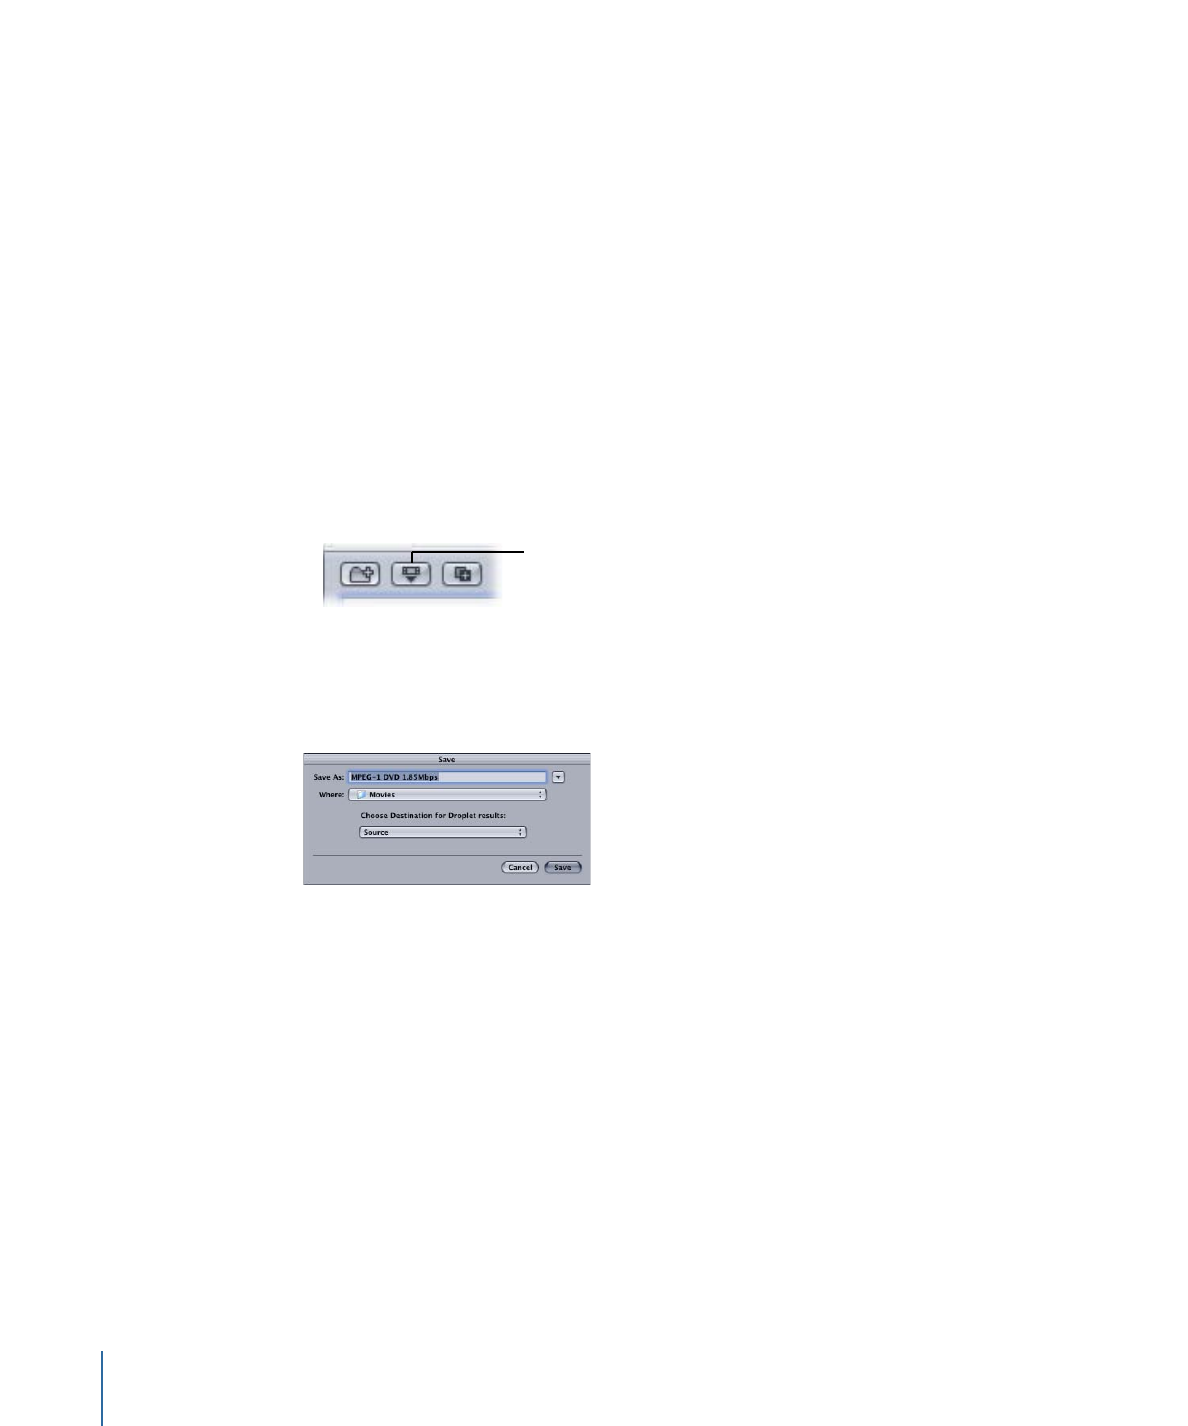
• Click the “Save Selection as Droplet” button.
“Save Selection as
Droplet” button
• Control-click the settings you selected and choose Save as Droplet from the shortcut
menu.
The Save dialog appears.
Note: You can Shift-click or Command-click to add multiple settings and/or setting groups
to a Droplet. In this situation, every source media file is transcoded by every setting in
the Droplet. For example, if you submitted two source media files to a Droplet containing
three settings, Compressor creates six different output media files.
3
In the Save dialog, enter a name for the Droplet in the Save As field and use the Where
pop-up menu to navigate to the Droplet location.
You can save your Droplet anywhere on your computer, but it’s most convenient to save
it on your desktop, so you can conveniently drag source media files to it.
4
Use the “Choose Destination for Droplet results” pop-up menu to choose a destination
folder for the output media files that the Droplet will create.
334
Chapter 28
Using Droplets
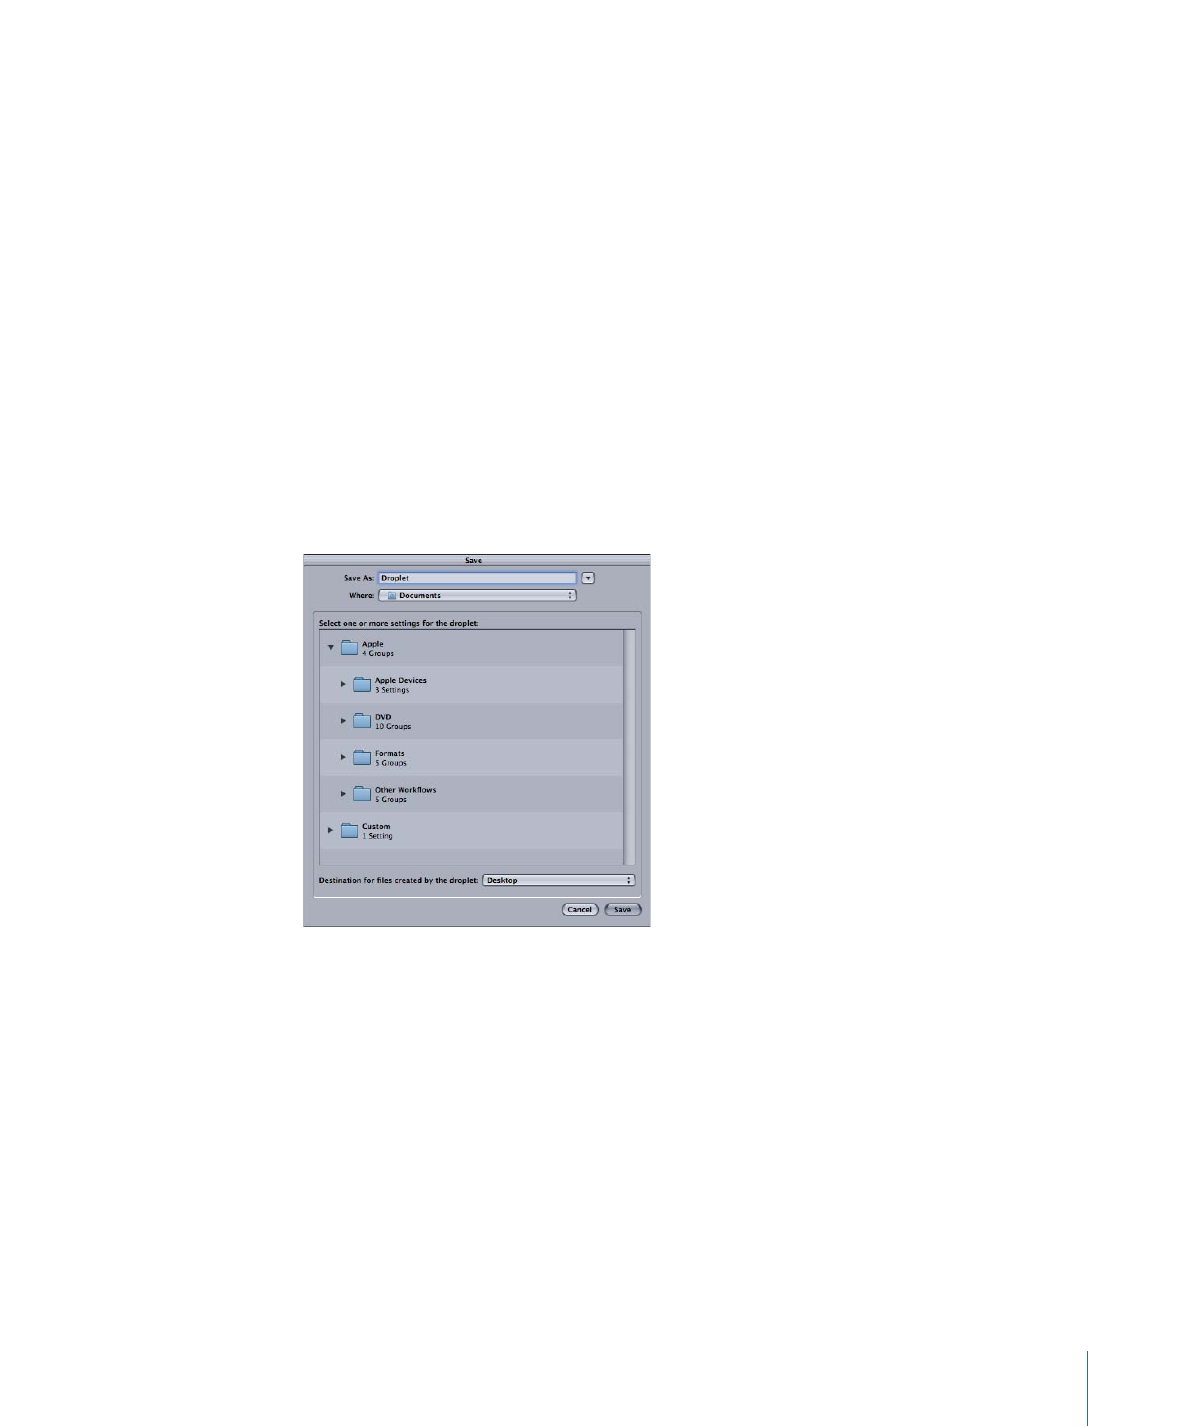
You can only select destinations that have already been created using the Destinations
tab. If no custom destinations have been created, only four default Apple destinations
appear in the Choose Destination pop-up menu. See
Creating a Destination
for more
information about destinations.
5
Click Save.
Your newly created Droplet appears as an icon at whatever location you selected. You
are now ready to use it for transcoding.