Using the Preview Window
26
You can also use the Preview window to enlarge the Preview screen size, manually add
I-frames (MPEG-1 and MPEG-2 only), and designate a portion of your media file for
transcoding using the In and Out markers.
The Preview window allows you to play batch items before submitting them for
transcoding and allows you to compare versions of your clip to ensure that the quality
of the output media file is acceptable.
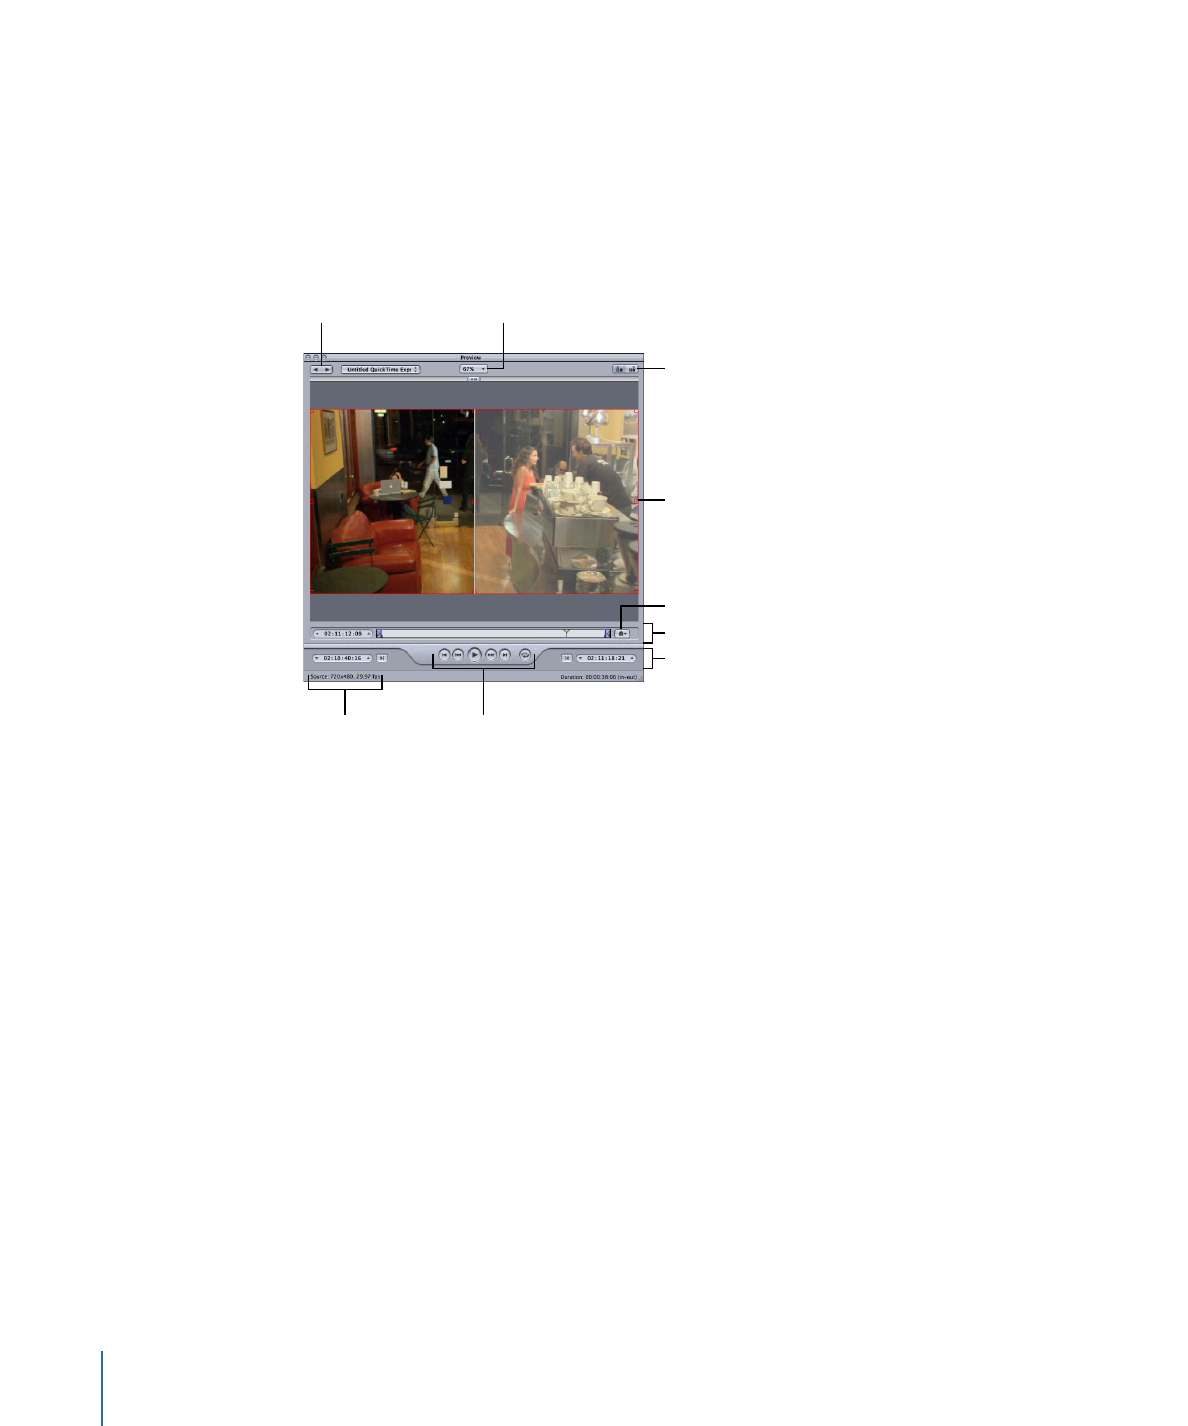
In and Out controls
Preview scale selection
Source/Setting selection
Preview screen area
Batch Item selection
controls
Timeline controls
Marker pop-up menu
Source/Output
information
Transport controls
The Preview window contains the following items.
• Preview scale selection: Adjusts the Preview screen size. The three settings are 100%,
75%, and 50%, but you can also drag the Preview window handle to any size you like.
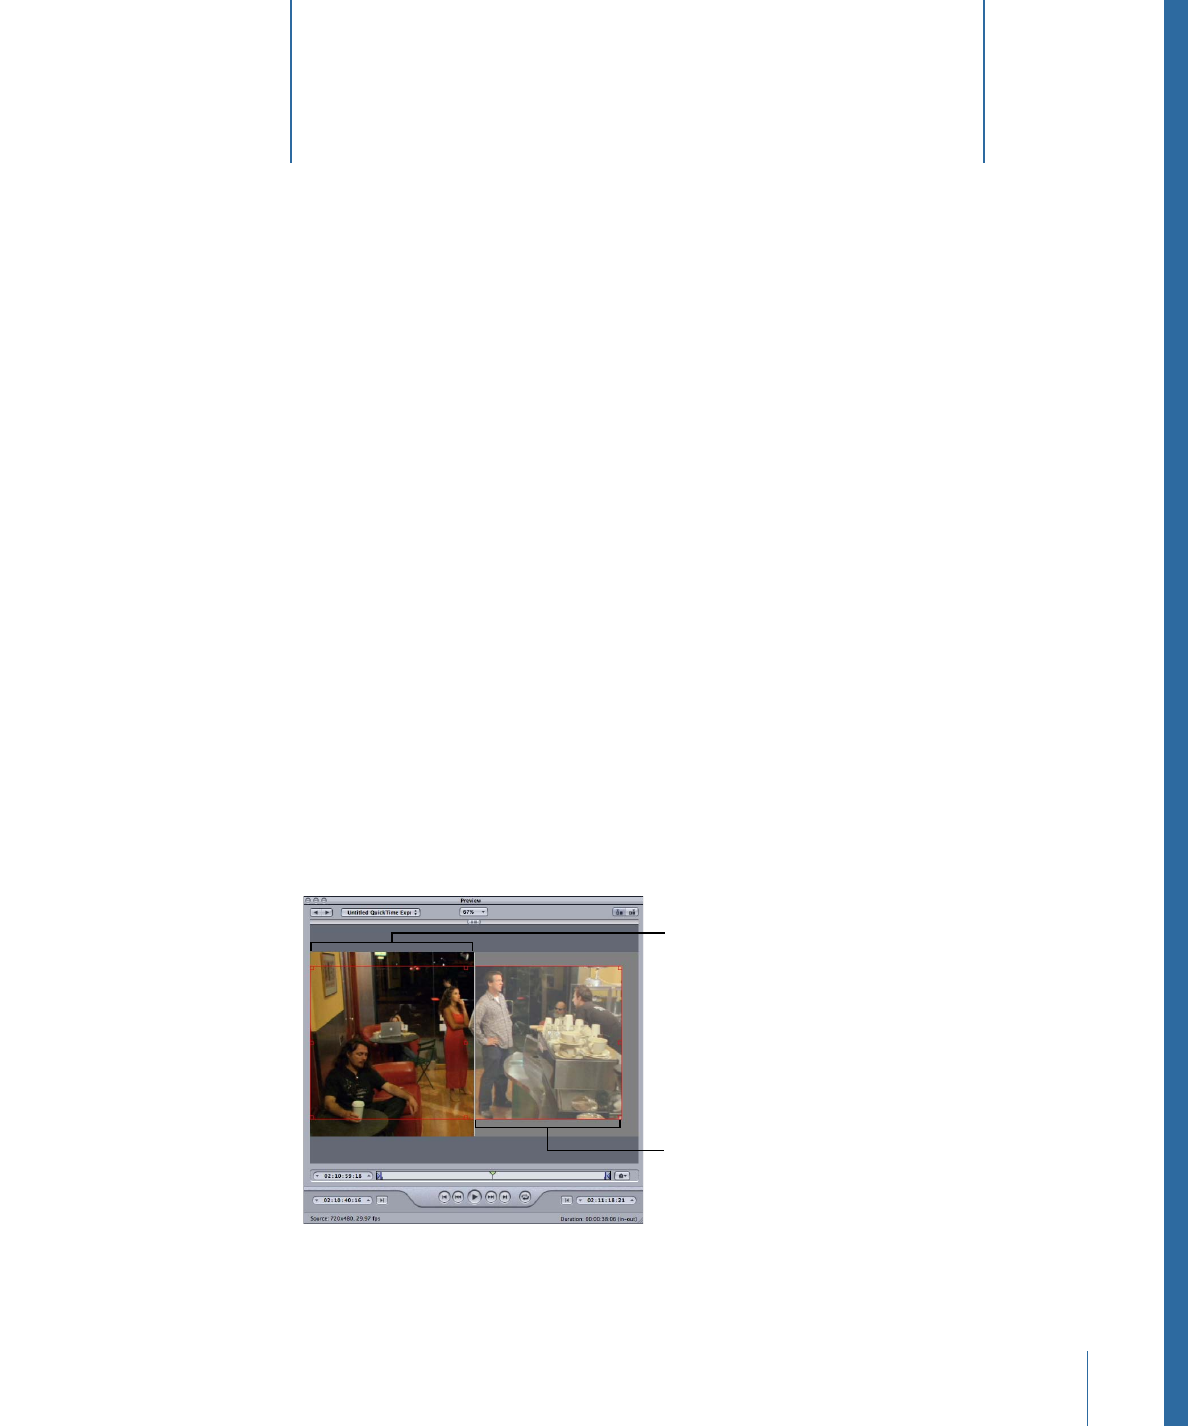
• Source/Setting selection: Use these buttons to preview the selected batch item using
either the source’s aspect and size or the setting’s aspect and size. The Source View
button also provides a cropping boundary that you can use to define one or more
edges to be cropped. The Setting View button shows the cropped version of the media
scaled to its aspect and size setting.
• Source/Output information: The clip’s frame size and frame rate are shown in the
lower-left corner of the Preview window. The clip’s duration (from the In point to the
Out point) is shown in the lower-right corner. With the Source View button selected,
the frame size and frame rate represent the source media clip. With the Output View
button selected, the frame size and frame rate represent the setting for this batch item.
Note: To see the total duration of the clip (without In and Out points), select the source
file in the Batch window and open the Inspector window (choose Window > Show
Inspector).
306
Chapter 26
Using the Preview Window