Timeline Controls
The timeline controls provide information about the clip, including any markers it has
and the current In and Out point settings. You can also use the timeline to position the
playhead to a specific frame and set the In and Out points.
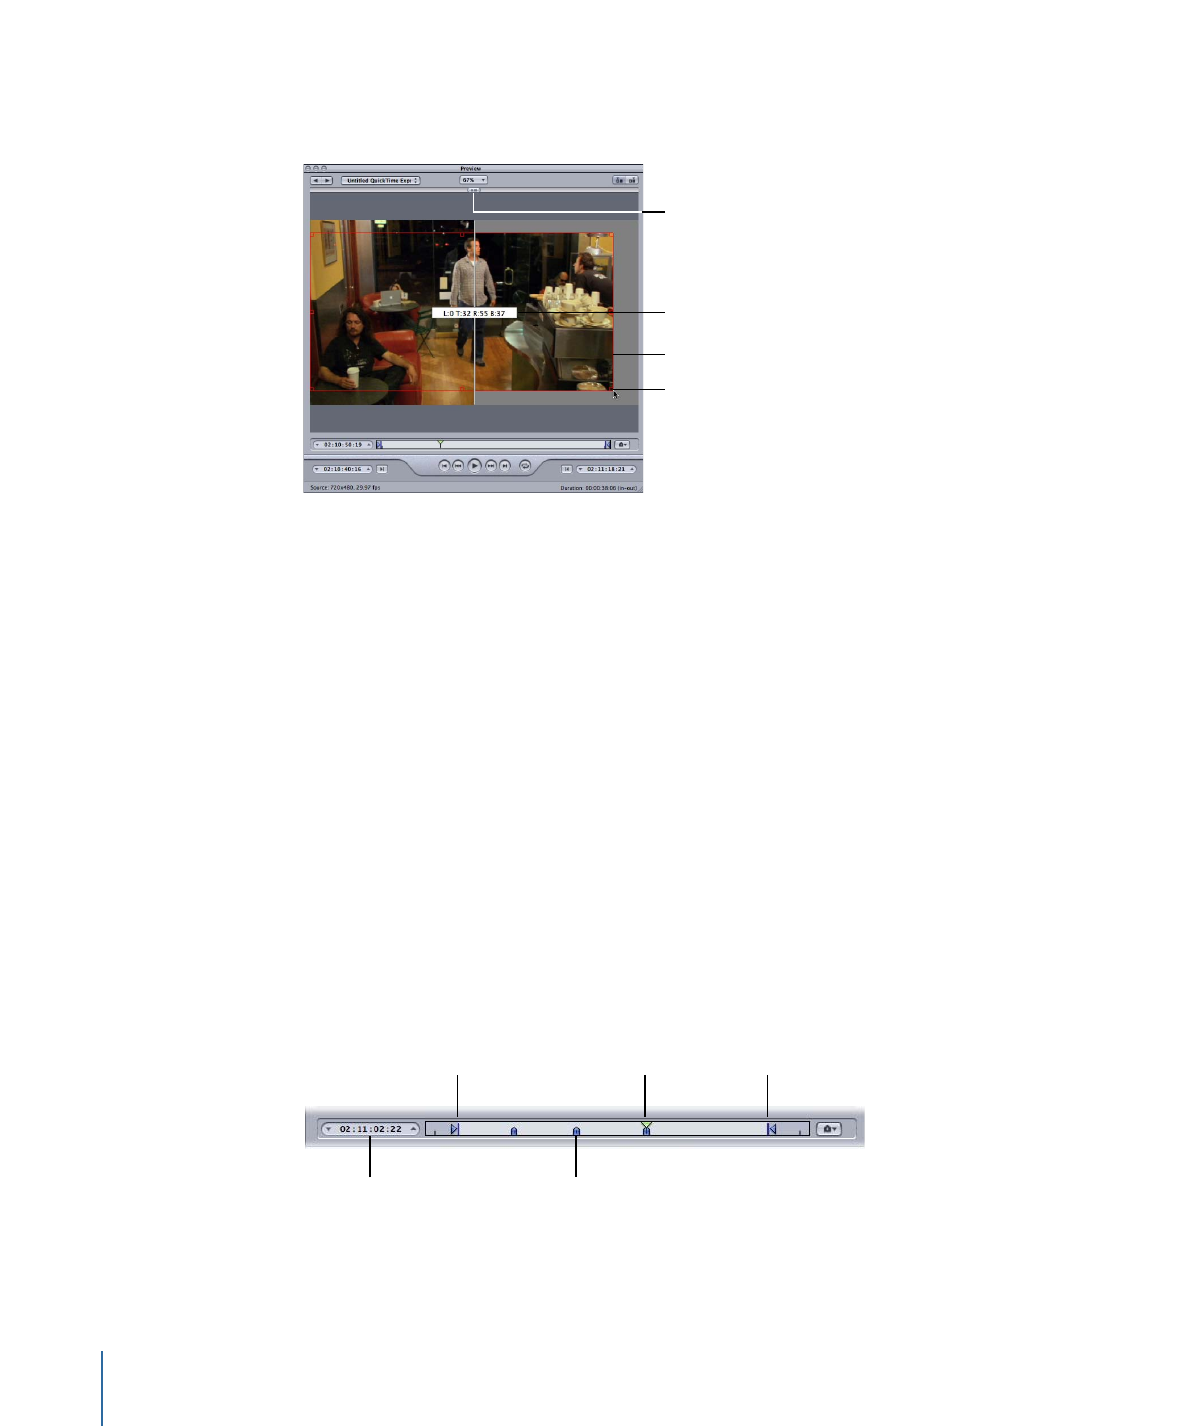
Playhead timecode
Playhead
Marker
In point
Out point
• Playhead timecode: Shows the timecode of the playhead’s position in the timeline using
the standard timecode format of hh:mm:ss:ff. You can enter a new value to precisely
position the playhead along the timeline.
308
Chapter 26
Using the Preview Window

Note: If your source media file has a timecode track with a specific timecode, the
timecode of the clip will appear in the playback timecode field. For everything else,
the timecode will start with 00:00:00:00.
• In and Out points: Use these if you want to transcode only a section of your source
media file, rather than the whole thing. Drag the points to indicate the Start and End
points within the source media file that you want to transcode. The In and Out timecode
fields at the bottom of the Preview window update as you drag these points. (You can
also click the Set In Point or Set Out Point buttons to set the points to wherever the
playhead is currently positioned.)
Important:
In and Out points are not preserved after a transcode has been completed,
so if you want to resubmit a batch from the History table, you need to reapply these
points to your clip. In and Out points are assigned to the source media file rather than
the setting, so whatever In and Out points you create will be the same for all other
settings related to that source media file in the current batch.
• Playhead: Gives you a visual indication of where the displayed frame is located within
the clip. You can drag the playhead to navigate quickly to a specific location within
the clip.
• Marker: Gives you a visual indication of where a marker has been placed in the clip.
The color of the marker indicates its type:
• Blue: Compression markers (These are compression markers that you add manually.)
• Purple: Chapter markers (These are named markers that are intended to be
navigational chapter stops or visual artwork in the output media file.)
• Red: Podcast markers (These are named markers that are intended to be navigational
chapter stops or visual artwork in the output media file.)
• Green: Edit/cut markers (These are compression markers that are added automatically
at edit points in the Final Cut Pro sequence.)
• Gray bar with center dot: Poster frame (This bar indicates the frame chosen as the
poster frame for this file.)
See
Working with Markers and Poster Frames
for more information.
309
Chapter 26
Using the Preview Window