
Manually Adding and Removing Markers
The Preview window includes comprehensive marker support, including the ability to
manage markers already added to the source media file, manually add or remove markers,
and import chapter marker lists. When you add a marker to a clip, it appears as a chapter
marker by default. You can then change the marker to a compression or podcast marker
if you wish (see
Adding Compression or Podcast Markers to a Clip
).
To add a chapter marker to your clip
1
Open the Preview window.
318
Chapter 26
Using the Preview Window
2
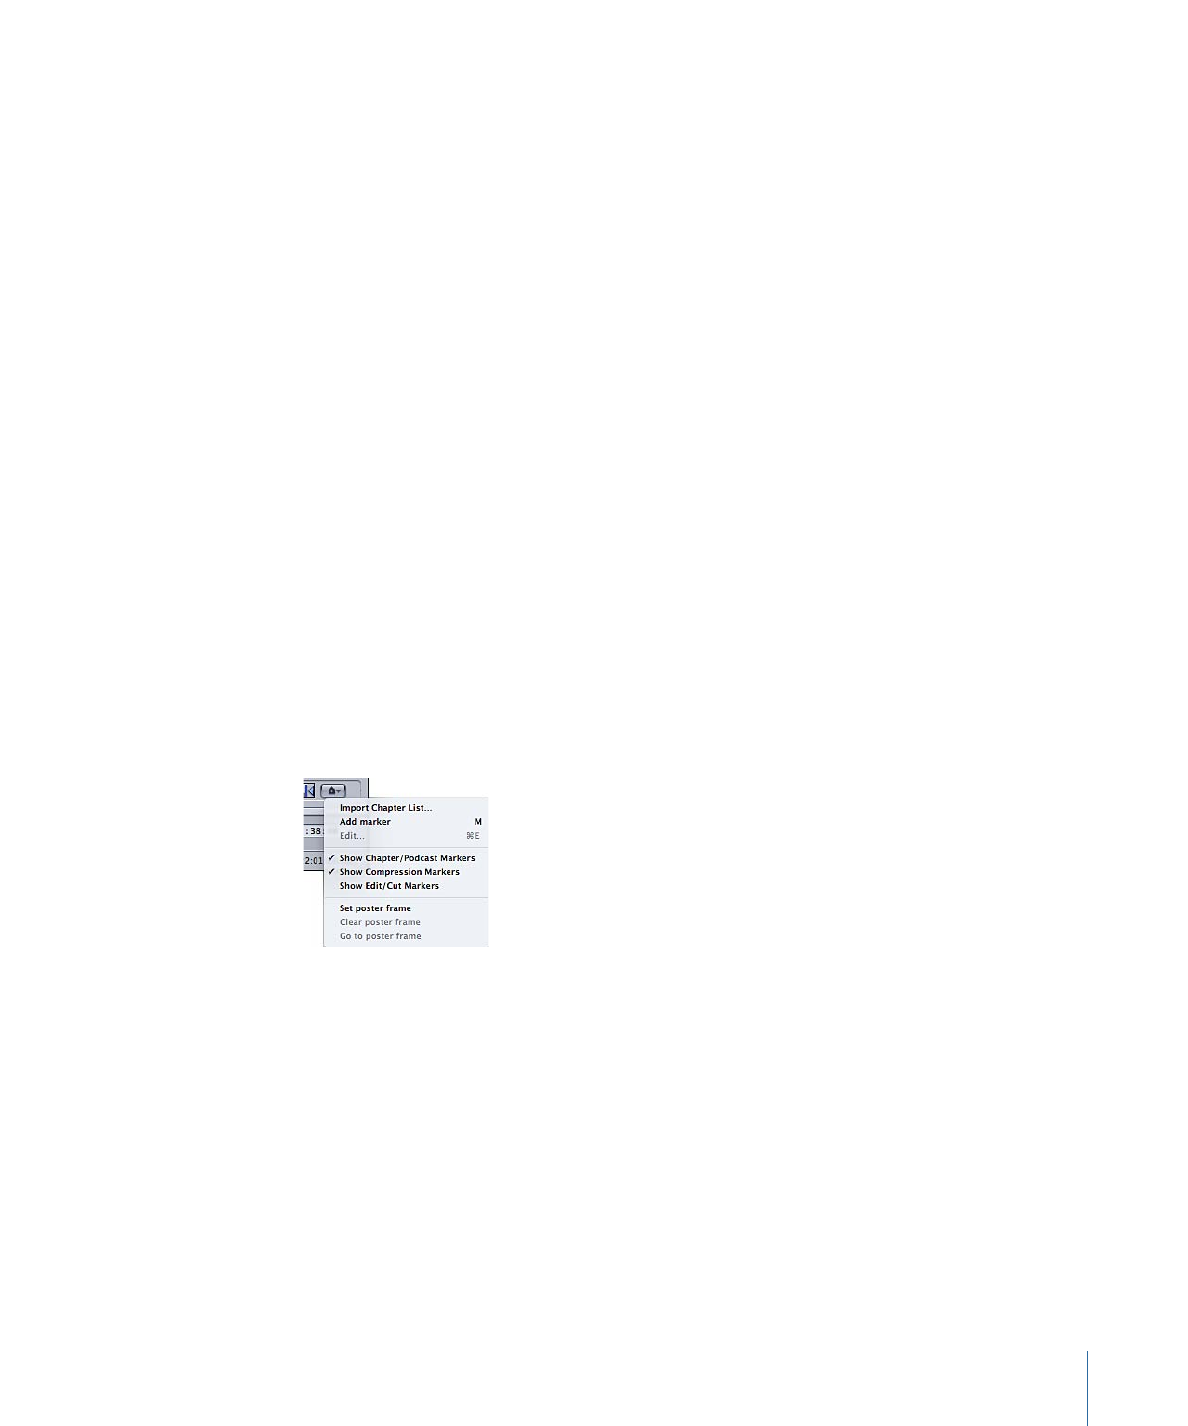
Choose the Show Chapter/Podcast Markers item from the Marker pop-up menu, so that
there is a checkmark by it.
3
Choose a clip from the Batch Item pop-up menu or click the Batch Item selection button
until the clip you want appears in the pop-up menu.
4
Do one of the following to determine where the marker is to be placed:
• Drag the playhead where you want to add a marker.
• Enter a timecode value in the playhead timecode field.
5
Do one of the following to add a marker:
• Click the Marker button and choose “Add marker” from the pop-up menu.
• Press M.
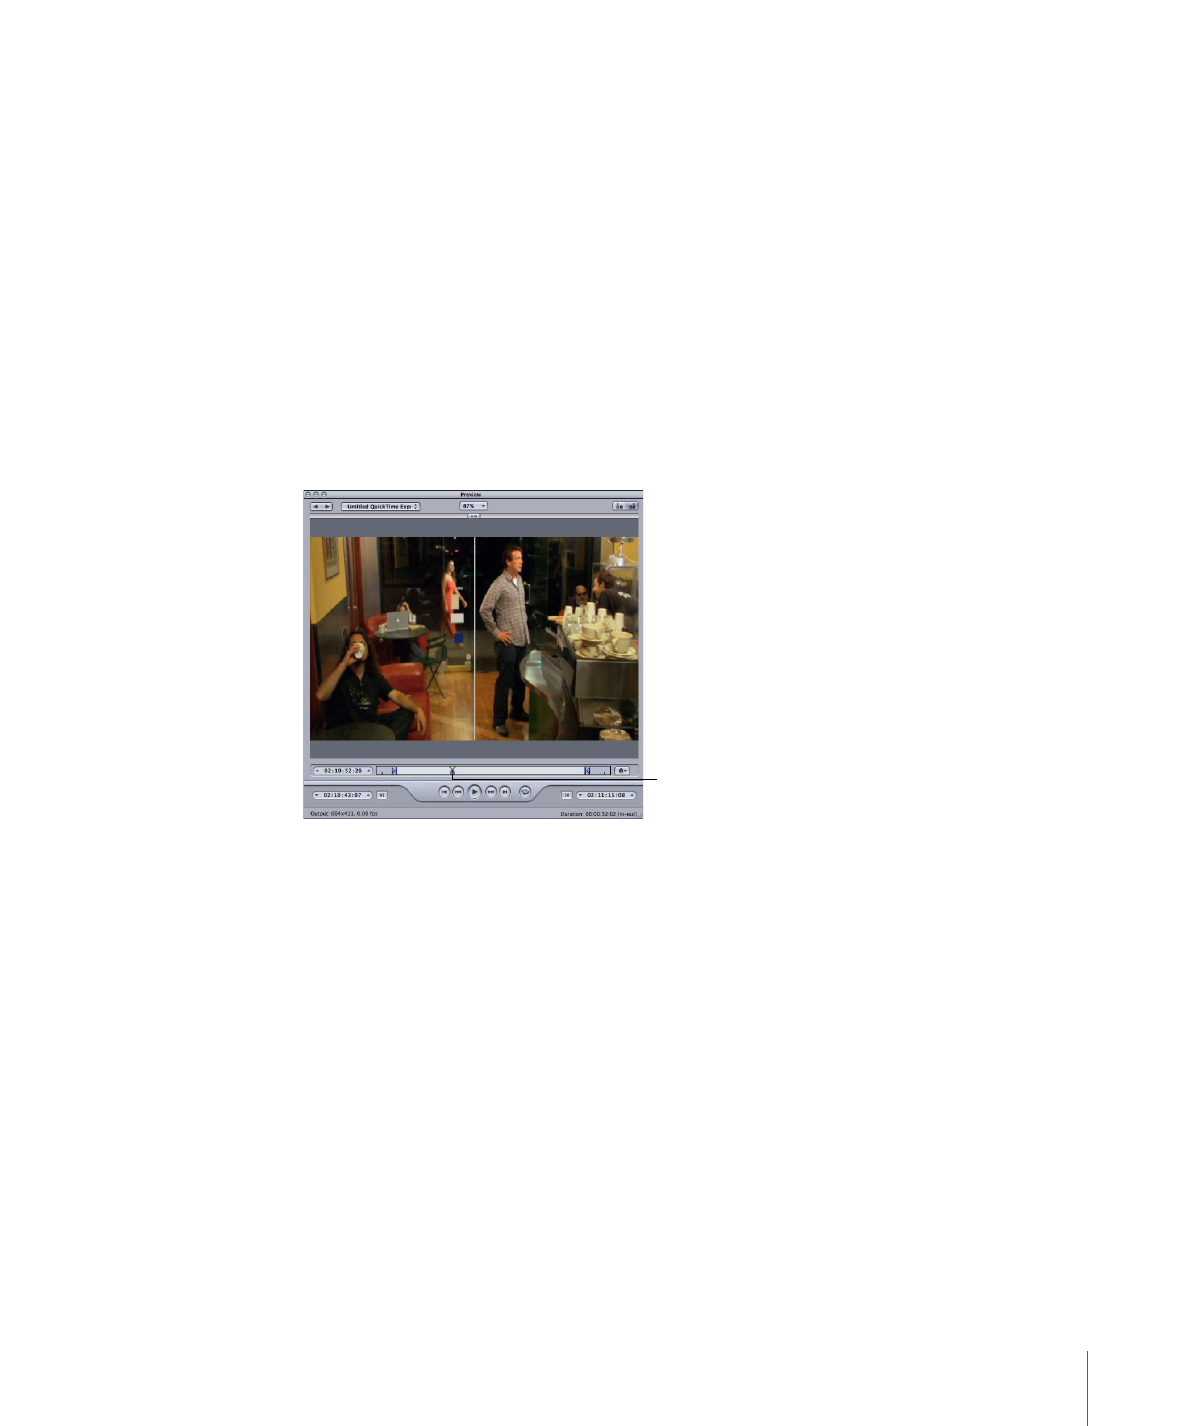
A purple chapter marker appears in the timeline.
A purple marker appears
under the playhead after
the marker is added.
6
Choose Edit from the Marker pop-up menu (or press Command-E).
A dialog for editing the marker appears.
319
Chapter 26
Using the Preview Window
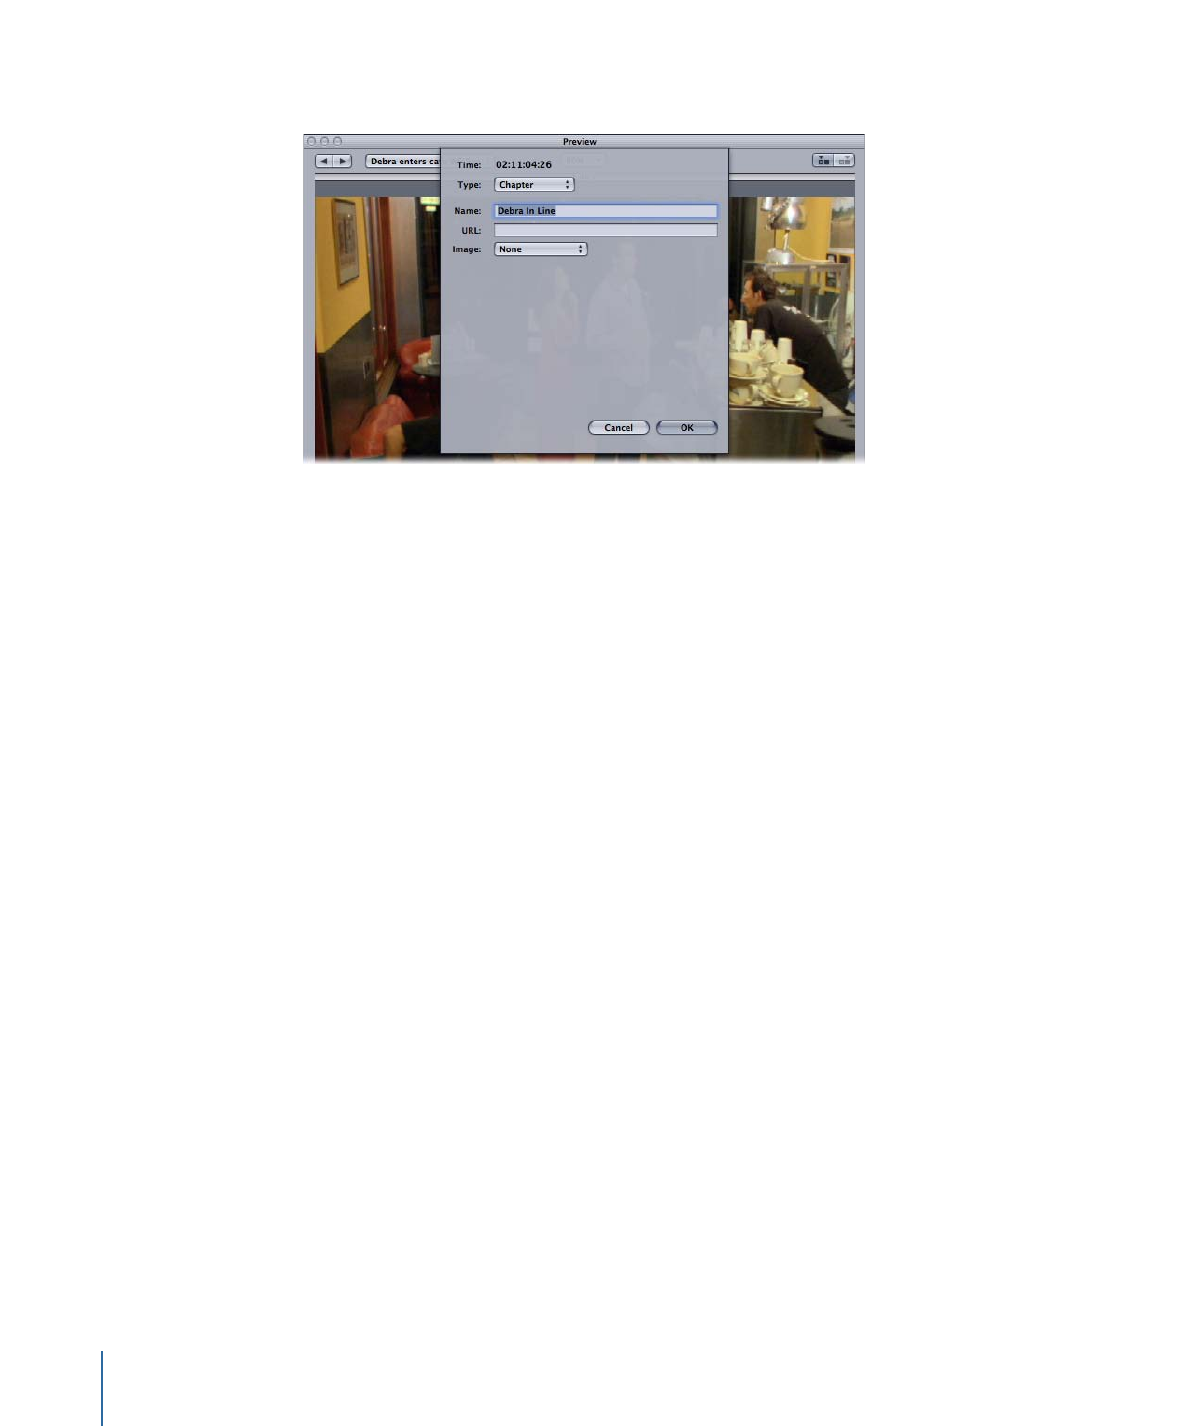
7
Enter a name for the chapter marker in the Name field.
For chapter markers, this name appears in the output media file where it can be seen
with QuickTime Player and in playback devices.
8
If you want to assign an image to the chapter marker, choose one of the following from
the Image pop-up menu:
• None: No image is associated with the marker.
• Frame in source: By default, the frame displayed is the frame on which the marker is
placed. To use a different frame as the image, enter a different timecode value.
• From File: Drag an image to the image well. You can also click Choose to open a
file-selection dialog and select a still-image file to assign to the marker.
9
Click OK to close the dialog.
You can convert a chapter marker to a compression or podcast marker by choosing Edit
from the Marker pop-up menu.
To remove a marker from your clip
1
Click either the “Move to Previous Marker” or “Move to Next Marker” control to move the
playhead to the marker you want to remove.
2
Do one of the following to remove the marker:
• Click the Marker button and choose “Remove marker” from the pop-up menu.
• Press M.
The marker disappears.
To import a chapter marker list
1
Open the Preview window.
2
Choose a clip from the Batch Item pop-up menu or click the Batch Item selection button
until the clip you want appears in the pop-up menu.
320
Chapter 26
Using the Preview Window
3
Choose Import Chapter List from the Marker pop-up menu.
A file selection dialog opens so that you can locate and select the chapter marker file for
that source media file.
4
Select the chapter marker file and click Open.
The markers are imported and added to the Preview window timeline.
Note: While all markers imported by using a chapter marker list are configured as chapter
markers, you can use the marker edit dialog to change them to podcast or compression
markers. Additionally, you can add URLs and artwork to them as needed.
Important:
The timecode values in the list must be based on the source media file’s
timecode.