
Working with Frame Controls
23
Important:
Frame Controls settings cannot be previewed in the Preview window. To
preview Frame Controls settings, do a test transcode of a small section of your source
media file. (See
Transcoding a Portion of the Clip with the Preview Window
for more
information.)
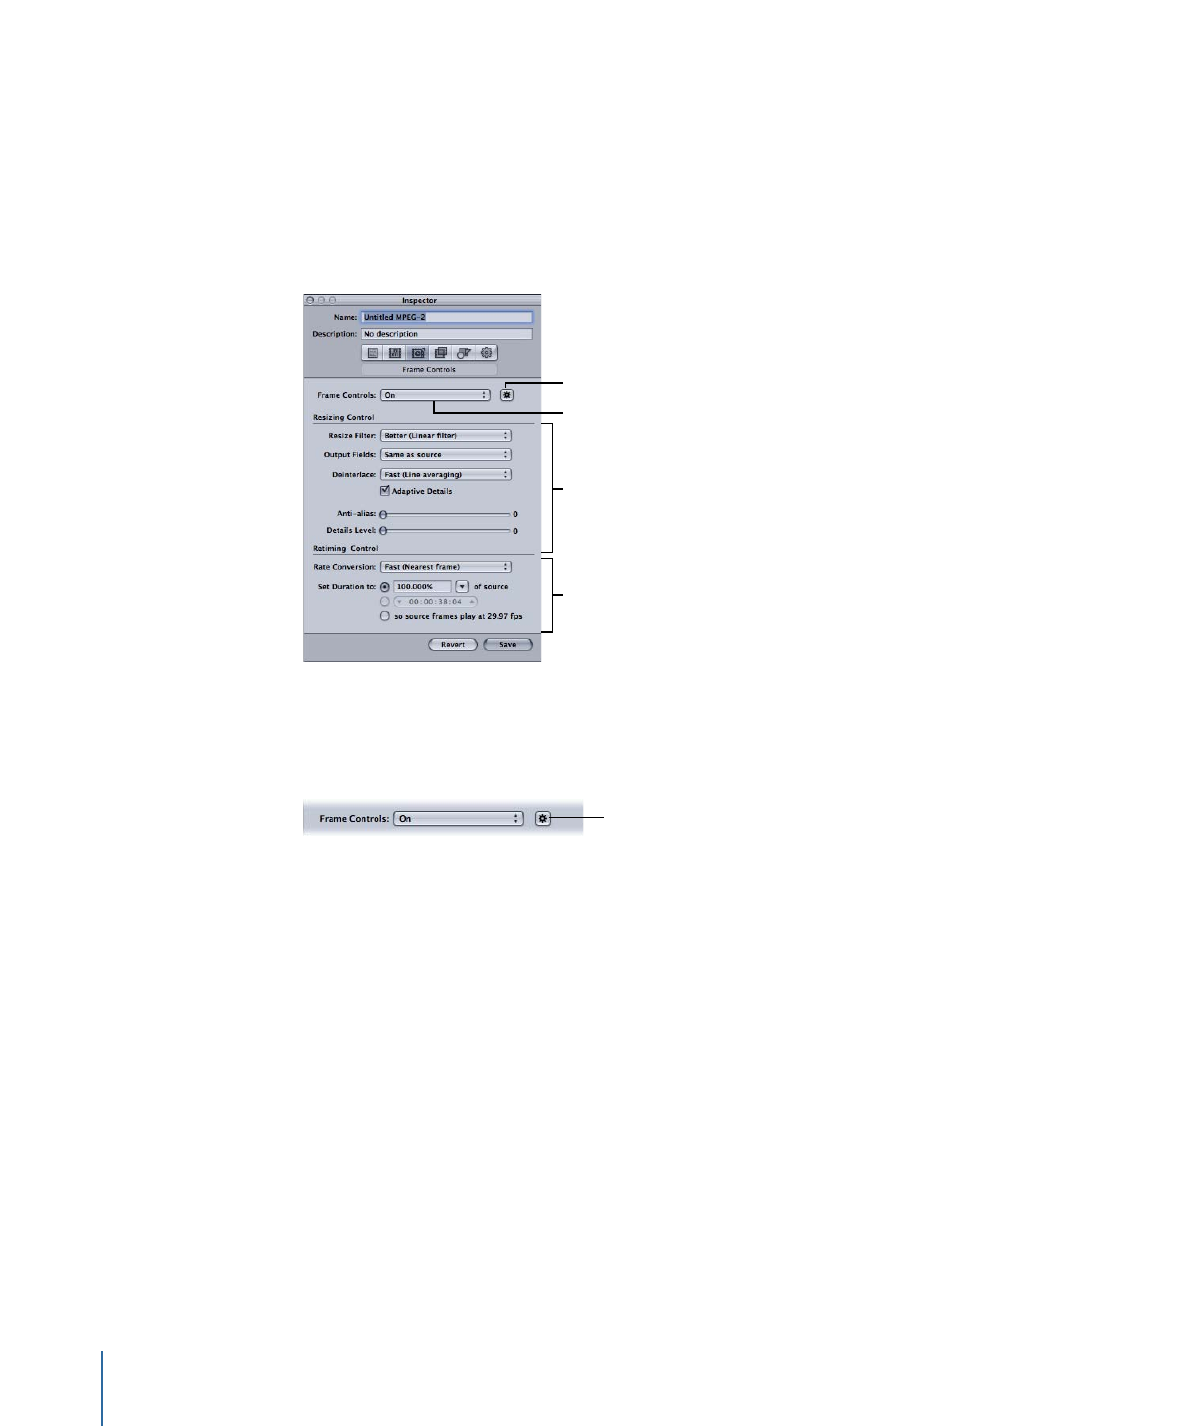
Use the following features in the Frame Controls pane of the Inspector to select and
adjust frame controls attributes that you want to assign to your settings.
Resizing controls
Retiming controls
Frame Controls pop-up
menu
Automatic button
Frame Controls Area
Use this pop-up menu to enable or disable the Frame Controls feature. Use the
corresponding Automatic button to enable or disable automatic mode.
Frame Controls
Automatic button
• Frame Controls pop-up menu: Use this pop-up menu to enable or disable the Frame
Controls pane.
• Off: The default setting for most Apple presets. Choose Off if your Compressor project
does not involve changes to the frame size, frame rate, or field dominance.
• On: Allows you to manually adjust all the attributes in the Frame Controls pane.
• Automatic button: When this button is selected, Compressor analyzes the transcoding
job (the source media file and the applied setting), and then automatically determines
the appropriate Frame Controls attributes. For more information, see
About the
Automatic Settings
.
In Automatic mode, Frame Controls technology is engaged in the following two types
of transcodes only:
• Transcoding from high definition (HD) sources to standard definition (SD) MPEG-2
output files
264
Chapter 23
Working with Frame Controls
• Transcoding from interlaced sources to H.264 for Apple Devices (progressive) output
files
Resizing Controls Area
Use the controls in this area to choose the algorithm with which frames are resized.
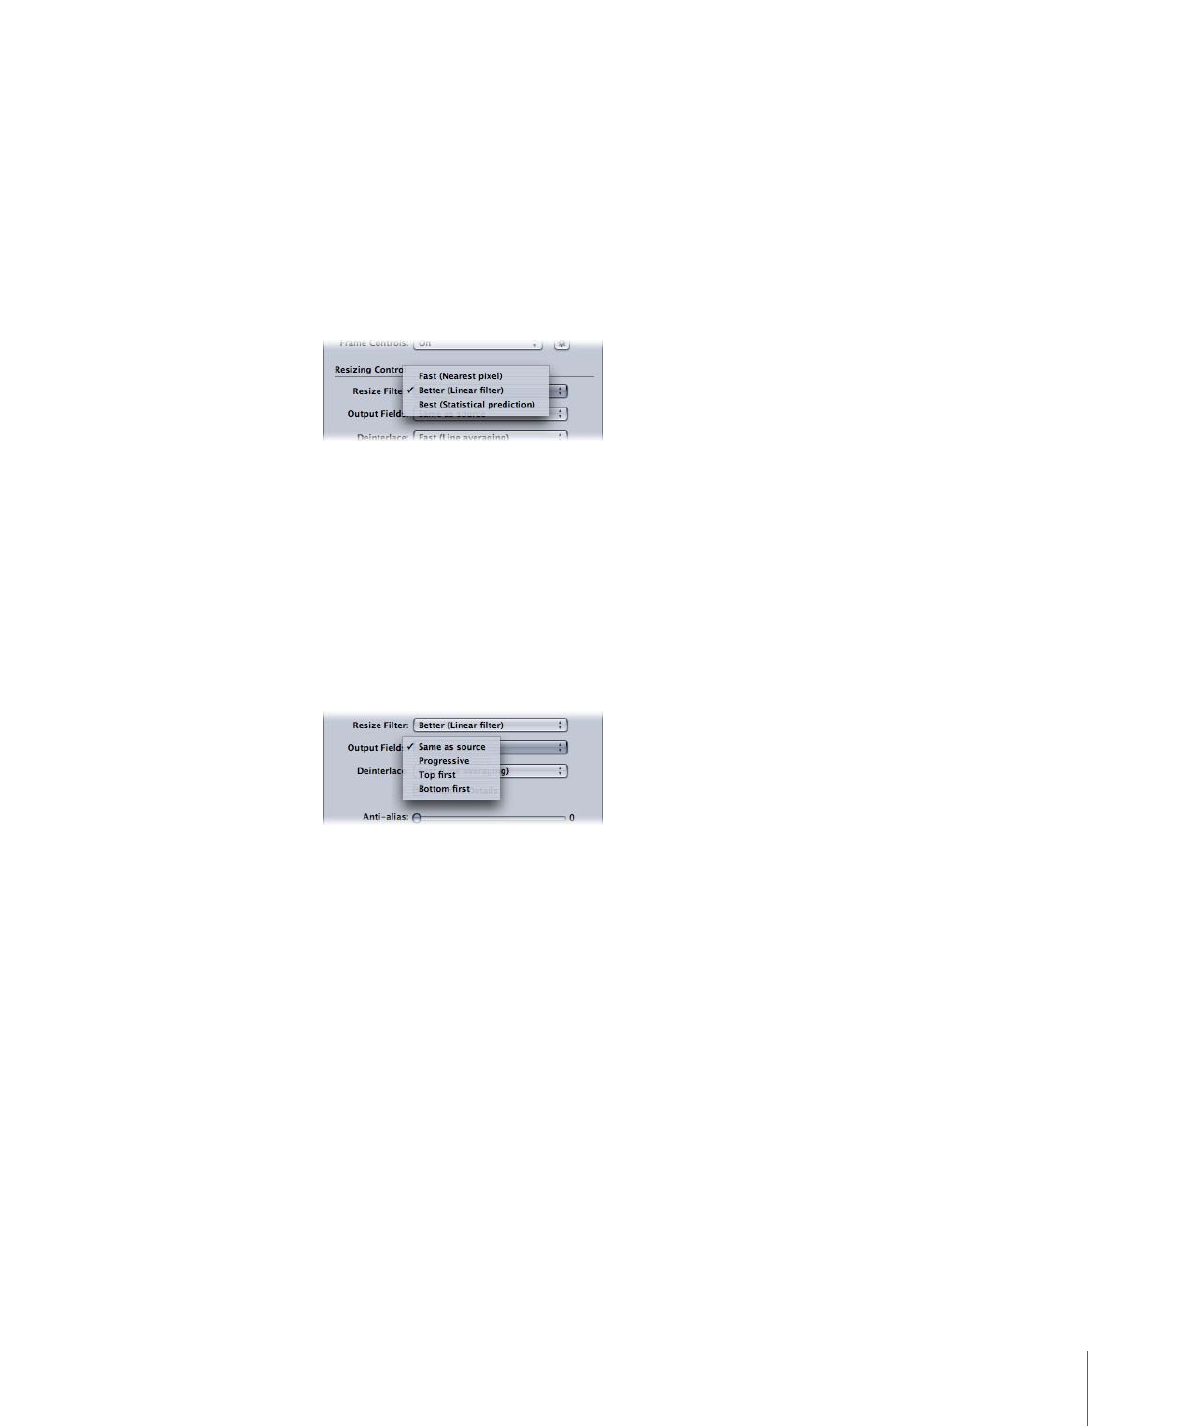
• Resize Filter: Use this pop-up menu to choose from the following resizing options. This
decision is a trade-off between faster processing time and higher output quality in
projects that involve a change in resolution.
• Fast (Nearest pixel): This option provides the fastest processing time.
• Better (Linear filter): This option provides a medium trade-off between processing
time and output quality.
• Best (Statistical prediction): This option provides highest output quality, but takes
longer.
• Output Fields: Use this pop-up menu to choose the output scanning method (either
the field dominance or a conversion to progressive scanning).
• Same as source: No change to the scanning method.
• Progressive: Scanning method where each frame is complete (not divided into fields).
Use this setting in place of the Compressor Deinterlacing filter (a legacy filter in the
Filters pane) as it will always provide much higher quality.
• Top first: Interlaced field dominance (field order), also known as field two, the upper
field, or the odd field.
• Bottom first: Interlaced field dominance (field order), also known as field one, the lower
field, or the even field.
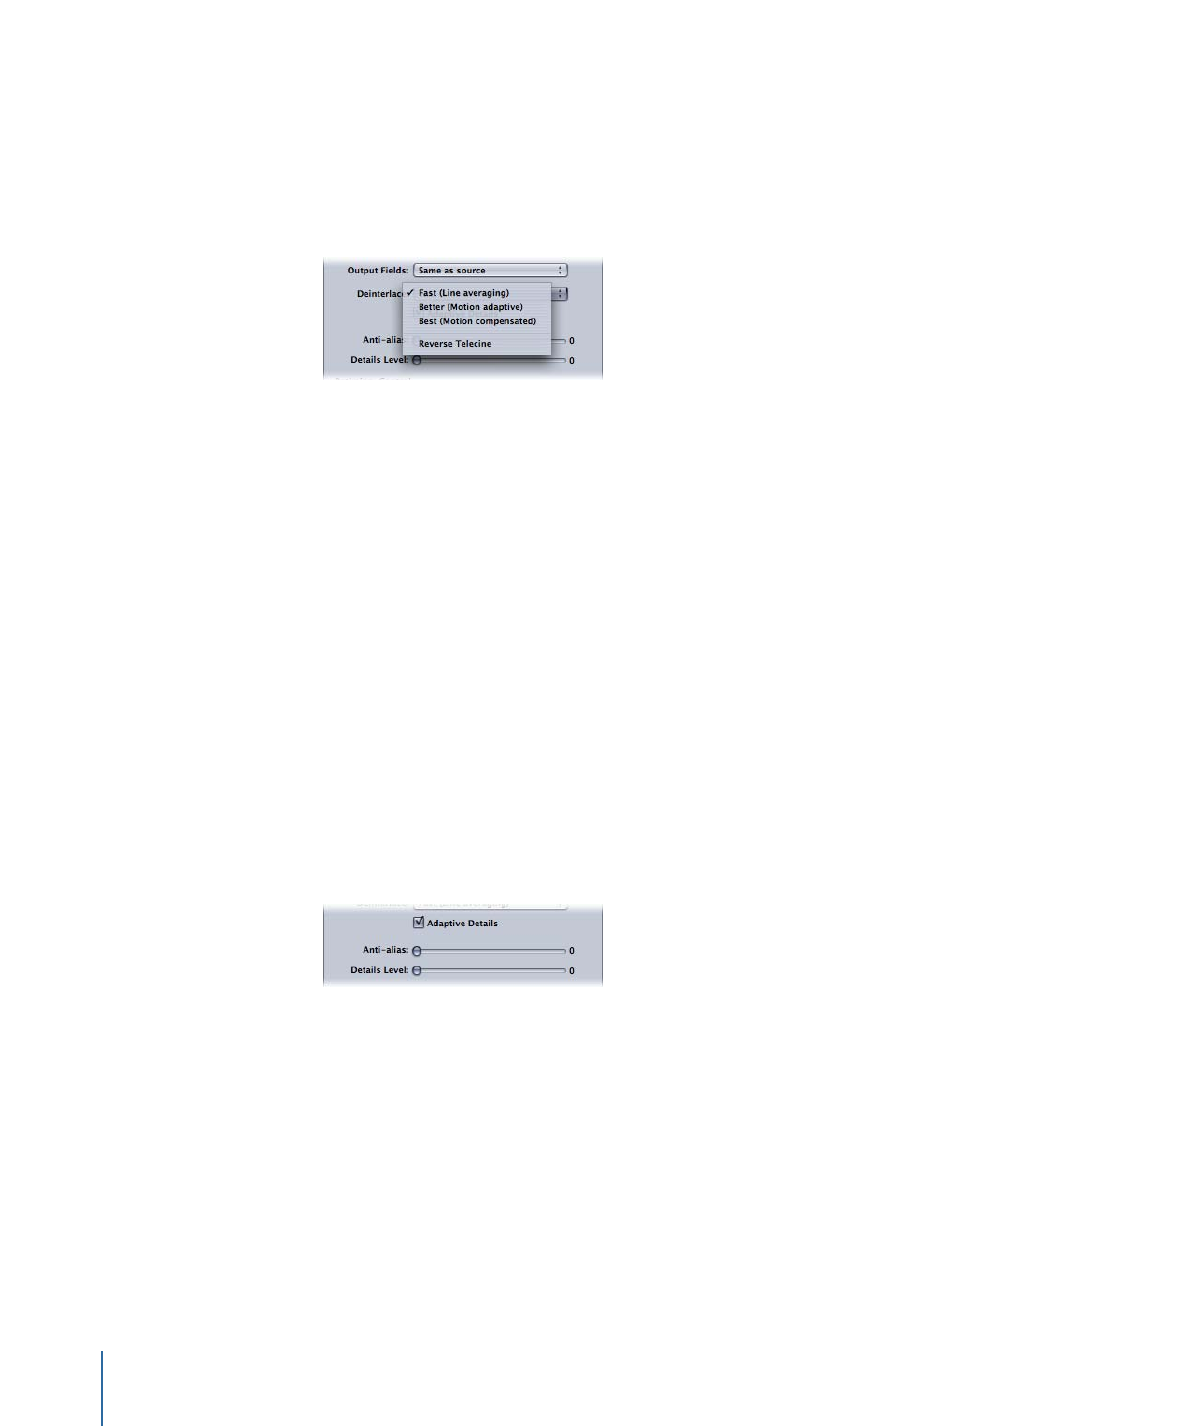
• Deinterlace: Use this pop-up menu to choose from different techniques for deinterlacing.
This decision is a trade-off between faster processing and higher-quality deinterlacing
of motion areas within the frame. In all cases, each higher-quality deinterlacing option
yields the same or better results than the next lower quality option. However, if
downward resizing is also applied to the frame, improvements in quality may not be
noticeable. Under these circumstances, Fast or Better will likely provide sufficiently high
quality, depending on the amount of downward resizing.
265
Chapter 23
Working with Frame Controls
For general information about deinterlacing, see
About Deinterlacing
.
Important:
Using all Best settings may result in unexpectedly long processing times.
If you are reducing the frame size in addition to deinterlacing the frame, Fast or Better
will likely provide sufficiently high quality, depending on the amount of downward
resizing.
Note: While the Deinterlace pop-up menu is always active, Compressor only deinterlaces
jobs that need it. (For example, if the source is interlaced and the Output Fields pop-up
menu is set to Progressive, Compressor will deinterlace. If the source media file is
progressive, Compressor will not deinterlace.)
• Fast (Line averaging): This option averages adjacent lines in a frame.
• Better (Motion adaptive): This option offers good-quality deinterlacing for areas of
the image that are in motion.
• Best (Motion compensated): This option offers higher-quality deinterlacing for areas
of the image that are in motion.
• Reverse Telecine: This option removes the extra fields added during the telecine
process to convert the film’s 24 fps to NTSC’s 29.97 fps. Selecting this item disables
all other items in the Frame Controls pane. See
About Reverse Telecine
for more
information on 3:2 pull-down and using the Reverse Telecine feature.
• Adaptive Details: Select this checkbox to use advanced image analysis to distinguish
between noise and edge areas.
• Anti-alias: Use this slider to set a softness level from 0 to 100. This parameter improves
the quality of conversions when you’re scaling media up. For example, when transcoding
standard definition video to high definition, Anti-alias smooths out jagged edges that
might appear in the image.
266
Chapter 23
Working with Frame Controls
• Details Level: Use this slider to set a level (from 0 to 100) to preserve sharp edges. This
is a sharpening control that lets you add detail back to an image being enlarged. Unlike
other sharpening operations, the Details Level setting is able to distinguish between
noise and feature details, and generally doesn’t increase unwanted grain. Increasing
this parameter may introduce jagged edges, however, which can be eliminated by
increasing the Anti-alias level.
Note: Adaptive Details, “Anti-alias,” and Details Level pertain only to frame resizing
(scaling), not deinterlacing.
Retiming Controls Area
Use the controls in this area to choose the algorithm with which frame rates are adjusted.
Note: When you use the retiming controls to change the video speed, Compressor will
also adjust the audio portion of the output media file so that it stays in sync with the
video. The retiming controls will not affect the audio pitch. See
Using the Retiming Controls
for more information about using these options.
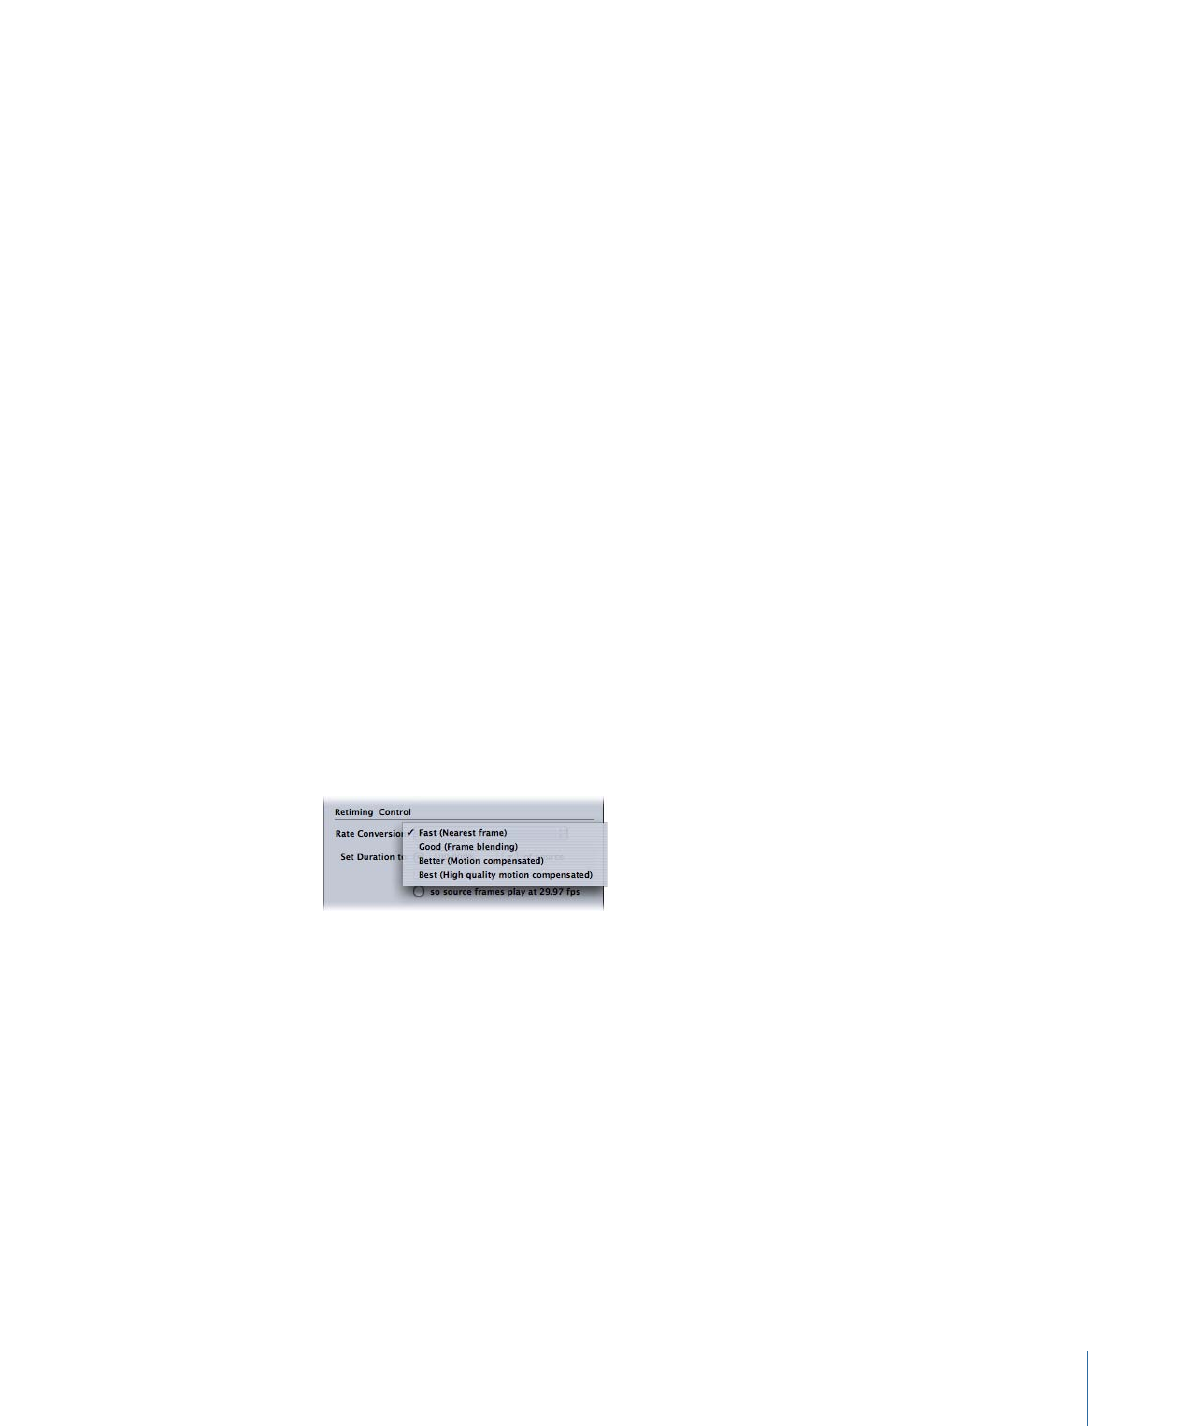
• Rate Conversion: Use this pop-up menu to choose from the following techniques for
retiming frames (changing the frame rate). This decision is a trade-off between faster
processing time and higher output quality. In many cases, the Better setting will provide
sufficiently high-quality conversion at a substantial savings in processing time over the
Best setting.
Important:
Using all Best settings may result in unexpectedly long processing times.
The Better setting for rate conversion will provide sufficiently high-quality conversion
at a substantial savings in processing time over the Best setting.
• Fast (Nearest frame): No frame blending is applied; Compressor simply uses a copy
of the nearest available frame to fill the new in-between frames.
• Good (Frame blending): Averages neighboring frames together to create new
in-between frames.
• Better (Motion compensated): Uses optical flow to interpolate frames, with good-quality
results.
• Best (High quality motion compensated): Uses optical flow to interpolate frames, with
higher-quality results; this option is particularly useful for transcodes that involve
increases in frame rates (for example, 23.98 fps to 59.94 fps).
267
Chapter 23
Working with Frame Controls
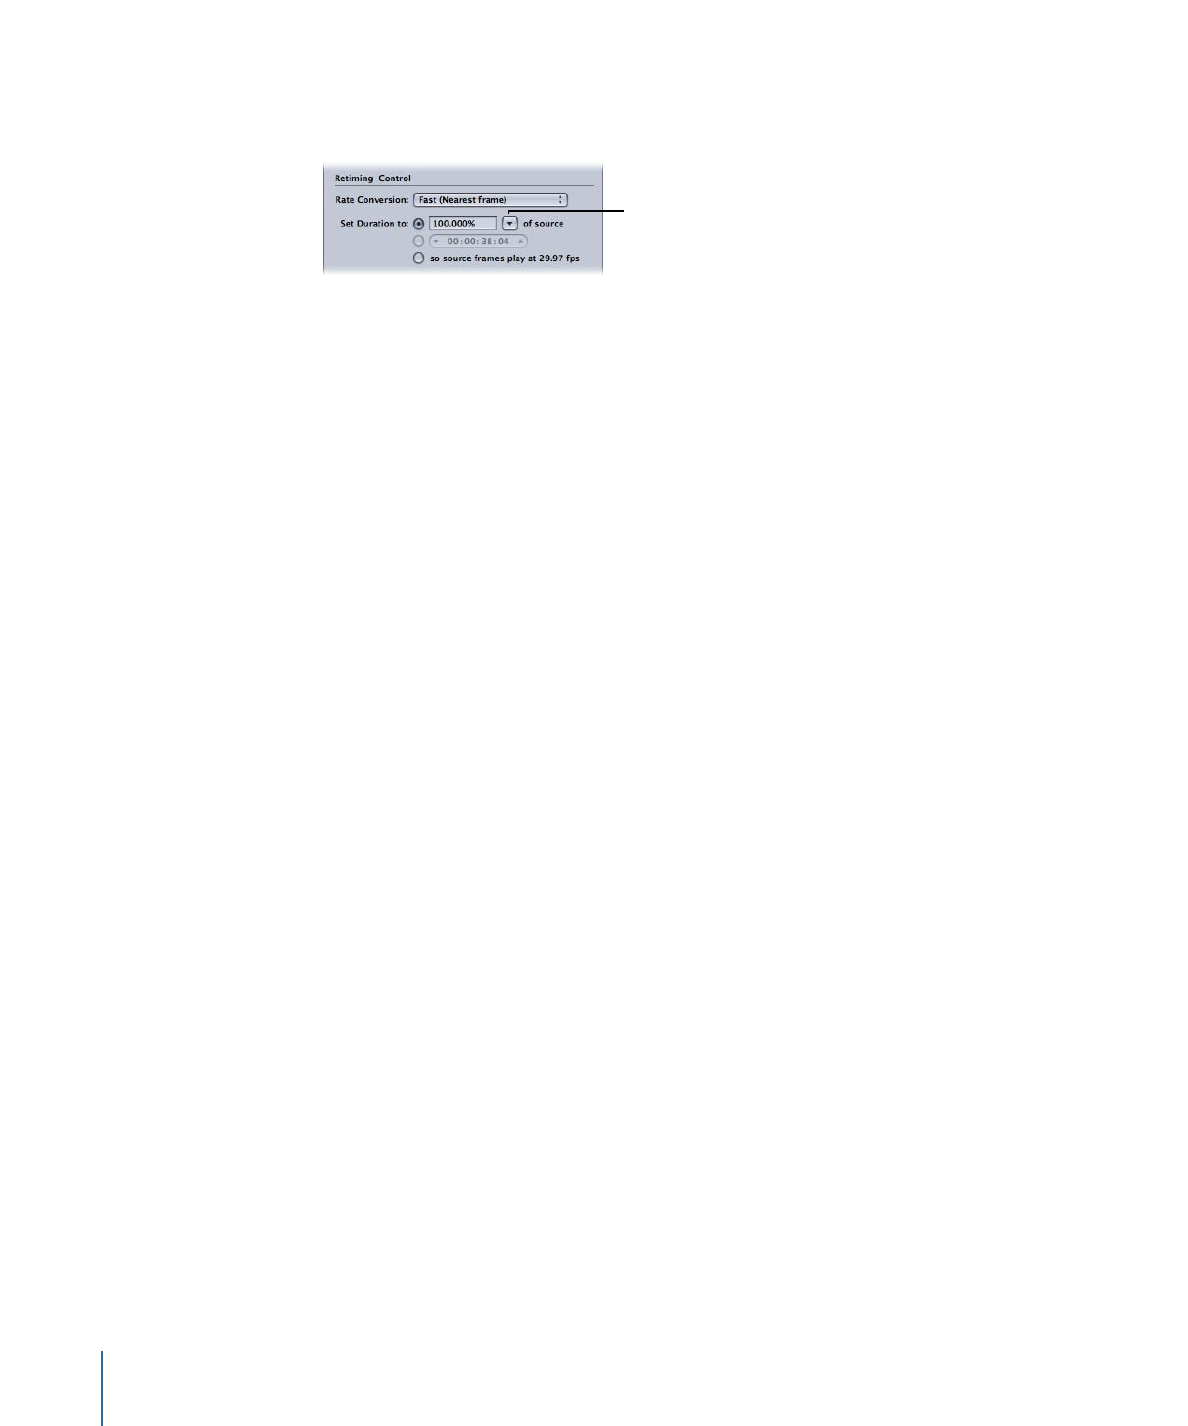
• Set Duration to: Use this to choose one of three methods to convert the clip’s duration
to a new duration.
Selection pop-up menu
• Percent of source: Use this to enter a percentage value to modify the clip’s speed or
choose a specific situation from the pop-up menu. For more information about the
options in this radio button, see
Entering a Percentage
.
• Total duration: Use this to choose a duration for the clip. For more information about
the options in this radio button, see
Entering a Duration
.
• So source frames play at [frame rate] fps: Use this when the source media file’s frame
rate does not match the Encoder pane frame rate (shown as the frame rate for this
item). For more information about the options in this radio button, see
Forcing Frames
to Play at the Encoder Pane’s Frame Rate Setting
.